Home depot - Combining 2D & 3D techniques to launch 2 new product lines

HDX & Husky
I had the pleasure of partnering with Husky & HDX to produce lifestyle content, imagery for trade booths, product listing content, and interactive 360° spins for their newest launch of storage totes.
(Results posted below)
Overview
An agency that manages Home Depot’s e-comm content reached out to me earlier this year about helping them produce content to launch a new product line for HDX and Husky storage totes. They required a wide variety of visual content for dozens of high-quality storage totes, and to make it even better, they required 2D and 3D solutions, which I will talk about later.
Taking this on was never a question, and I quickly began working with their team to coordinate a production for HDX and Husky.
The Mission
The client knew exactly what they needed (don’t you love clients like that?), and it all boiled down to 5 requests:
Lifestyle content showing the products in use in various environments.
Banner lifestyle imagery for trade show displays.
White background listing imagery highlighting all of the product features.
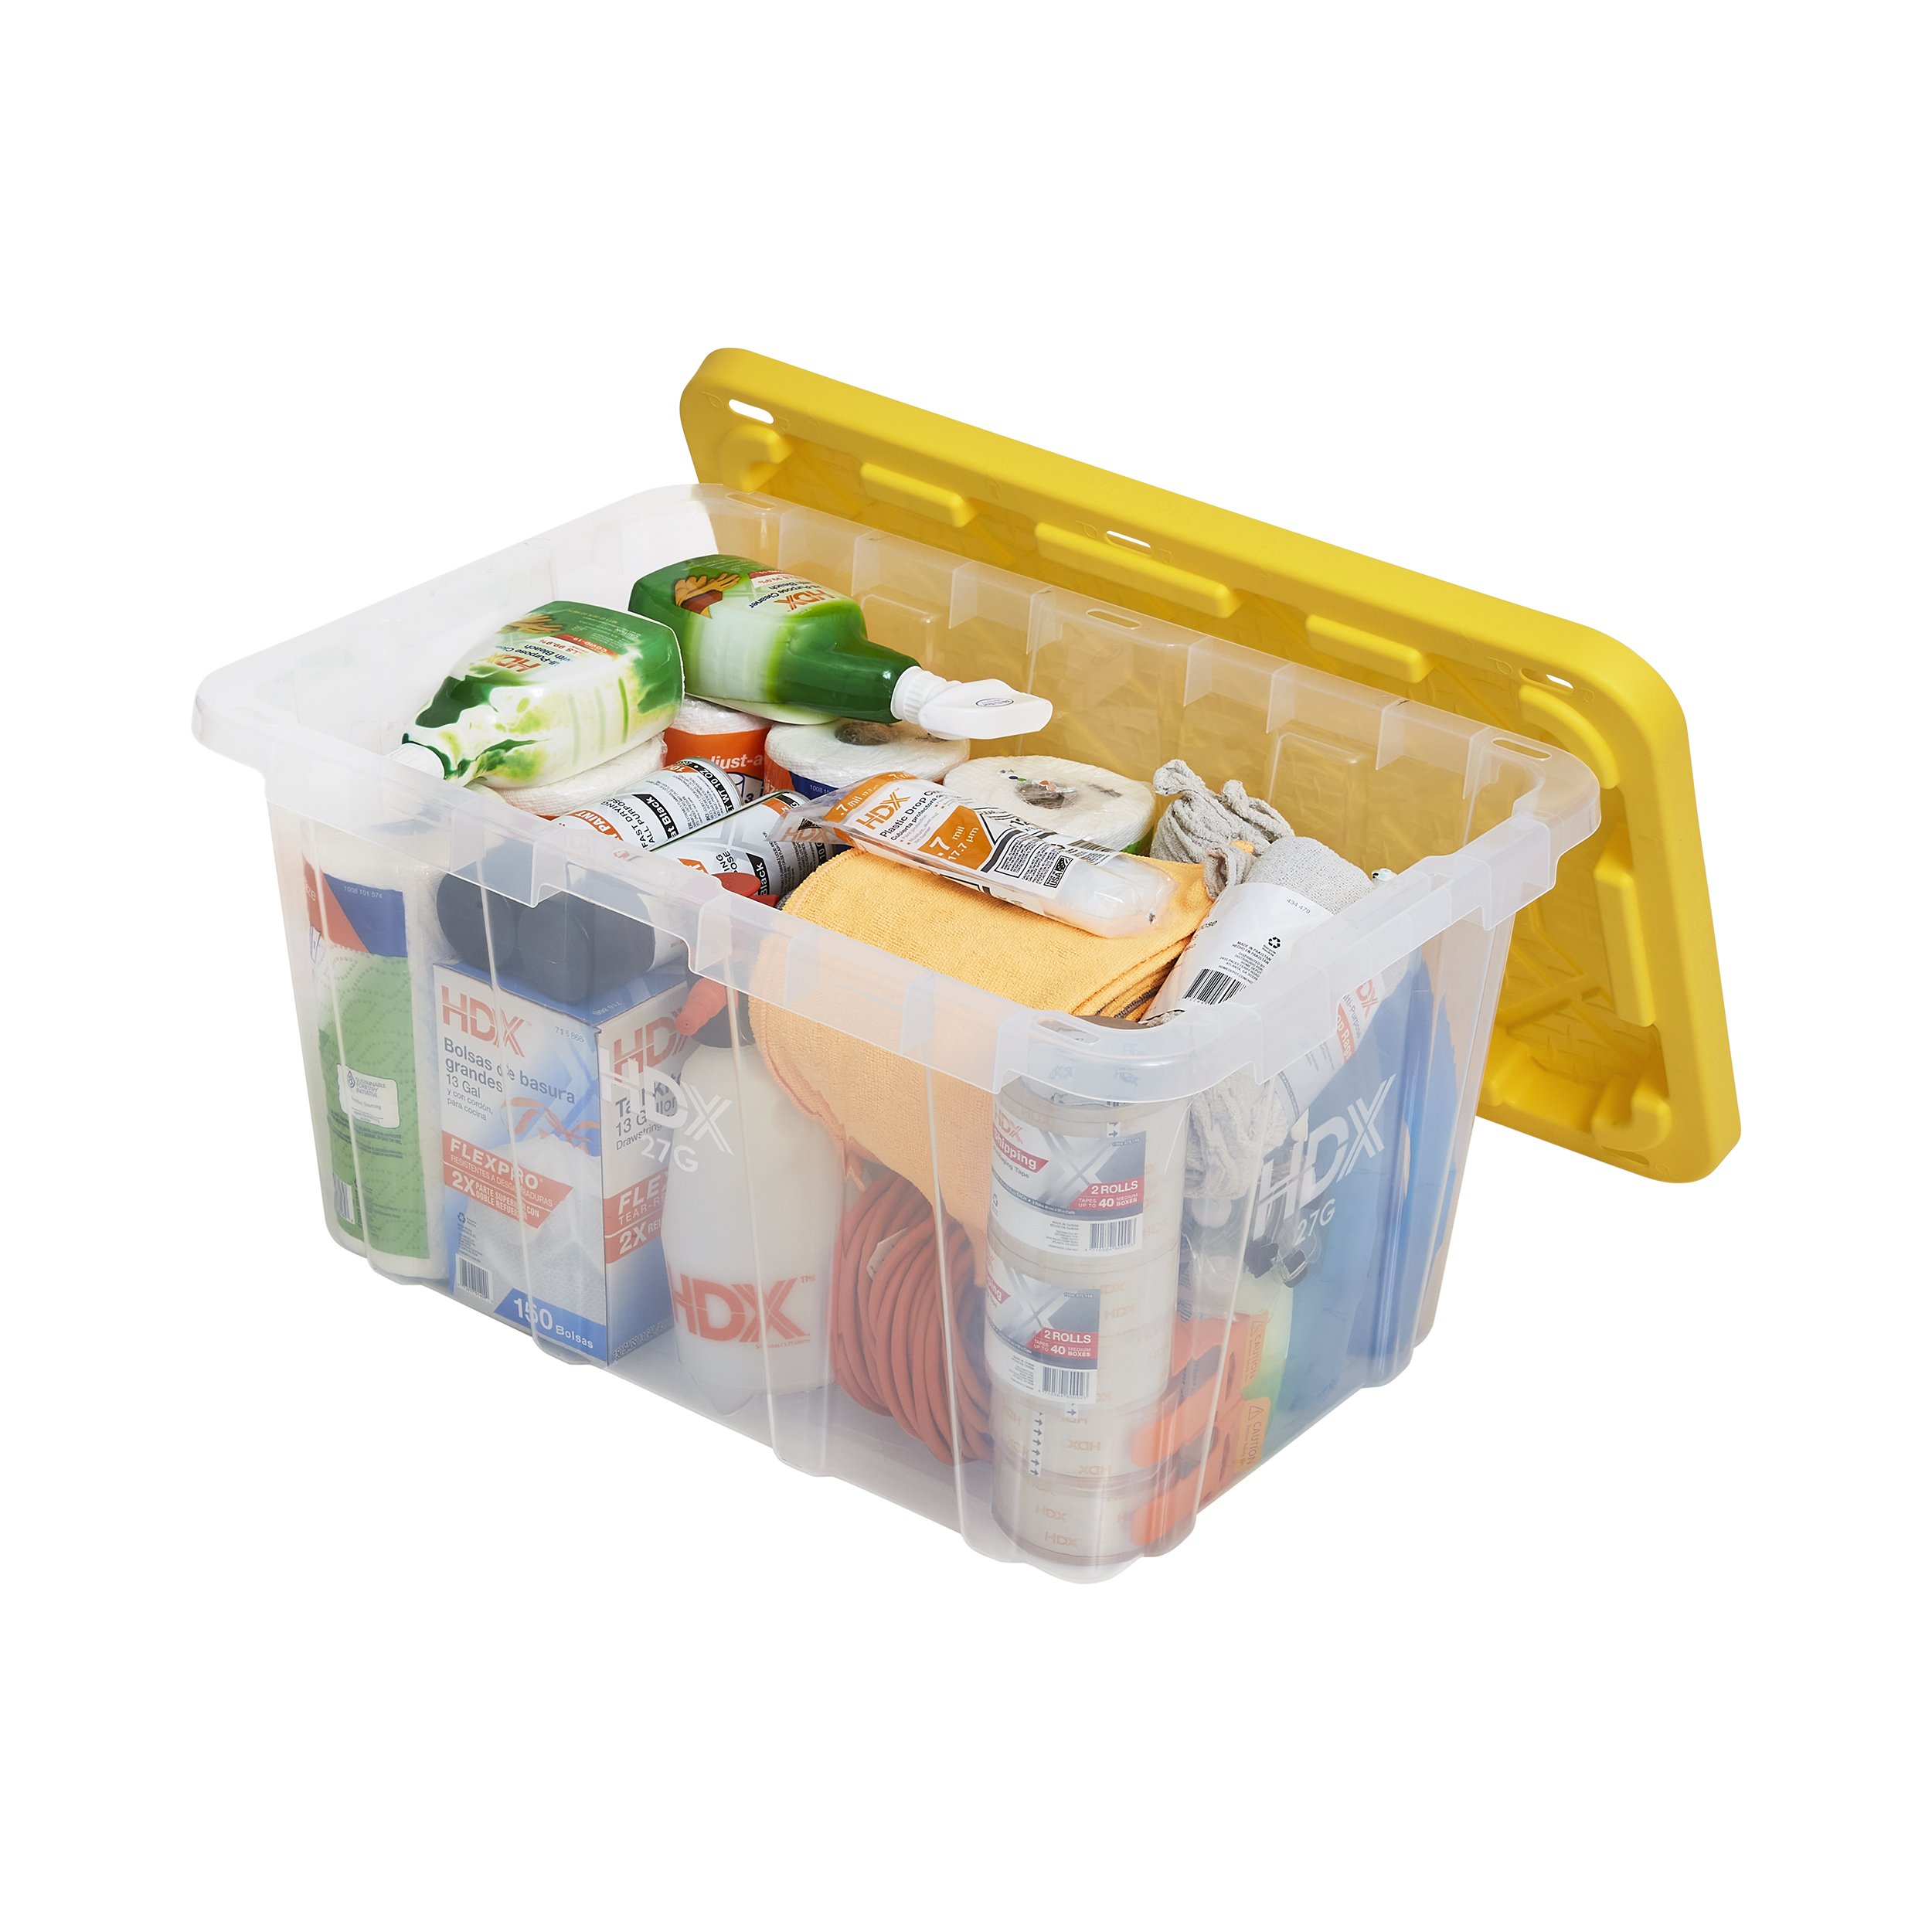
White background listing images showing the storage capacity of the totes.
Interactive 360° spins (assets that allow customers to click, drag, spin, and zoom in on the products.
I acted as both the photographer and the creative director for this production. Of course I knew I would do all the shooting, but I also needed to coordinate my photography with Home Depot’s design team and ensure they were on the same page with the editing team I use to outsource my bulk retouching to. As you will read below, due to strict timelines, we had to strategically utilize both 2D and 3D techniques on various aspects of the same image, so it was crucial that I direct the production from a high level, ensuring every team was on the same page.
For all of my projects, I start with an extremely extensive planning and coordination phase. I’ve had enough shoots crash and burn because there wasn’t a good enough plan, so I put in the leg work up front to make the production phase smoother. Luckily the client had numerous detailed photo briefs and brand decks, so understanding their goals and expectations was easy. I was able to quickly translate their briefs into a schedule and detailed shot list, and as soon as the products and props arrived at my studio, I got to work.
The Results
Lifestyle Content - 2D & 3D
The client didn’t need any crazy lifestyle content for this project, only 5 photos, but there were a few key features and uses that were crucial to highlight:
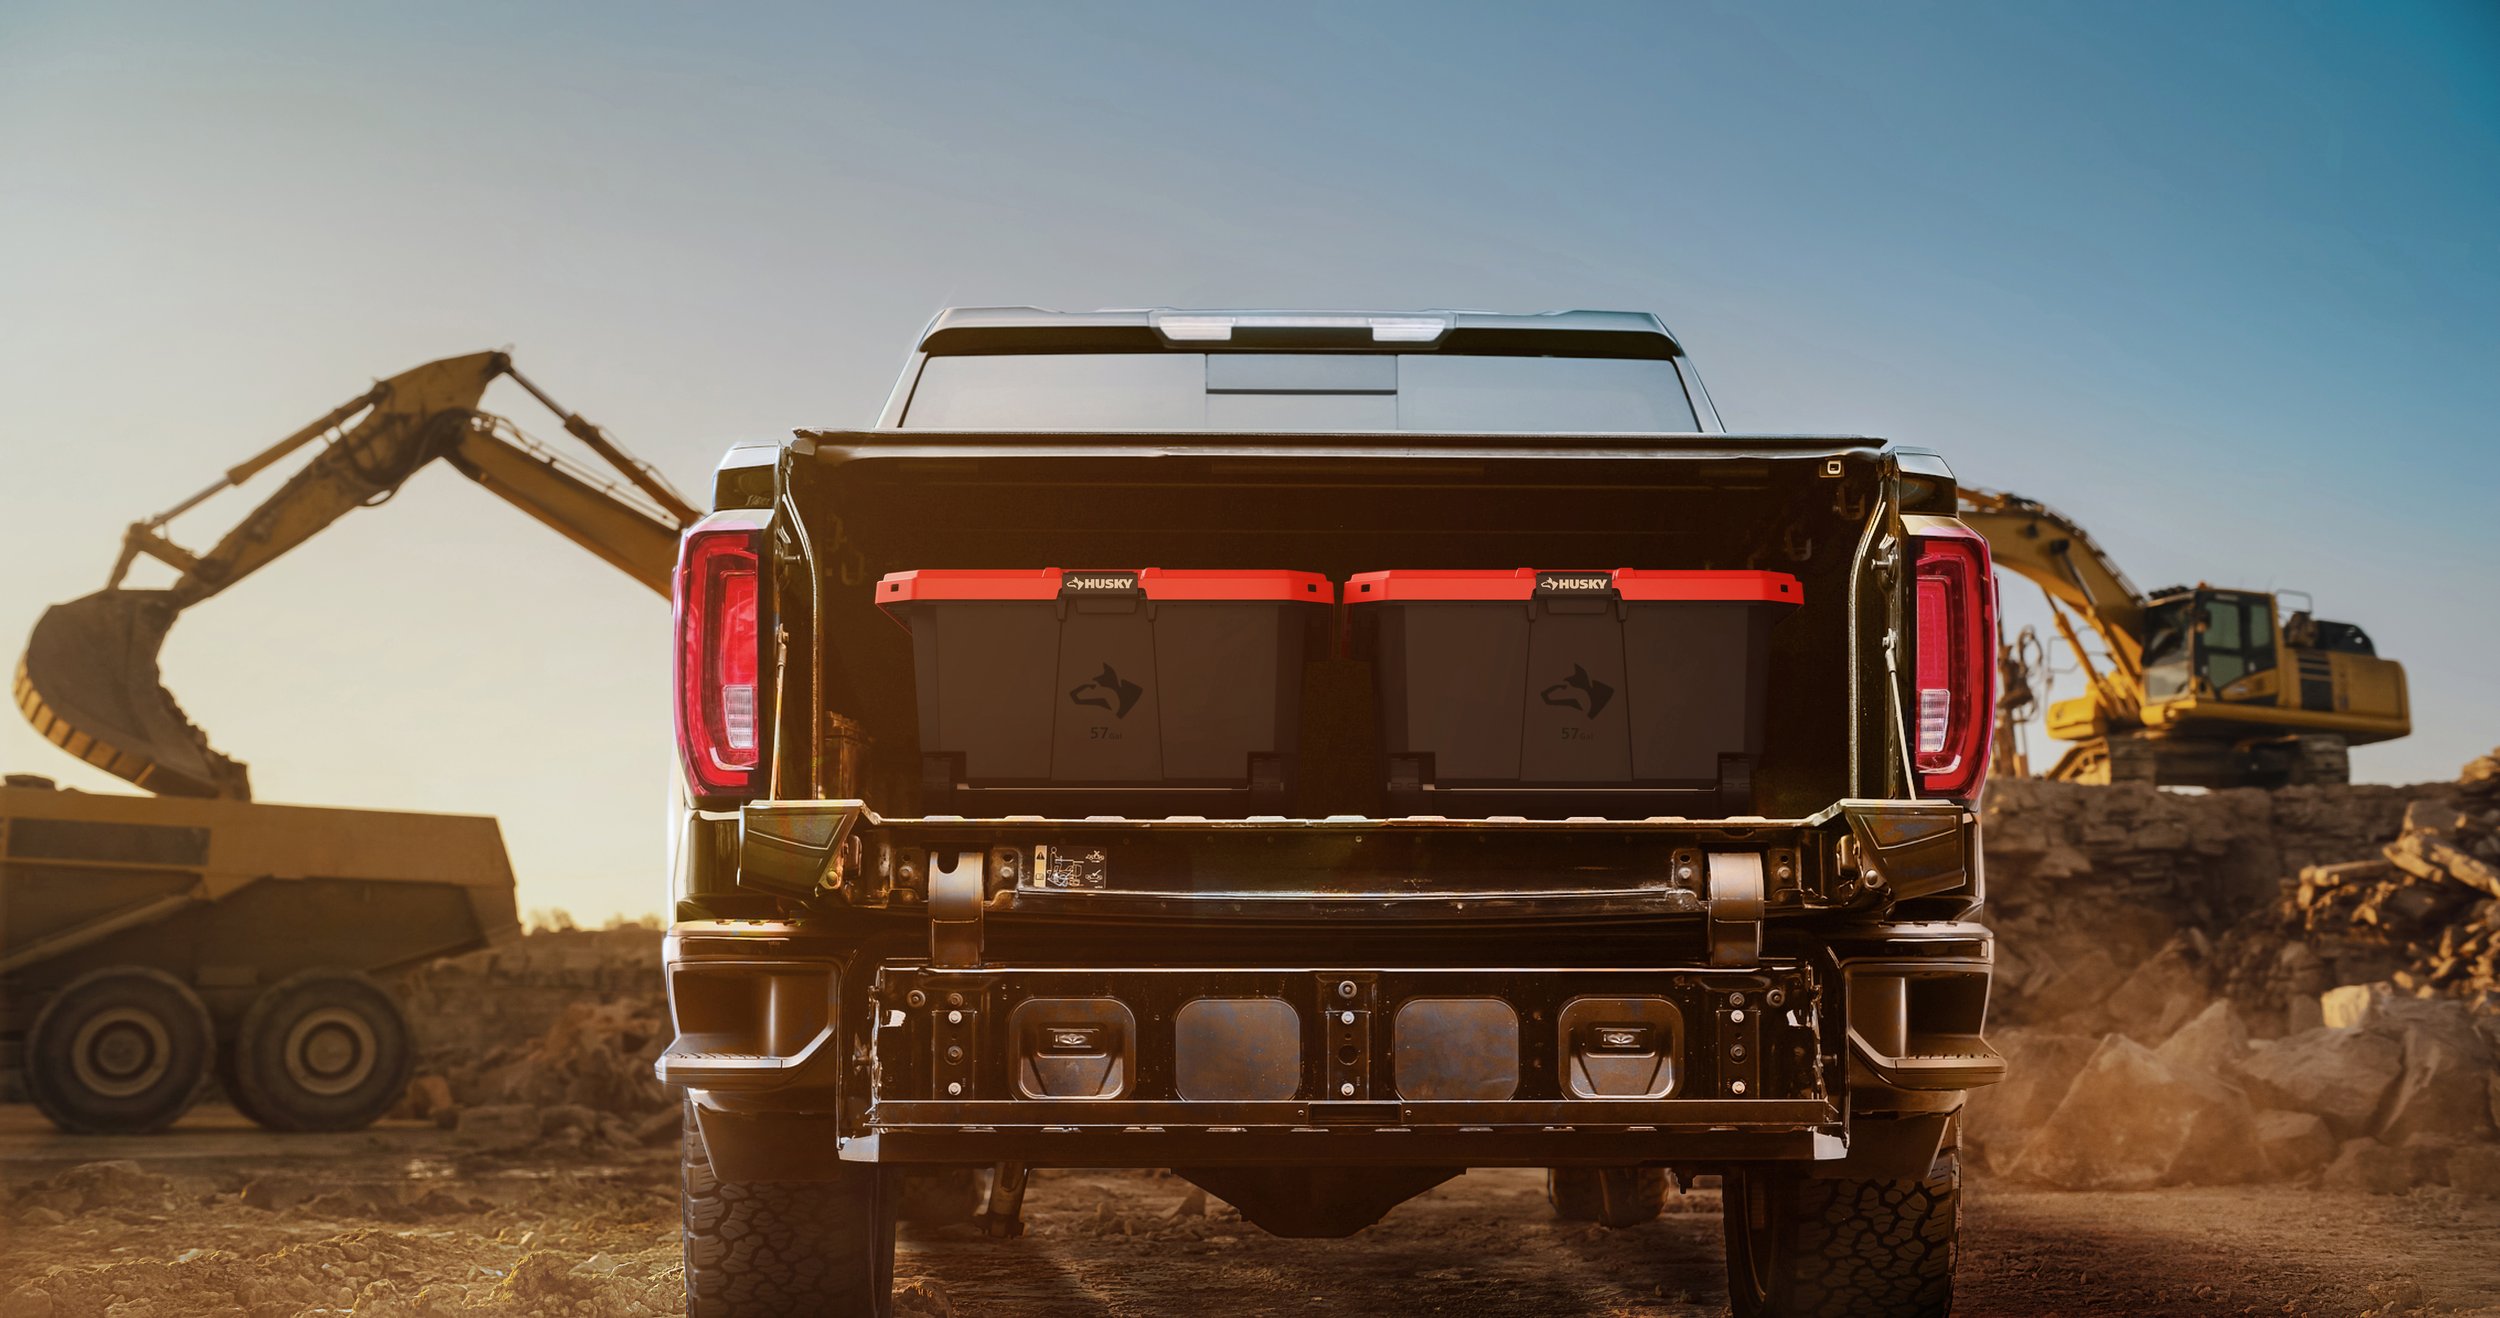
The perfect fit and nestability of the totes in the bed of a standard pickup truck.
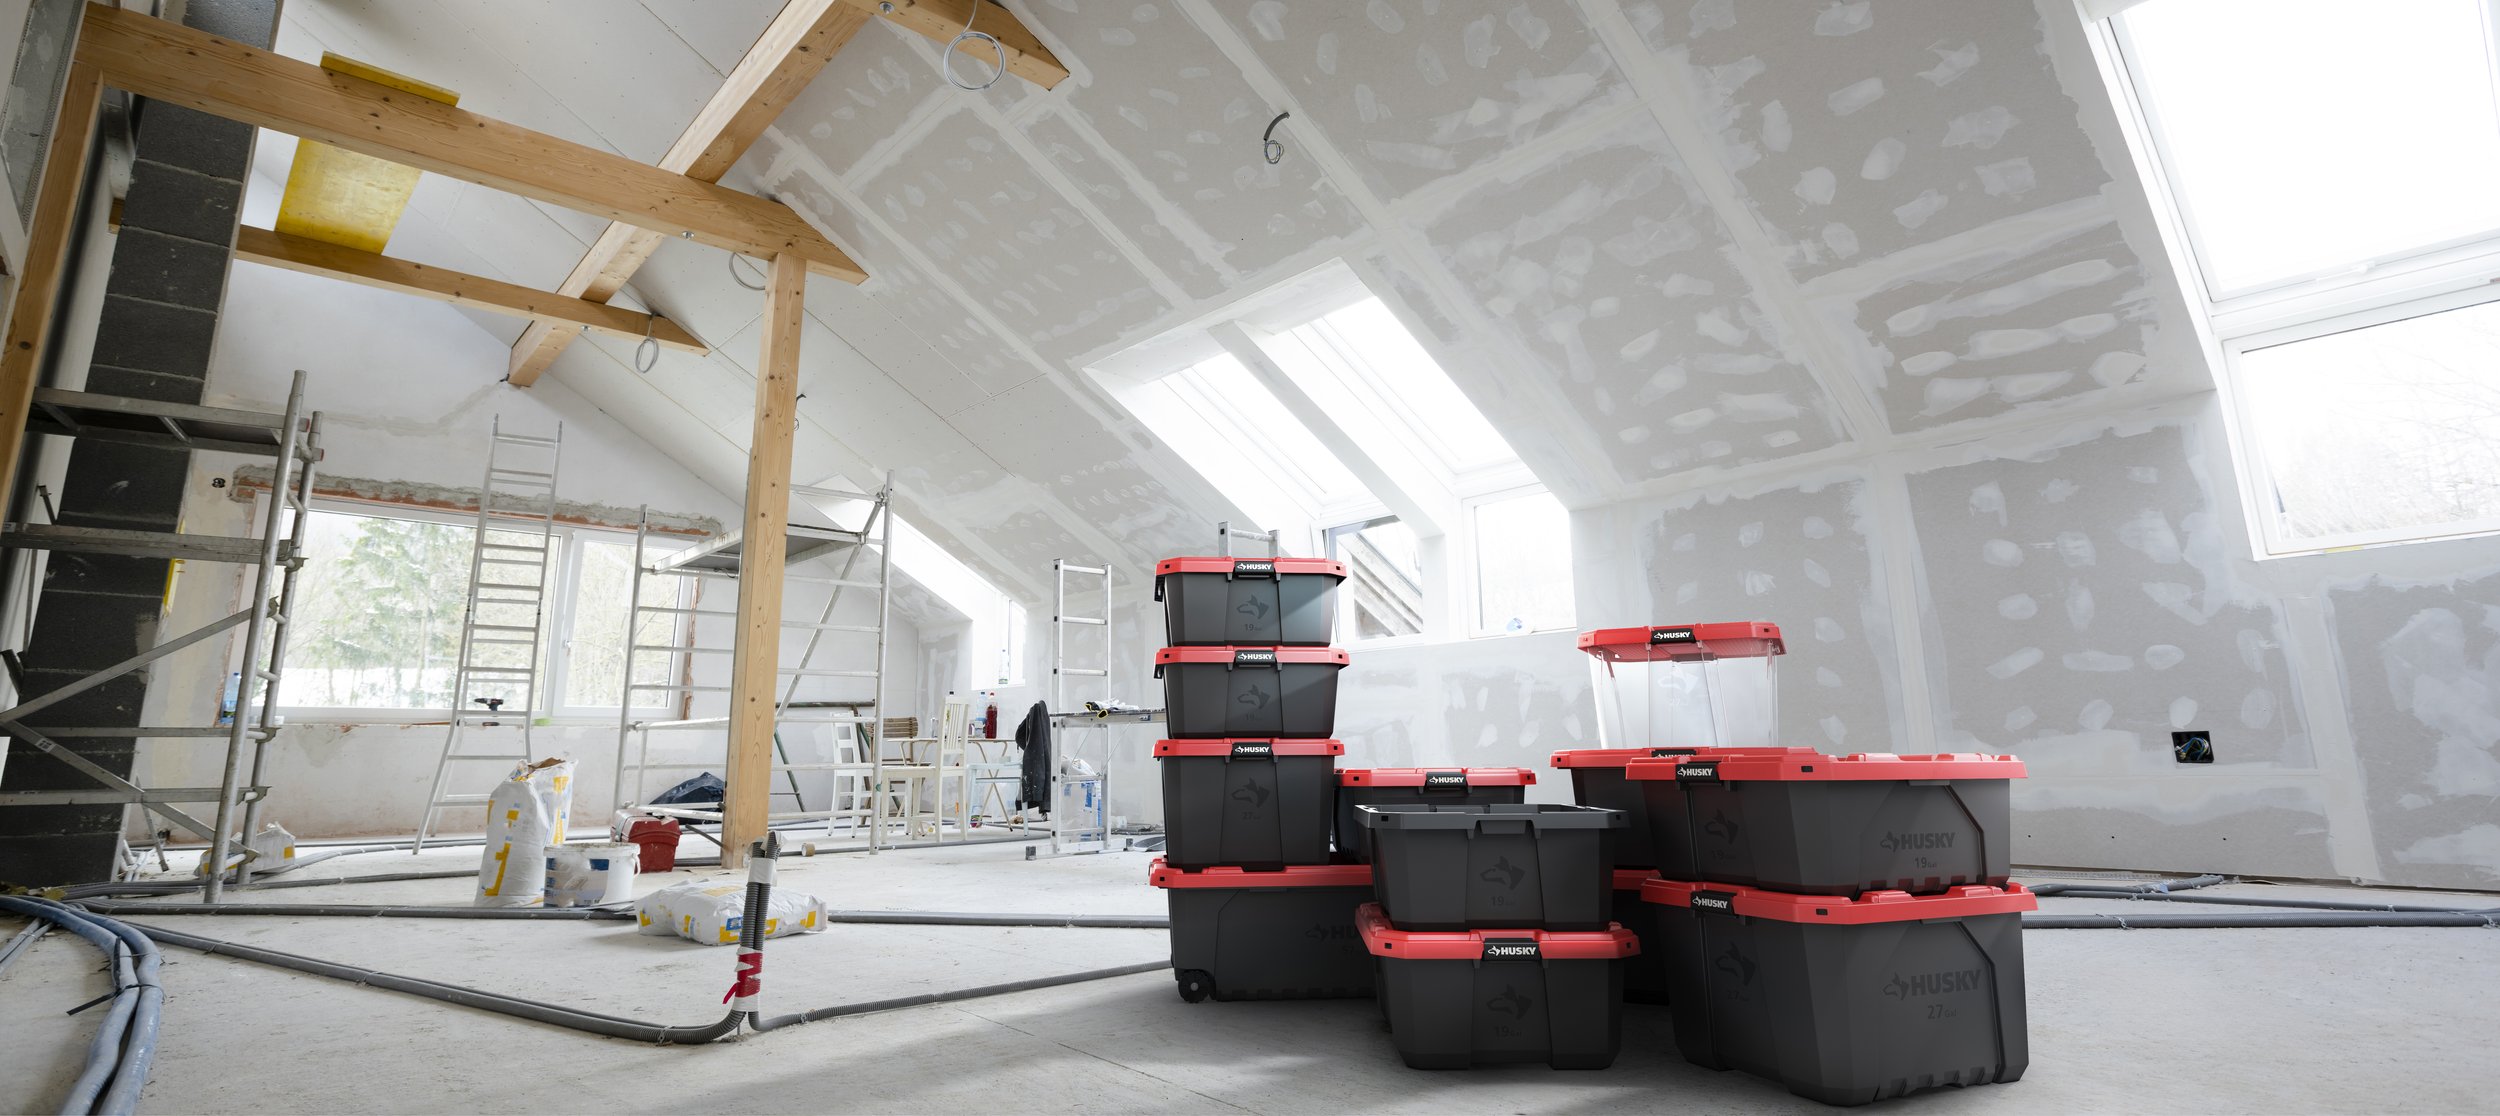
That the totes can be used by anyone, from professional construction teams to someone just looking to organize their home.
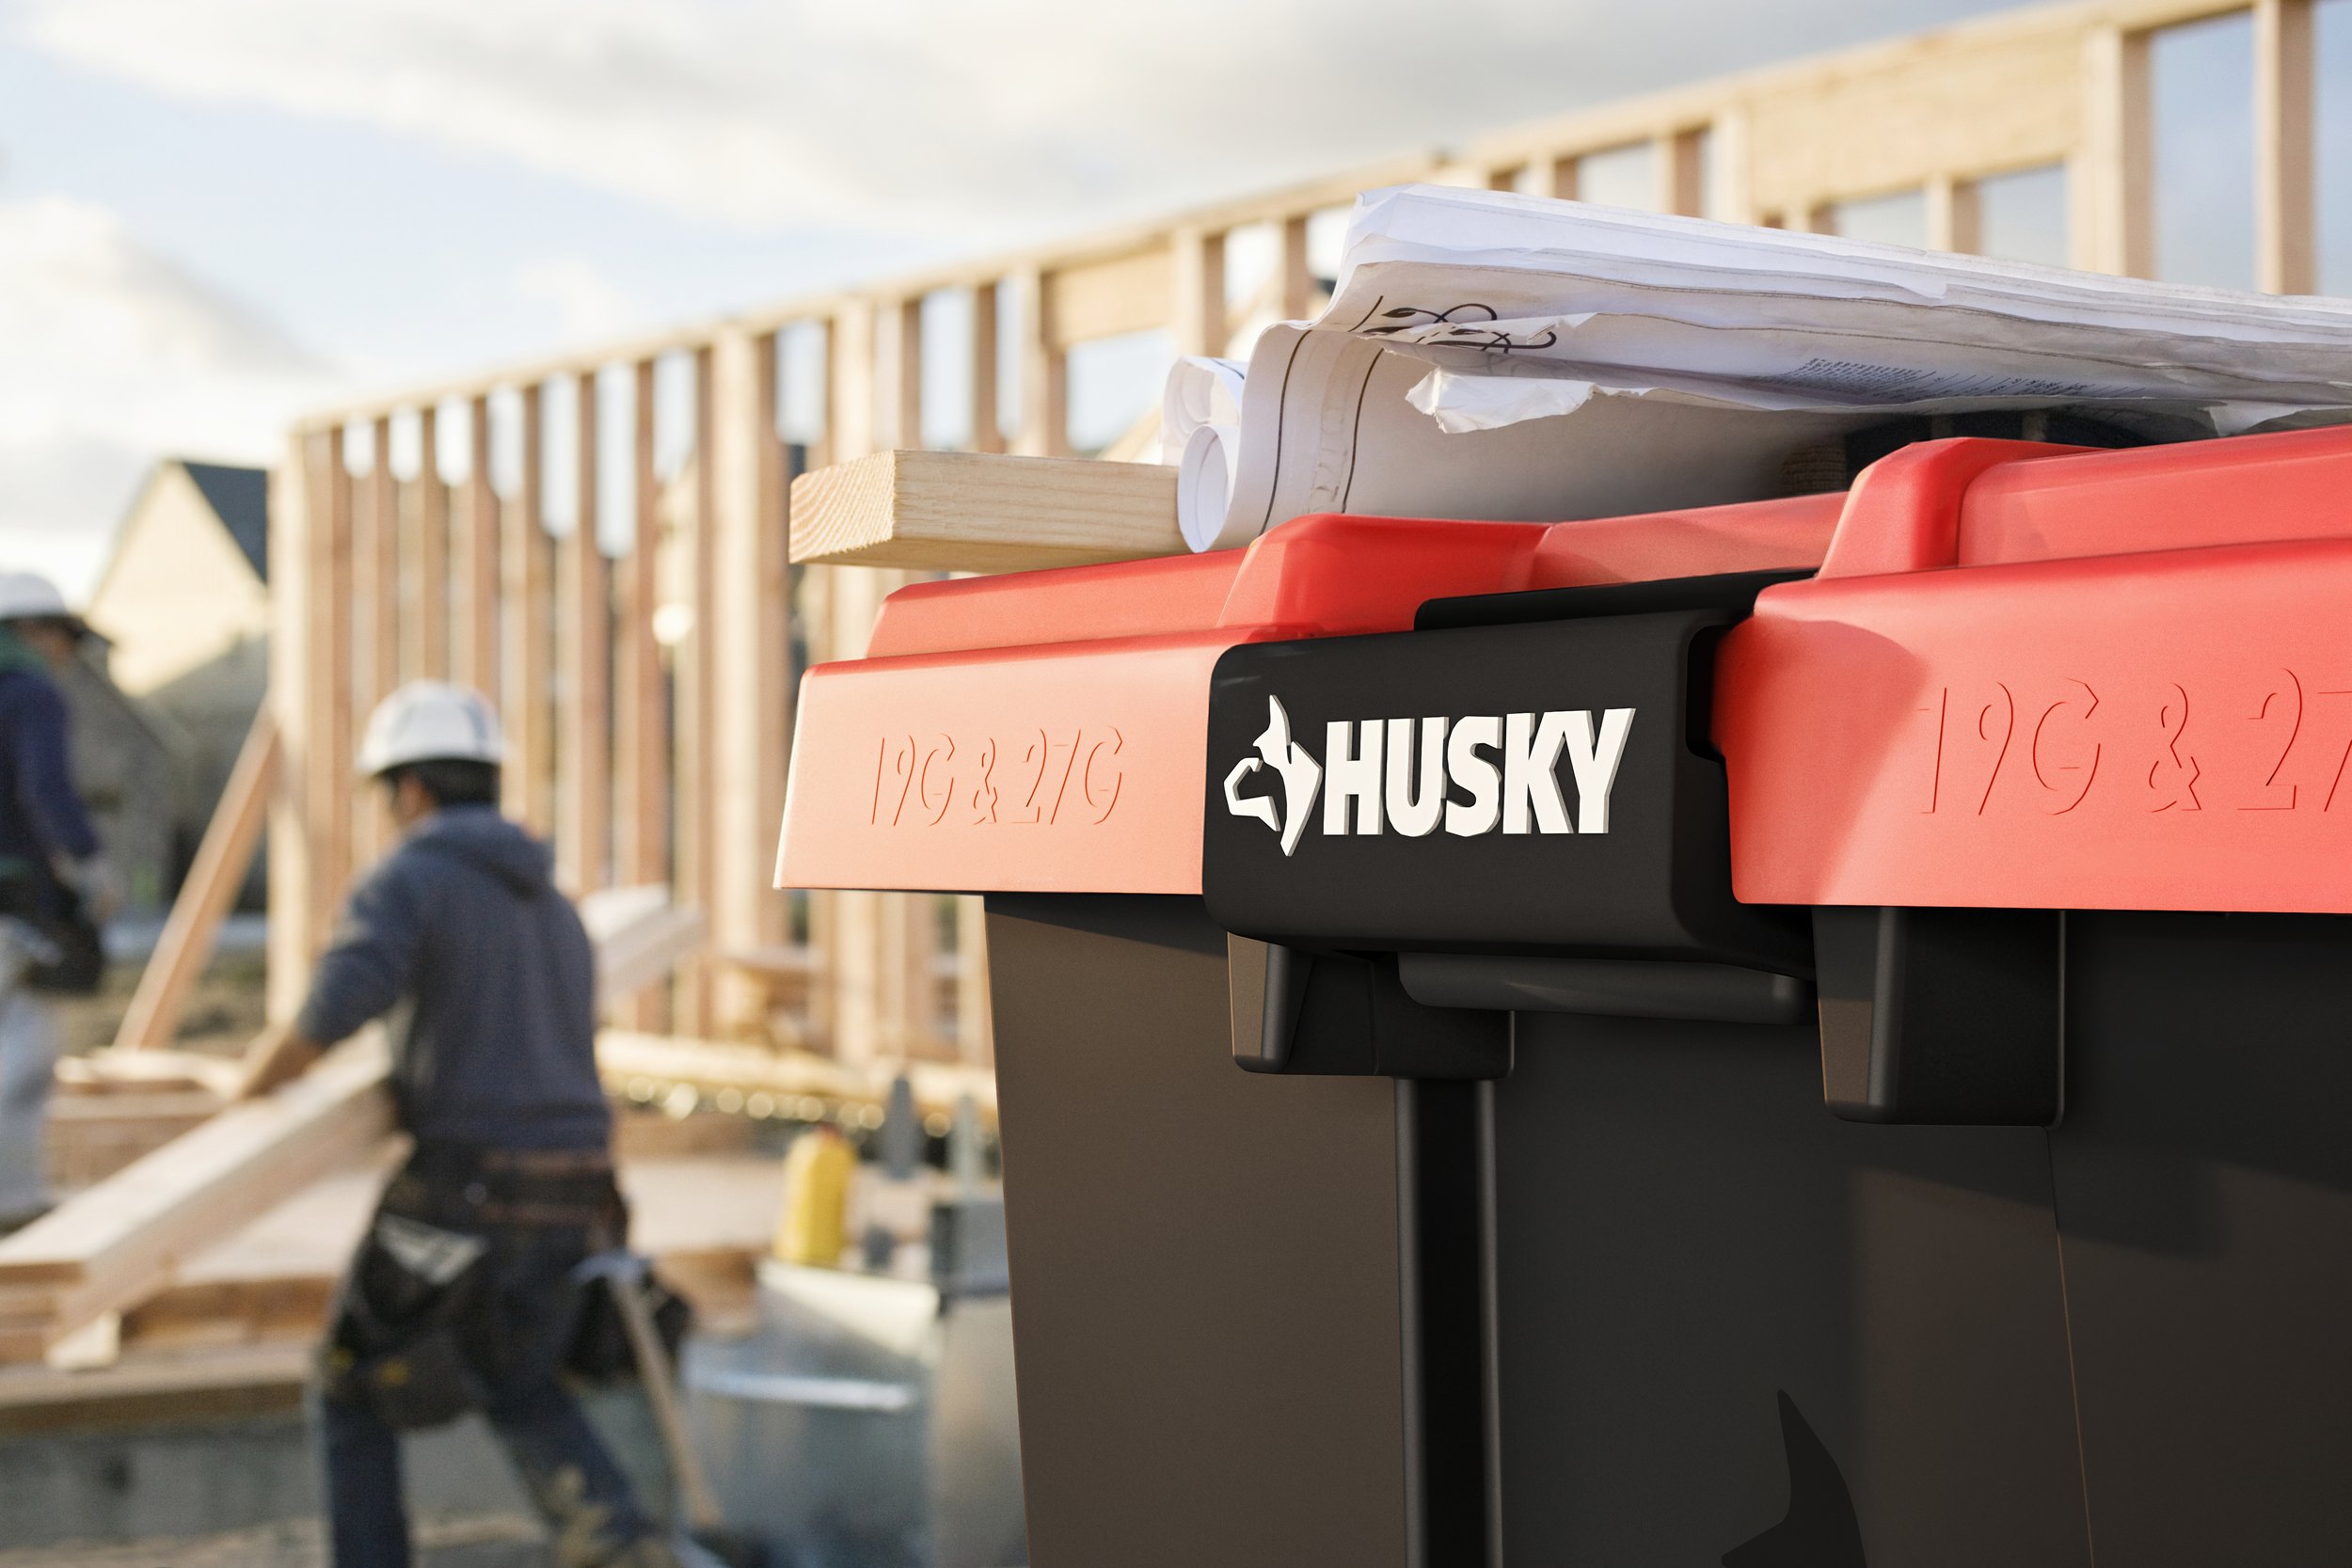
The totes needed to be featured in a carpenter’s shop, a construction site, and a DIT home renovation.
And finally, I needed to highlight the organization potential of the totes with an example of the totes in an average garage space.
There was only 1 problem: the totes hadn’t been made yet. Due to the client’s strict schedule, production had to be completed before the products were done being manufactured. Therefore, I had to create all of the lifestyle content by strategically combining 2D and 3D techniques.
Luckily, the client had fantastic 3D models of their products that I could utilize. I didn’t have the time (and the client didn’t have the budget) to create custom 3D environments to show the products in. Despite offering the most flexibility for environmental staging, it just wasn’t going to happen that way.
The workflow I landed on had lots of moving parts, but it all basically boils down to 4 steps:


Select the perfect background for each image by searching through onling stock libraries.
Using 3D modeling tools, build a rough model of the selected scene to make the process of placing the totes in a believable position and perspective much easier.
Render out the products in a 2D file in the positioning that they need to be in when they are placed in the environment.
Use traditional compositing techniques in Photoshop to integrate the now 2D product image into the background environment.
Of course, it’s a lot more complicated than that, but that is the general premise. This workflow was used for all 5 of the images you see below, resulting in captivating lifestyle content despite not having the products in-hand. Plus, I saved the client a ton of money by using techniques that are significantly more affordable than traditional on-location shoots, for the same quality output.
All of the following images were created from behind a desk without ever leaving the studio. Who said you need physical products, locations, and a big budget to get high-quality lifestyle content?


Banner imagery for tradeshow booths
The next priority was lifestyle content for Home Depot trade show and conference booths. Final selects have not yet been made, and the booth design is confidential for now, so I will update this post when I’m able to post the photos and booth renders. However, below is a mock-up of the final booth design.
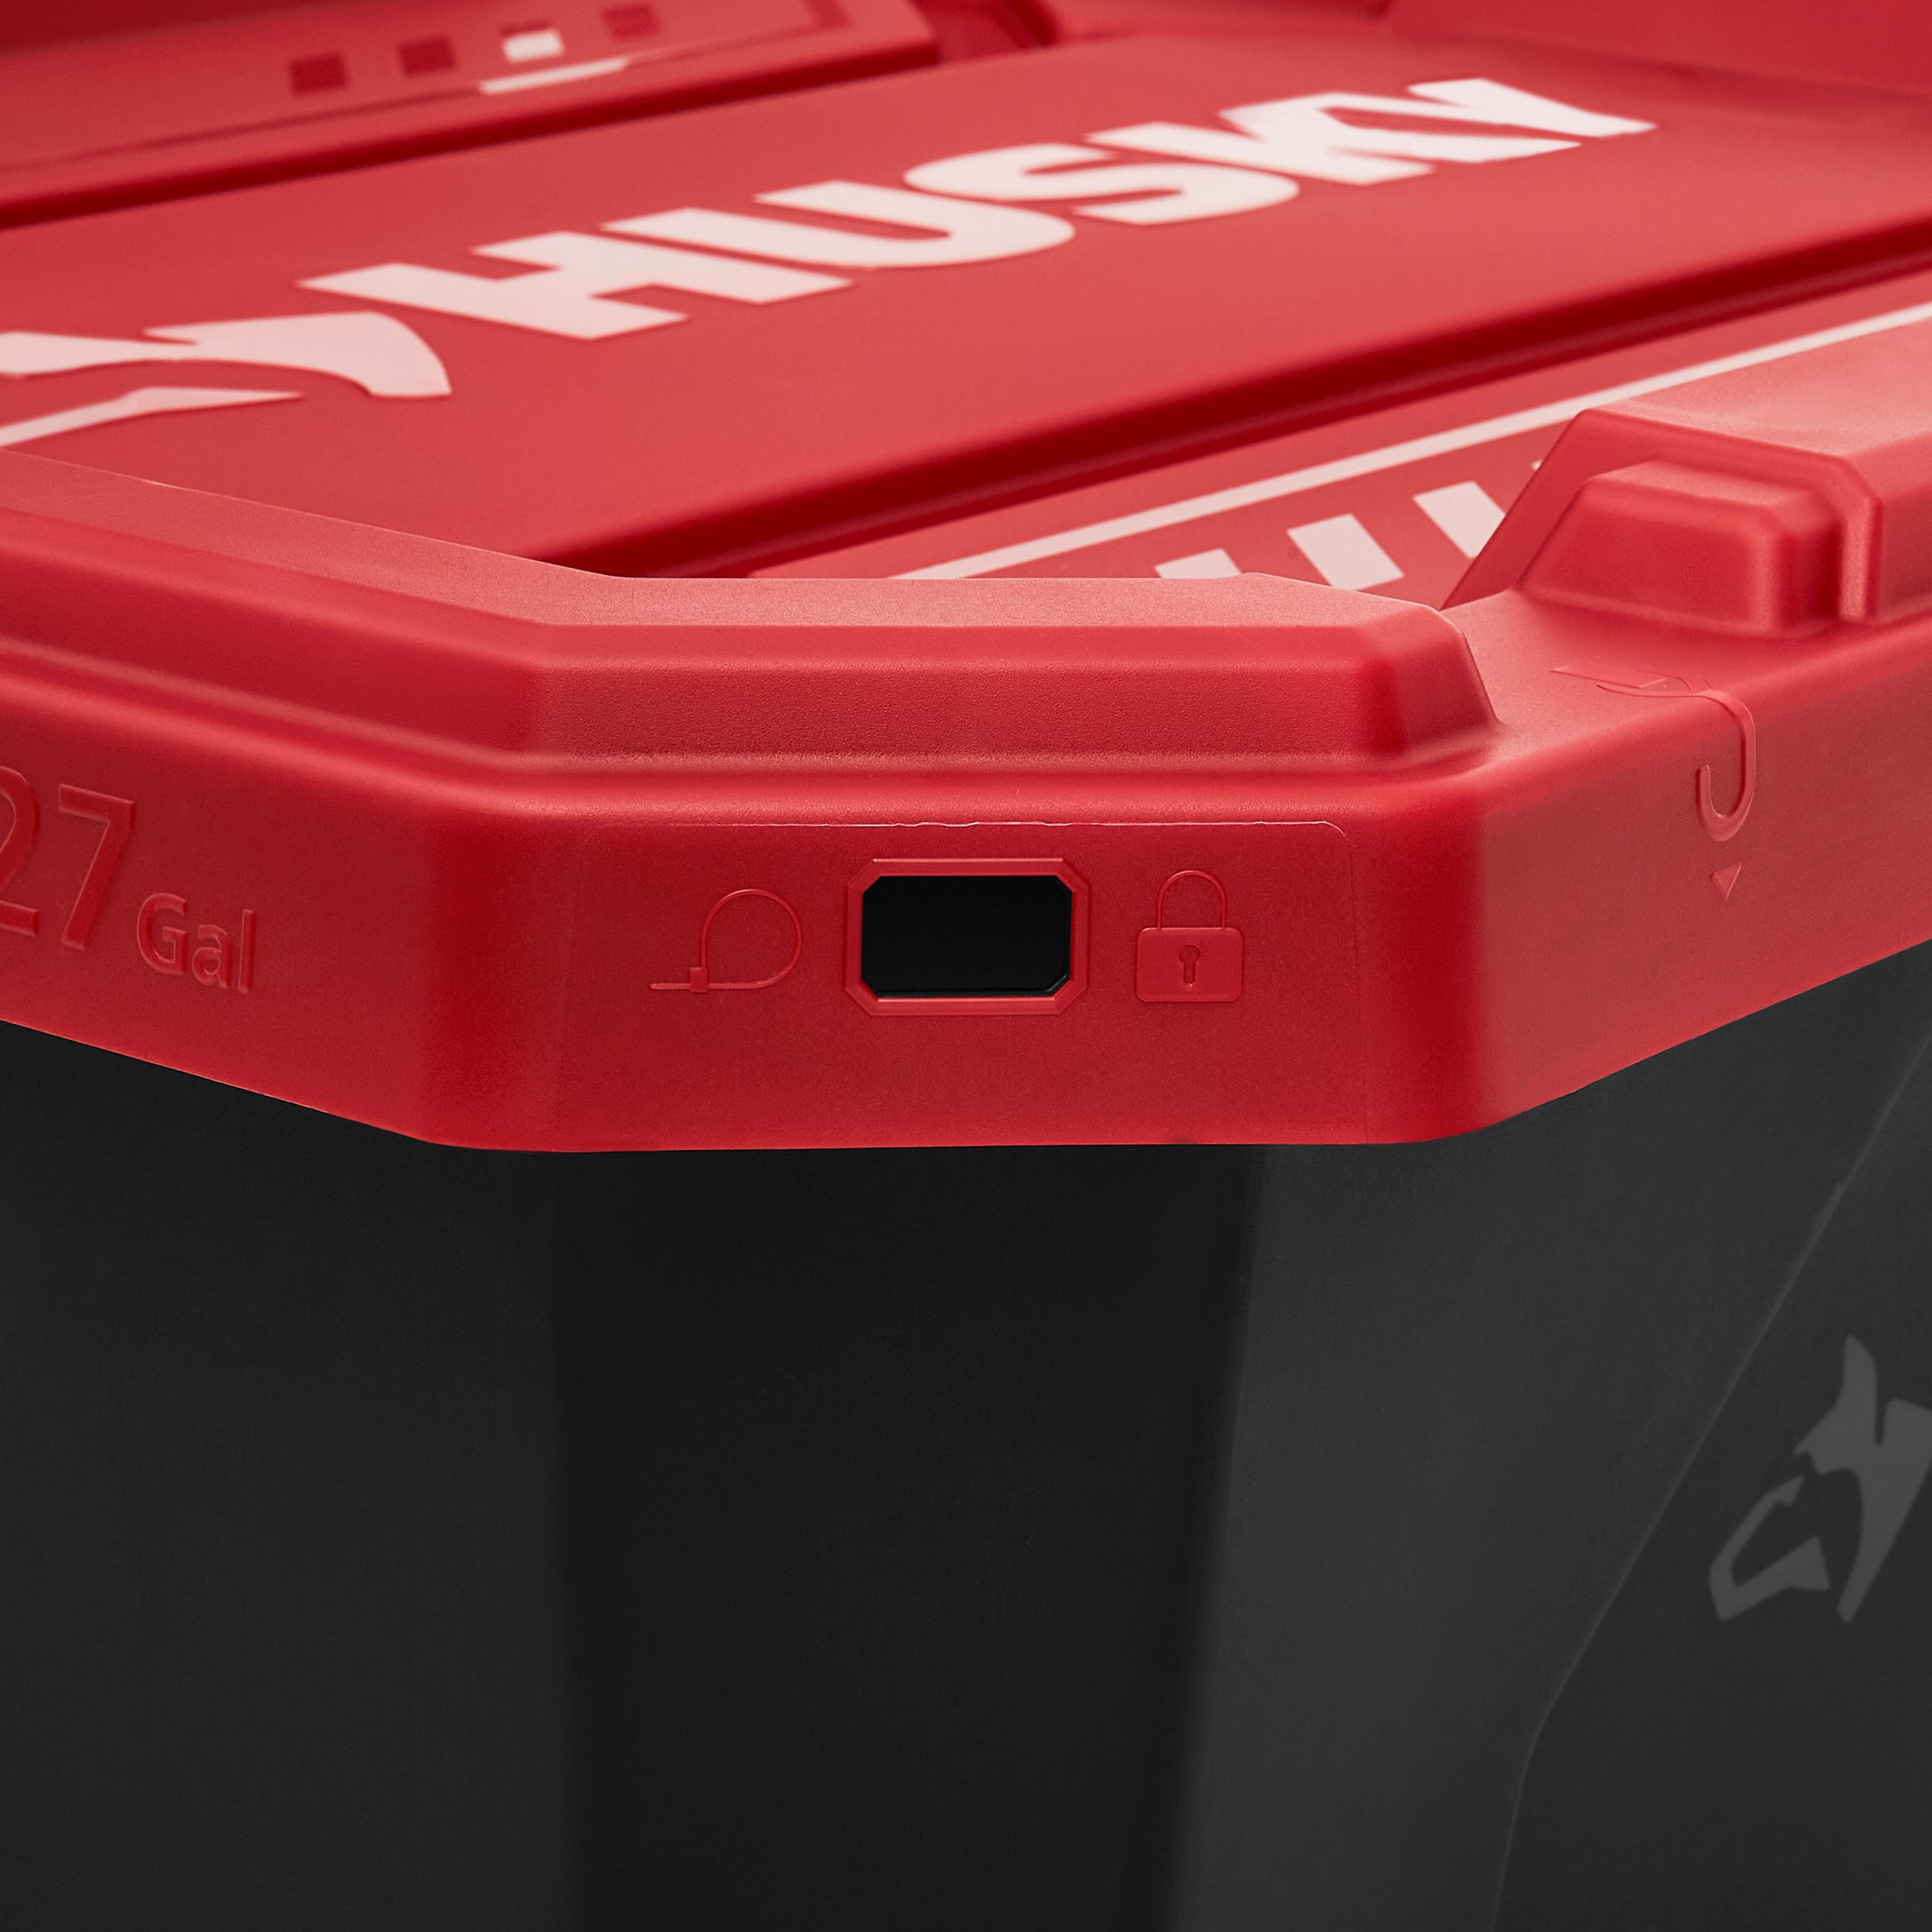
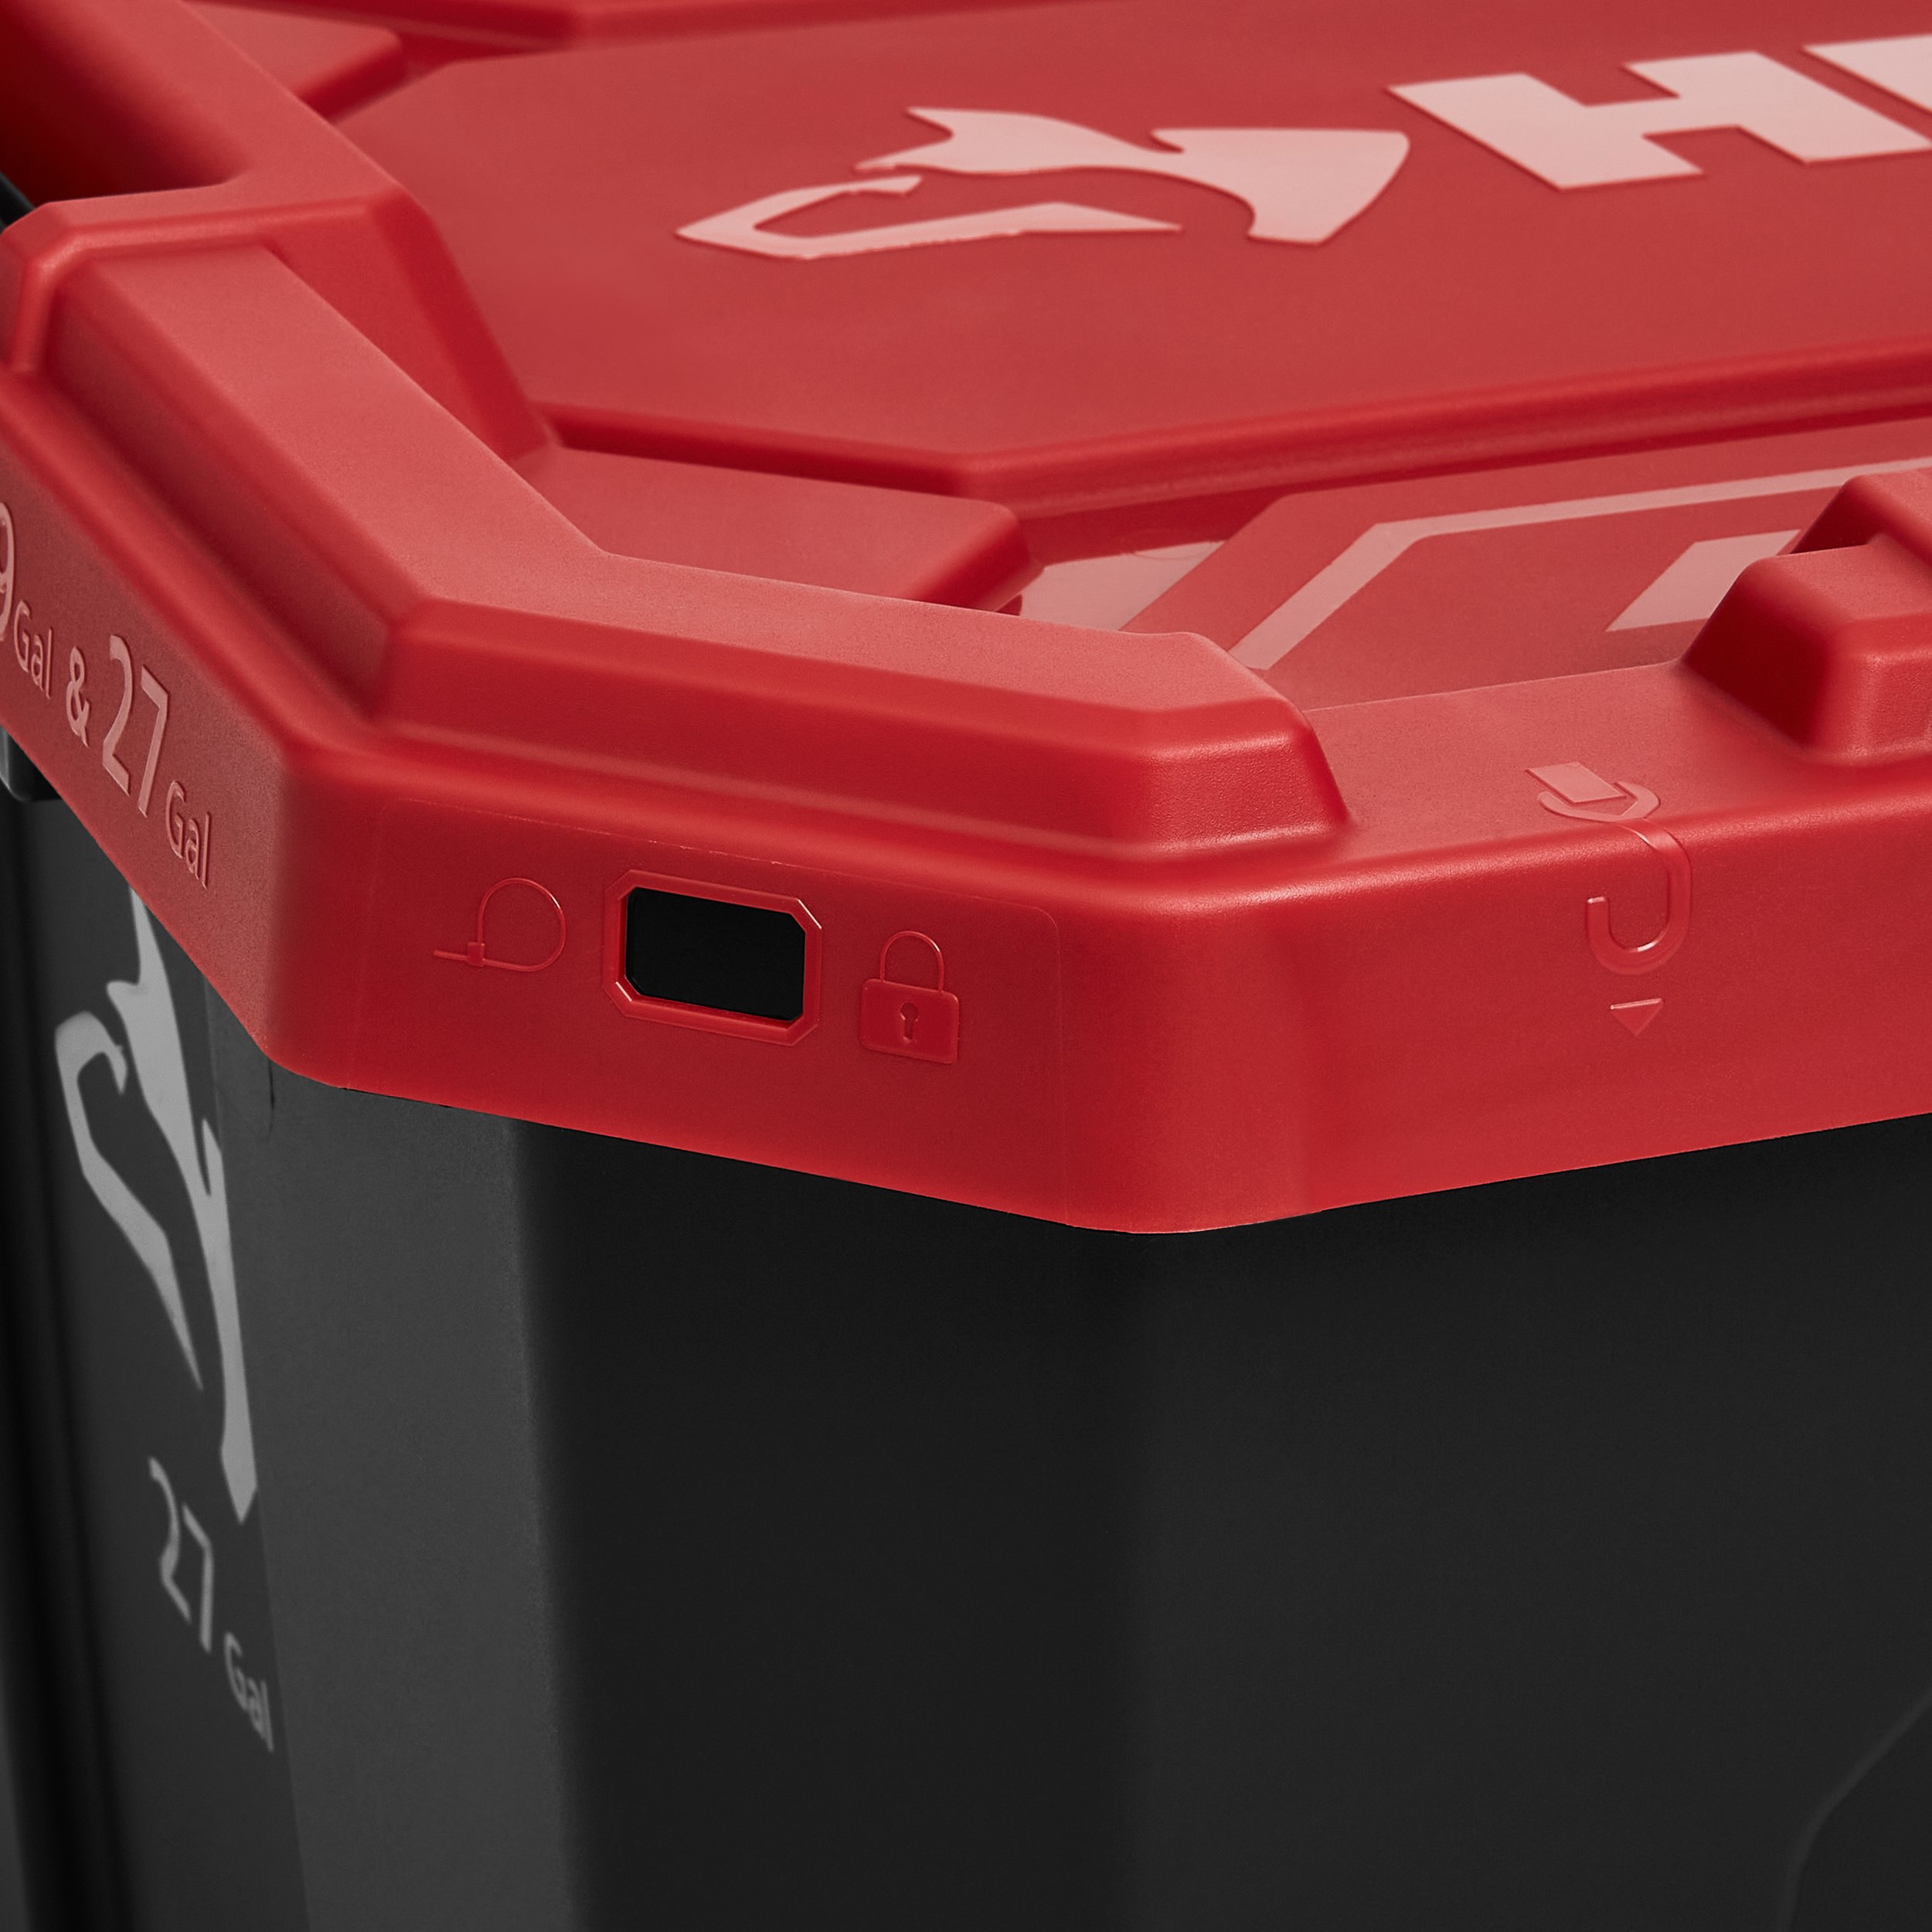
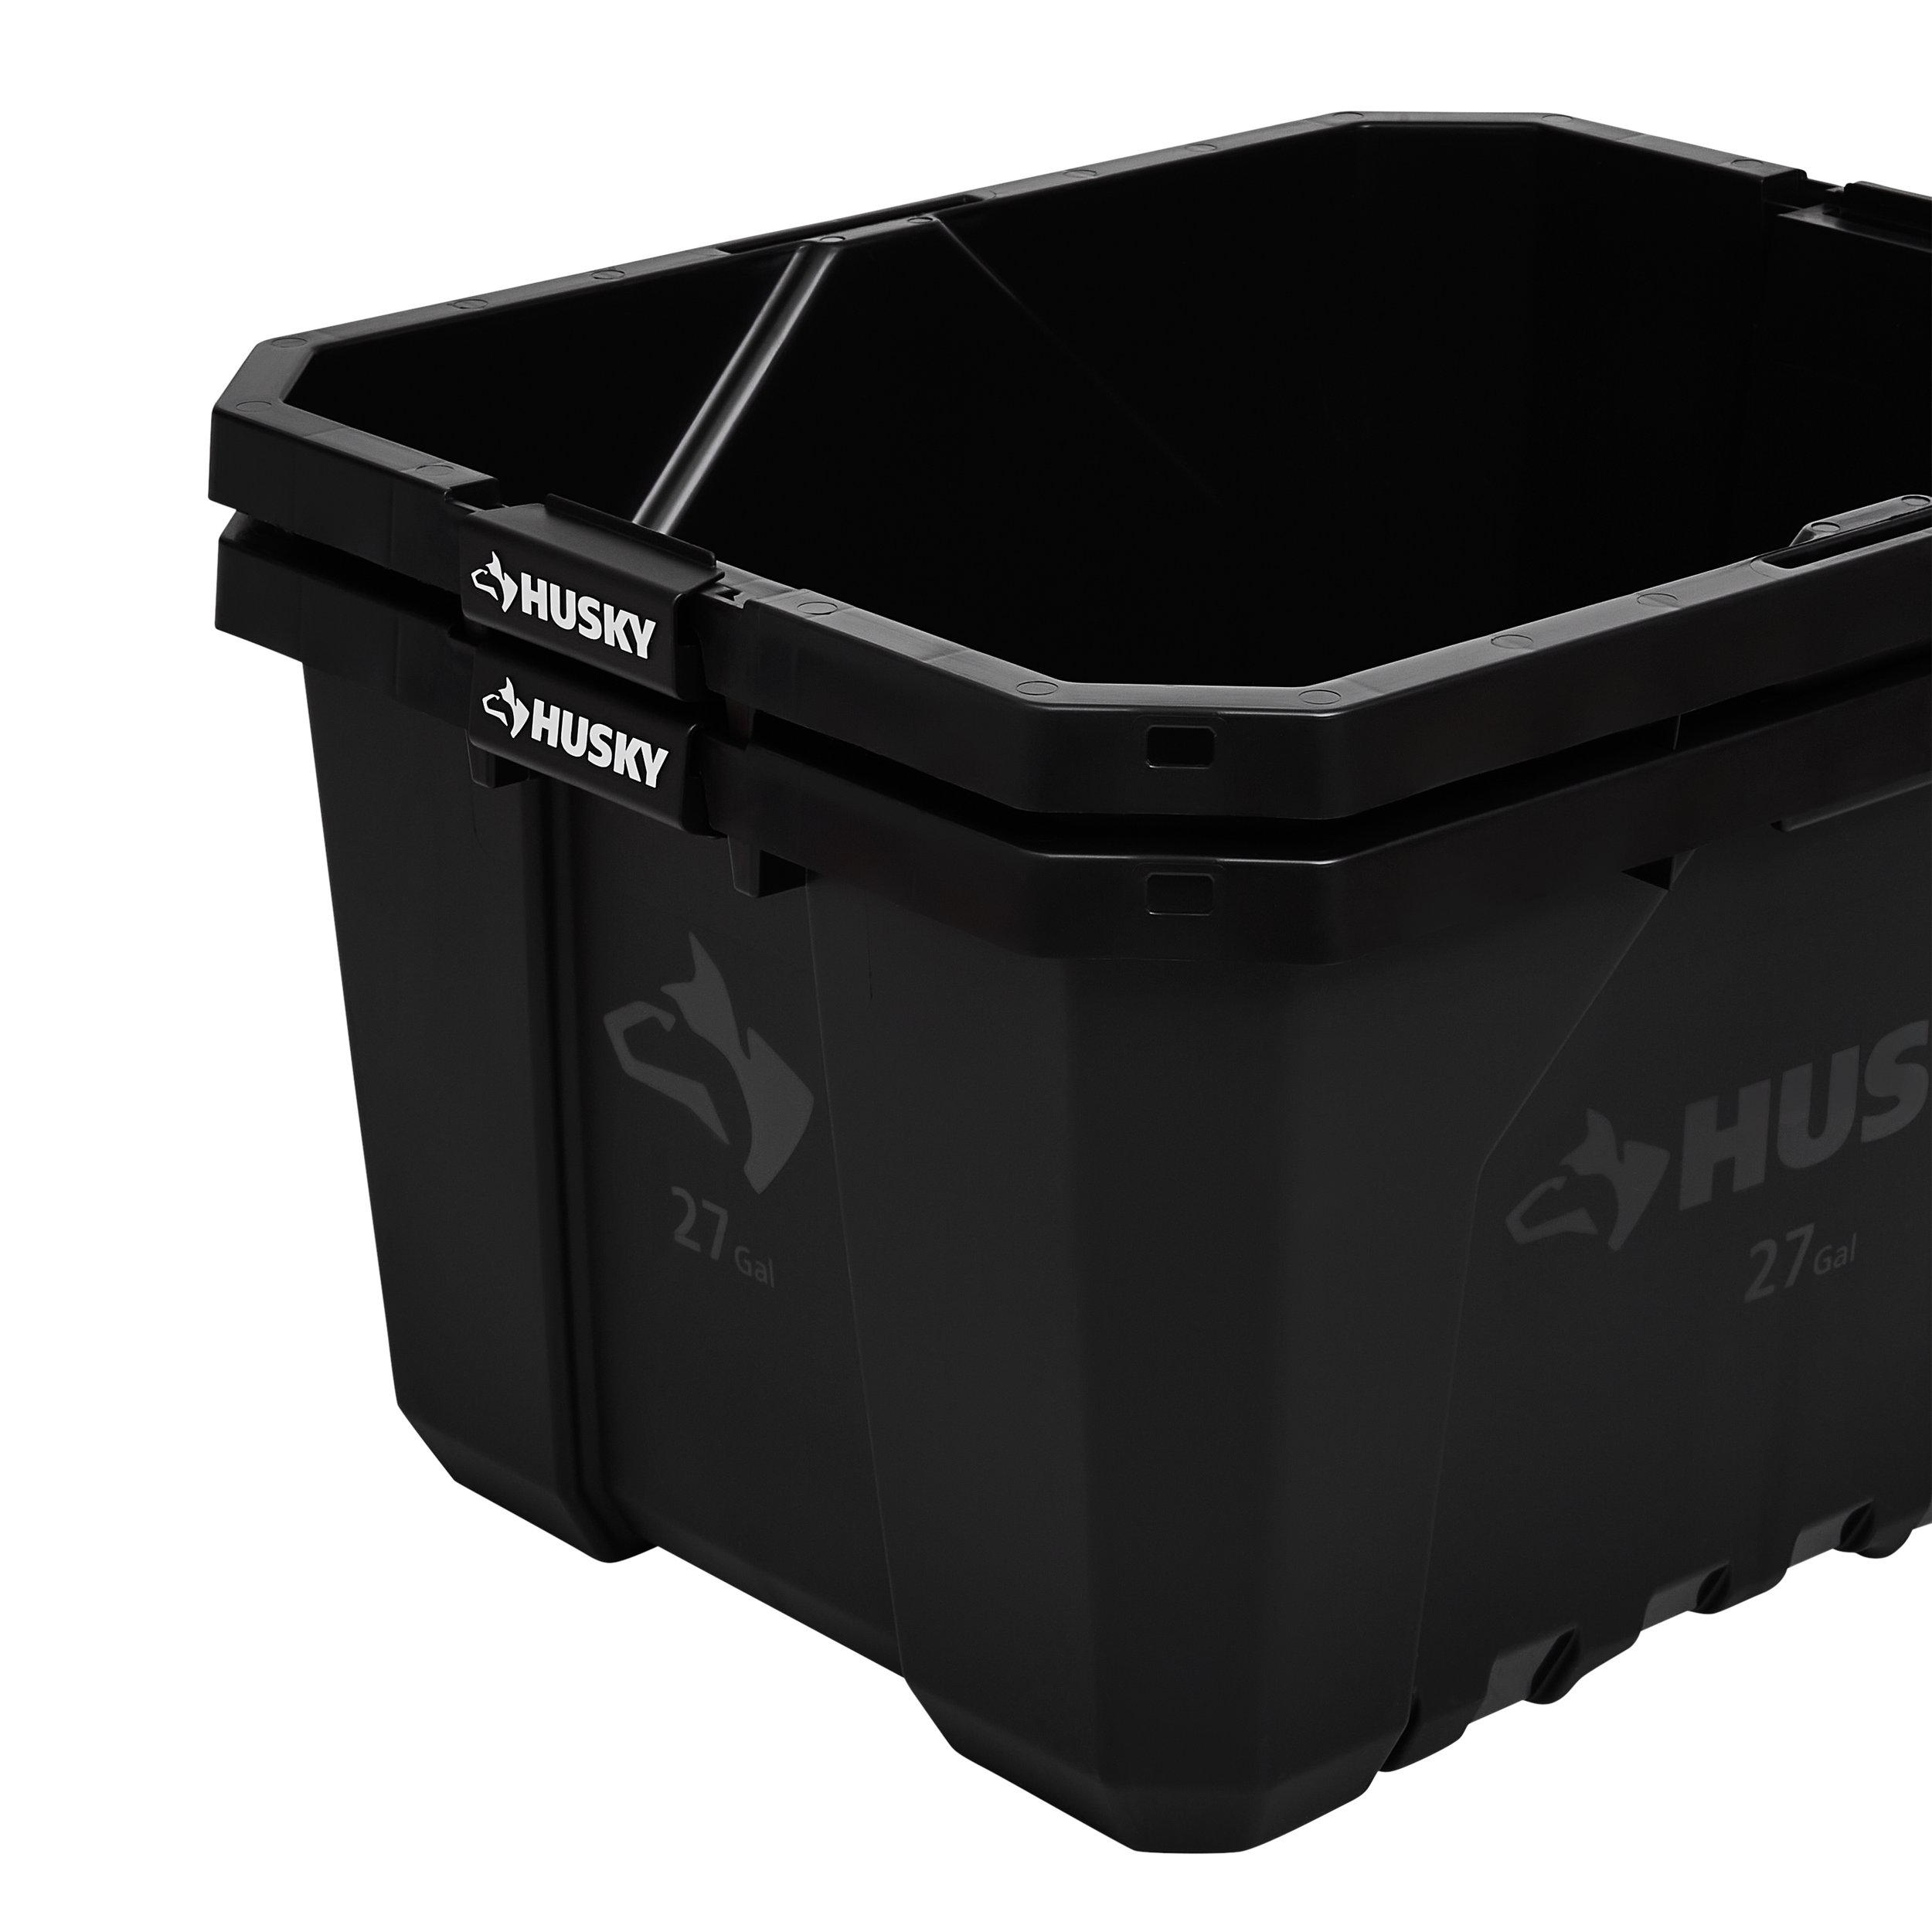
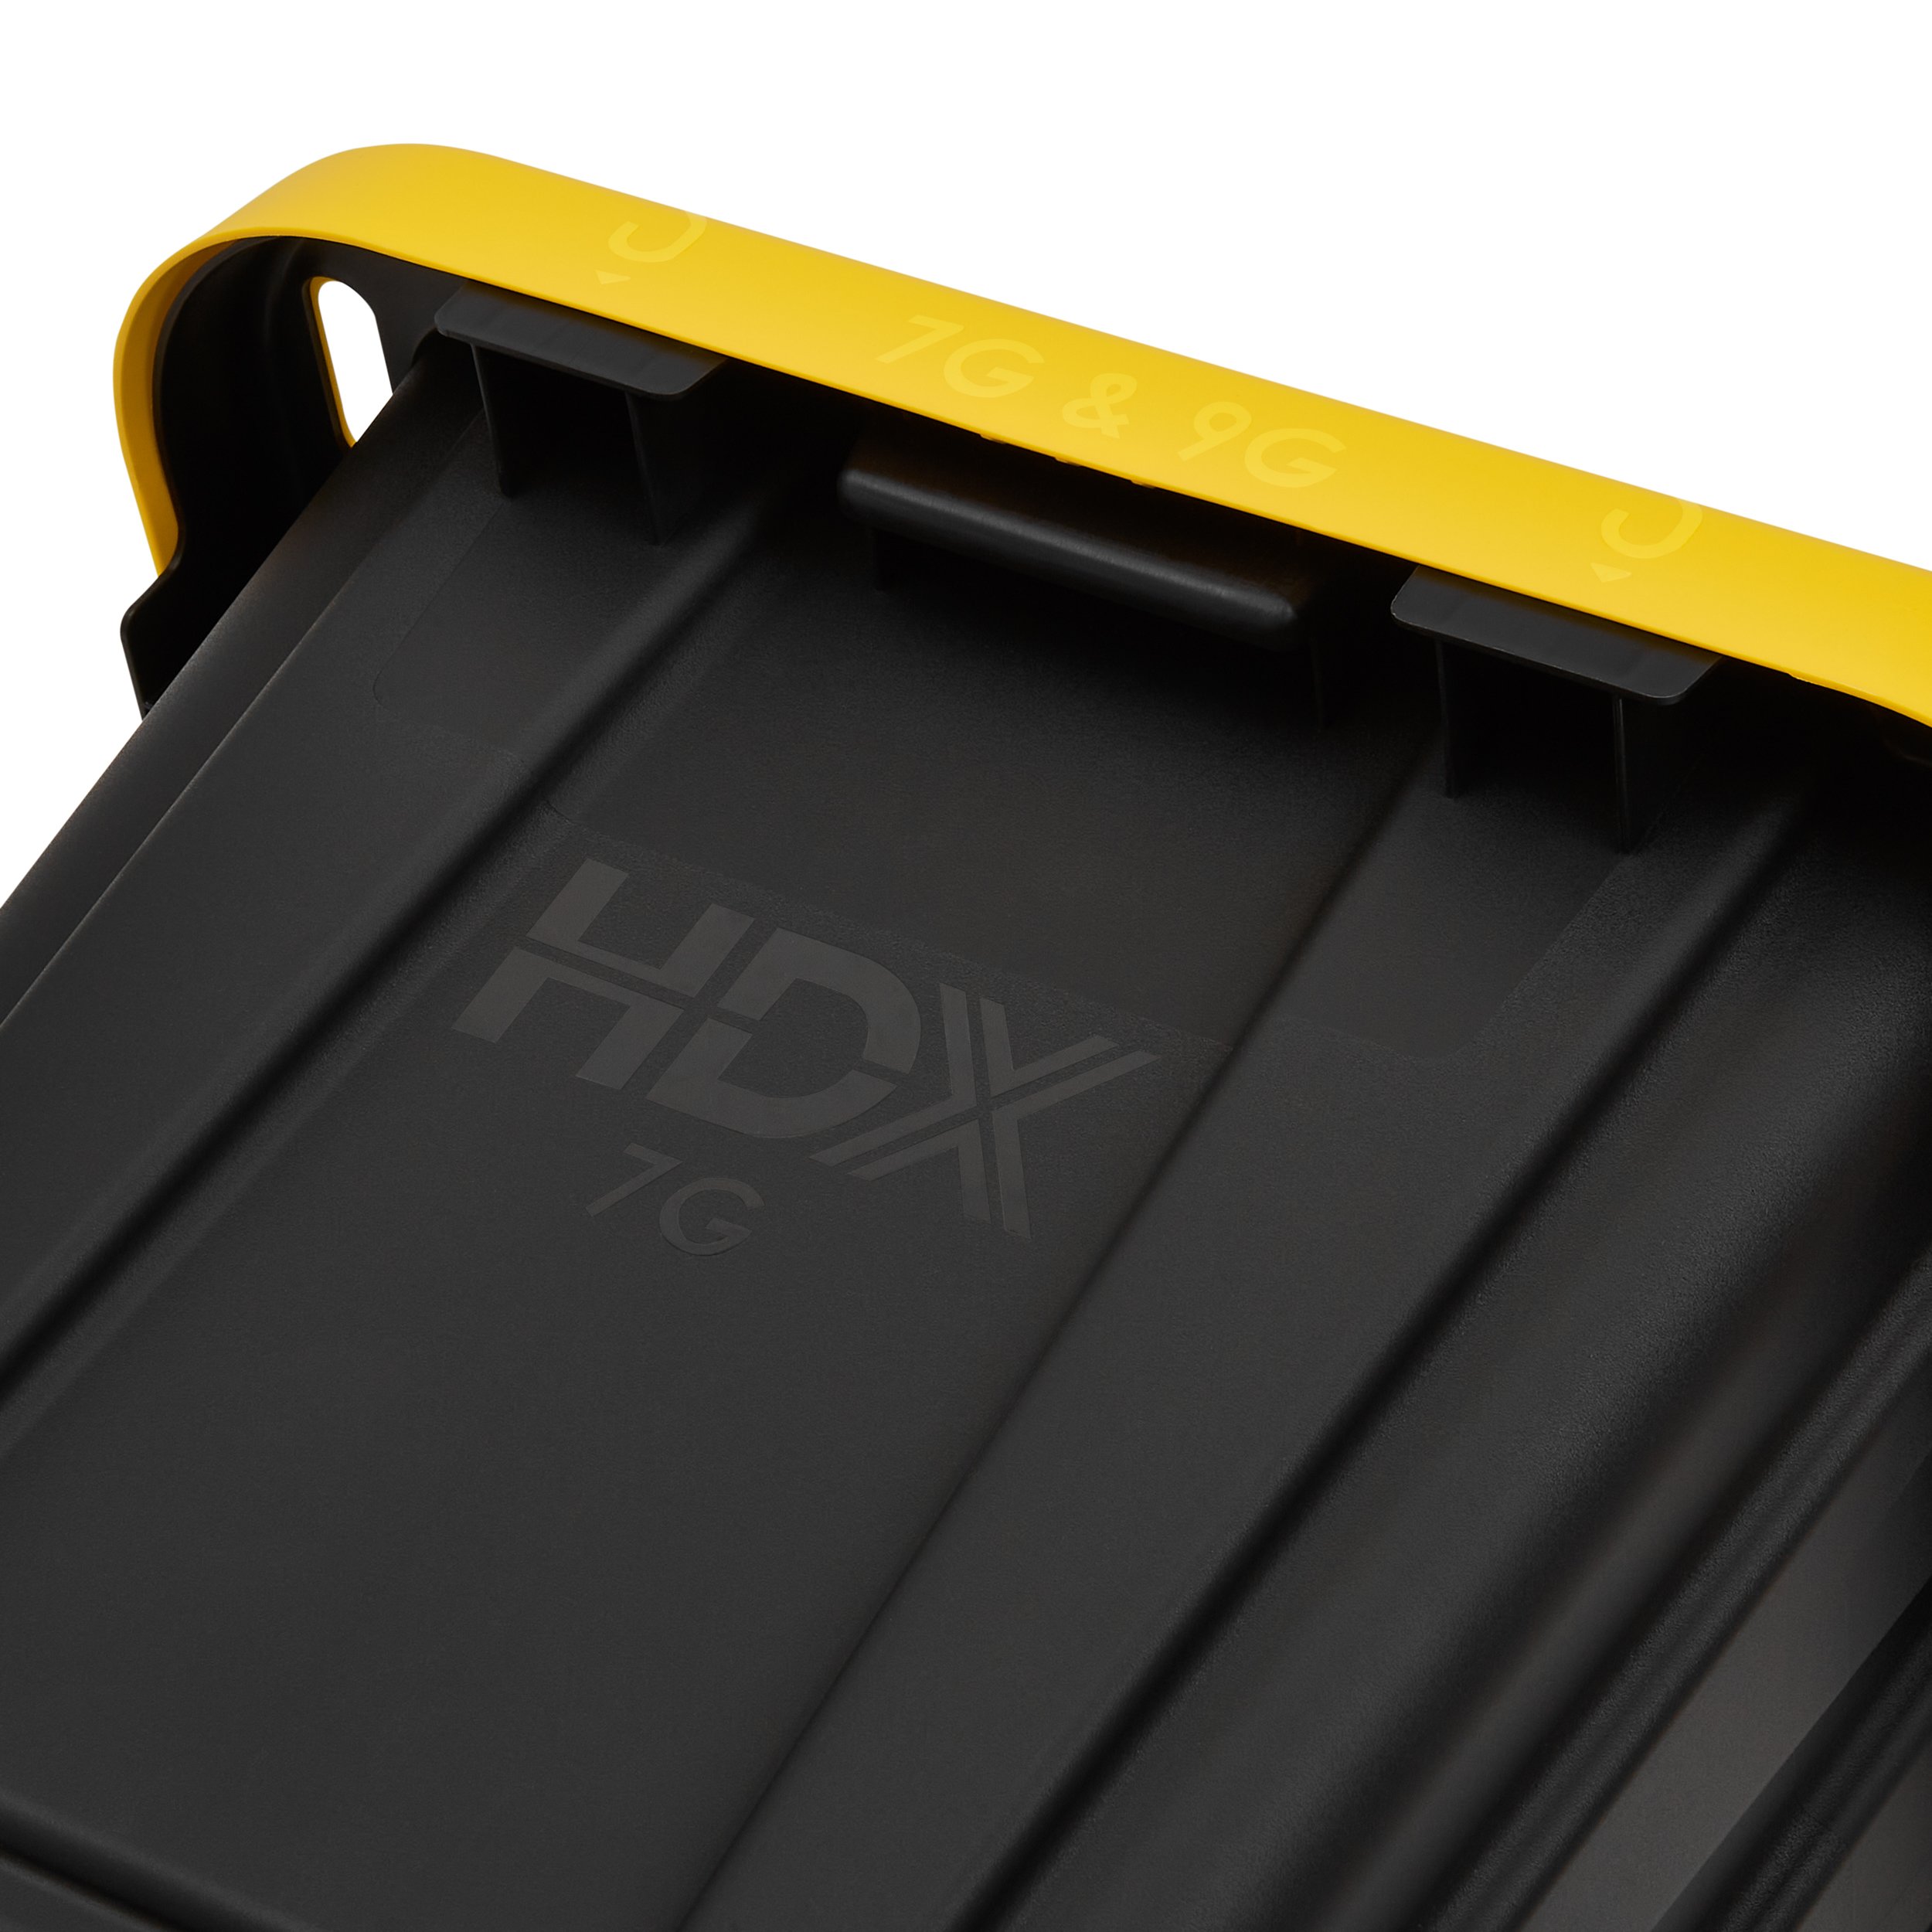
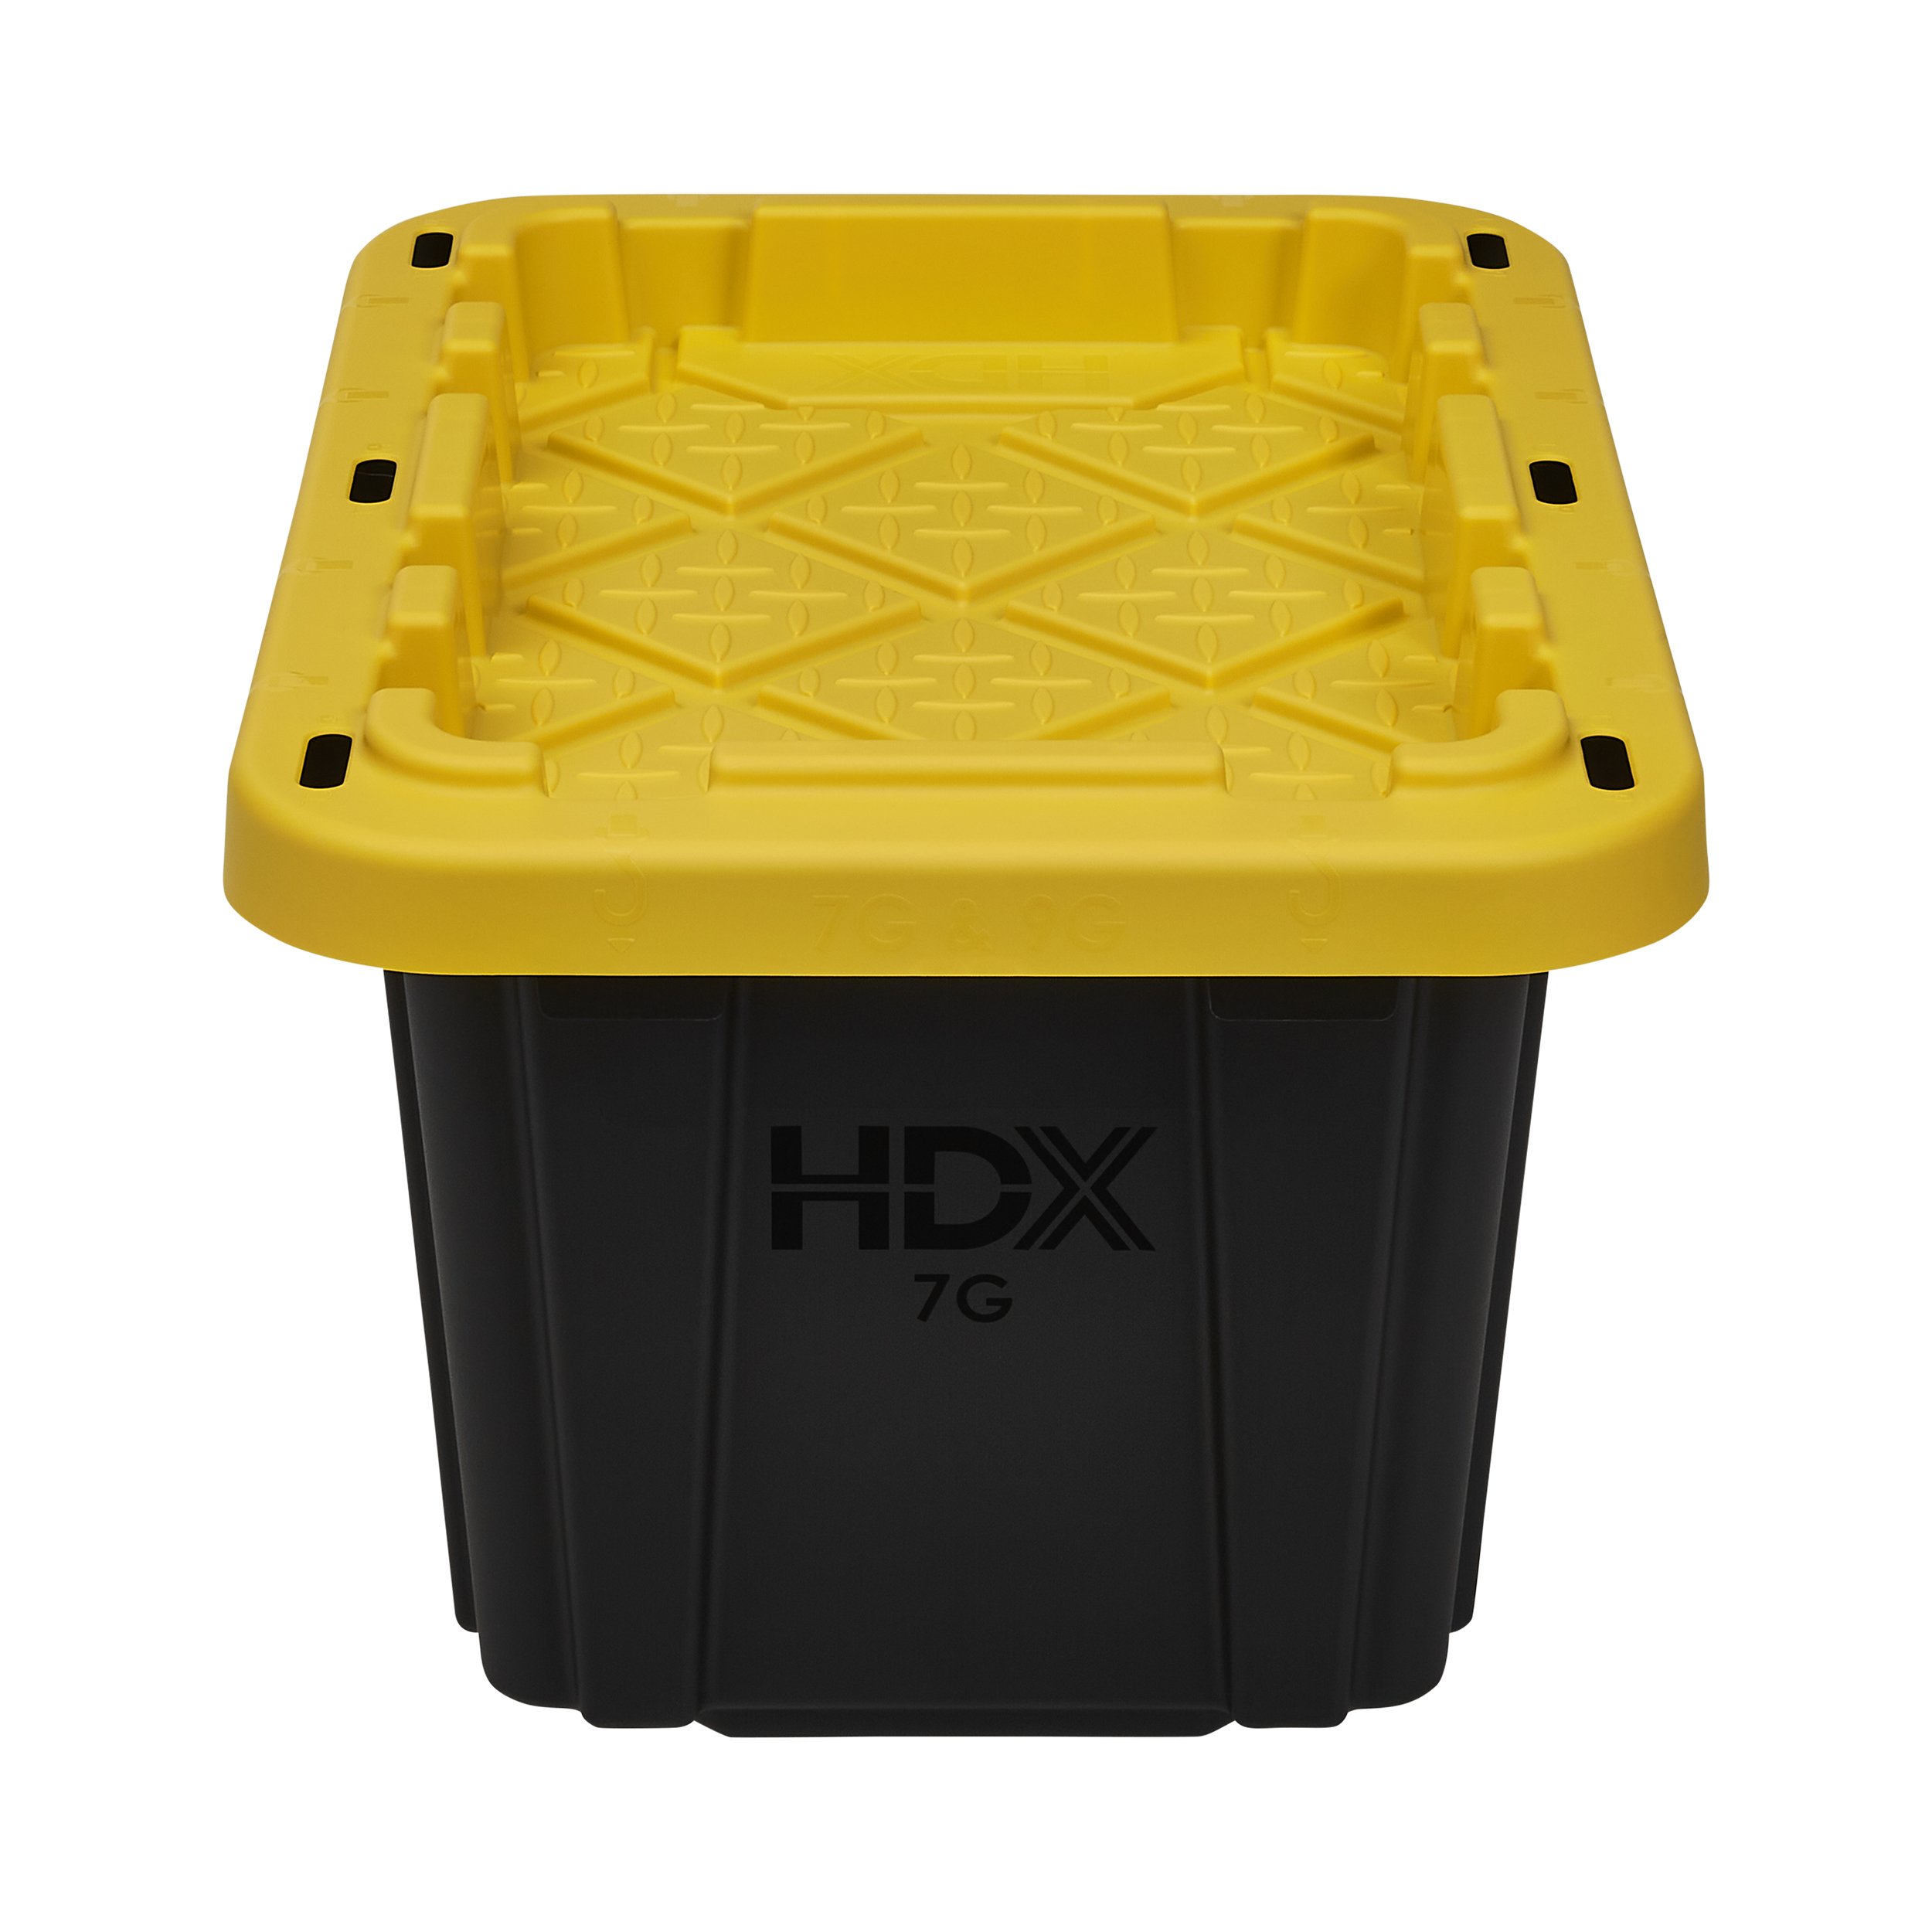
Product Listing Photography
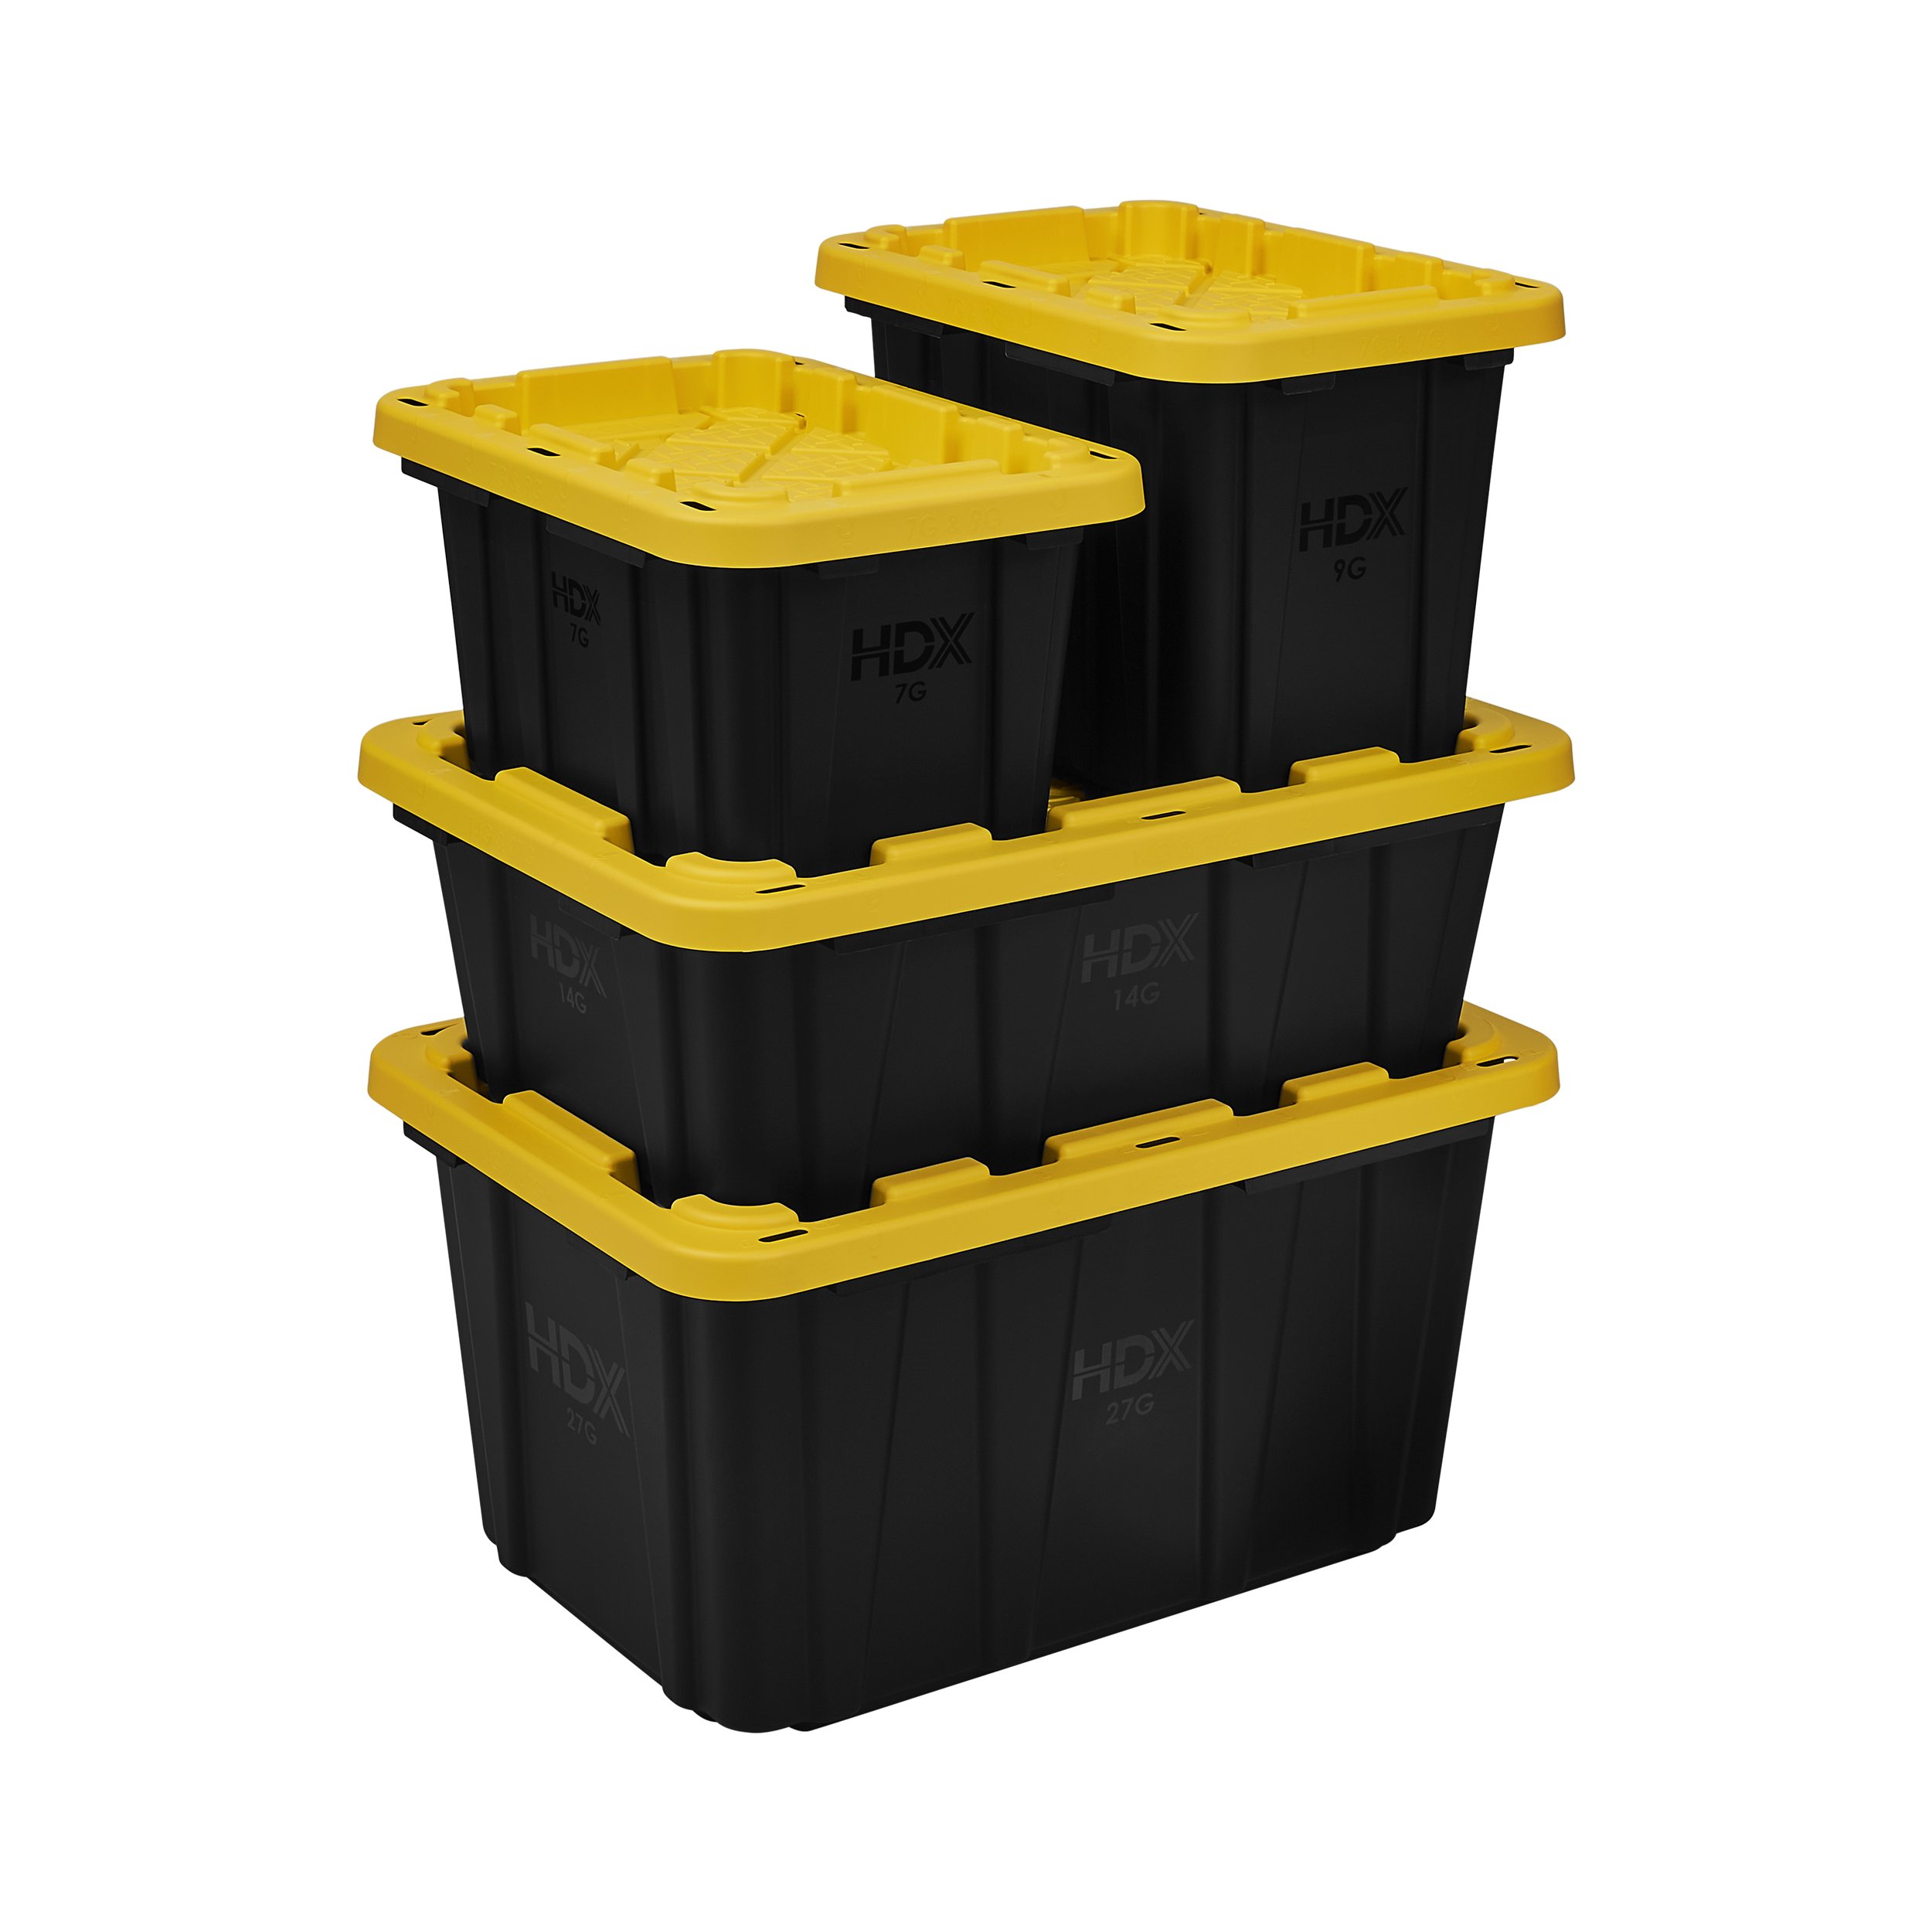
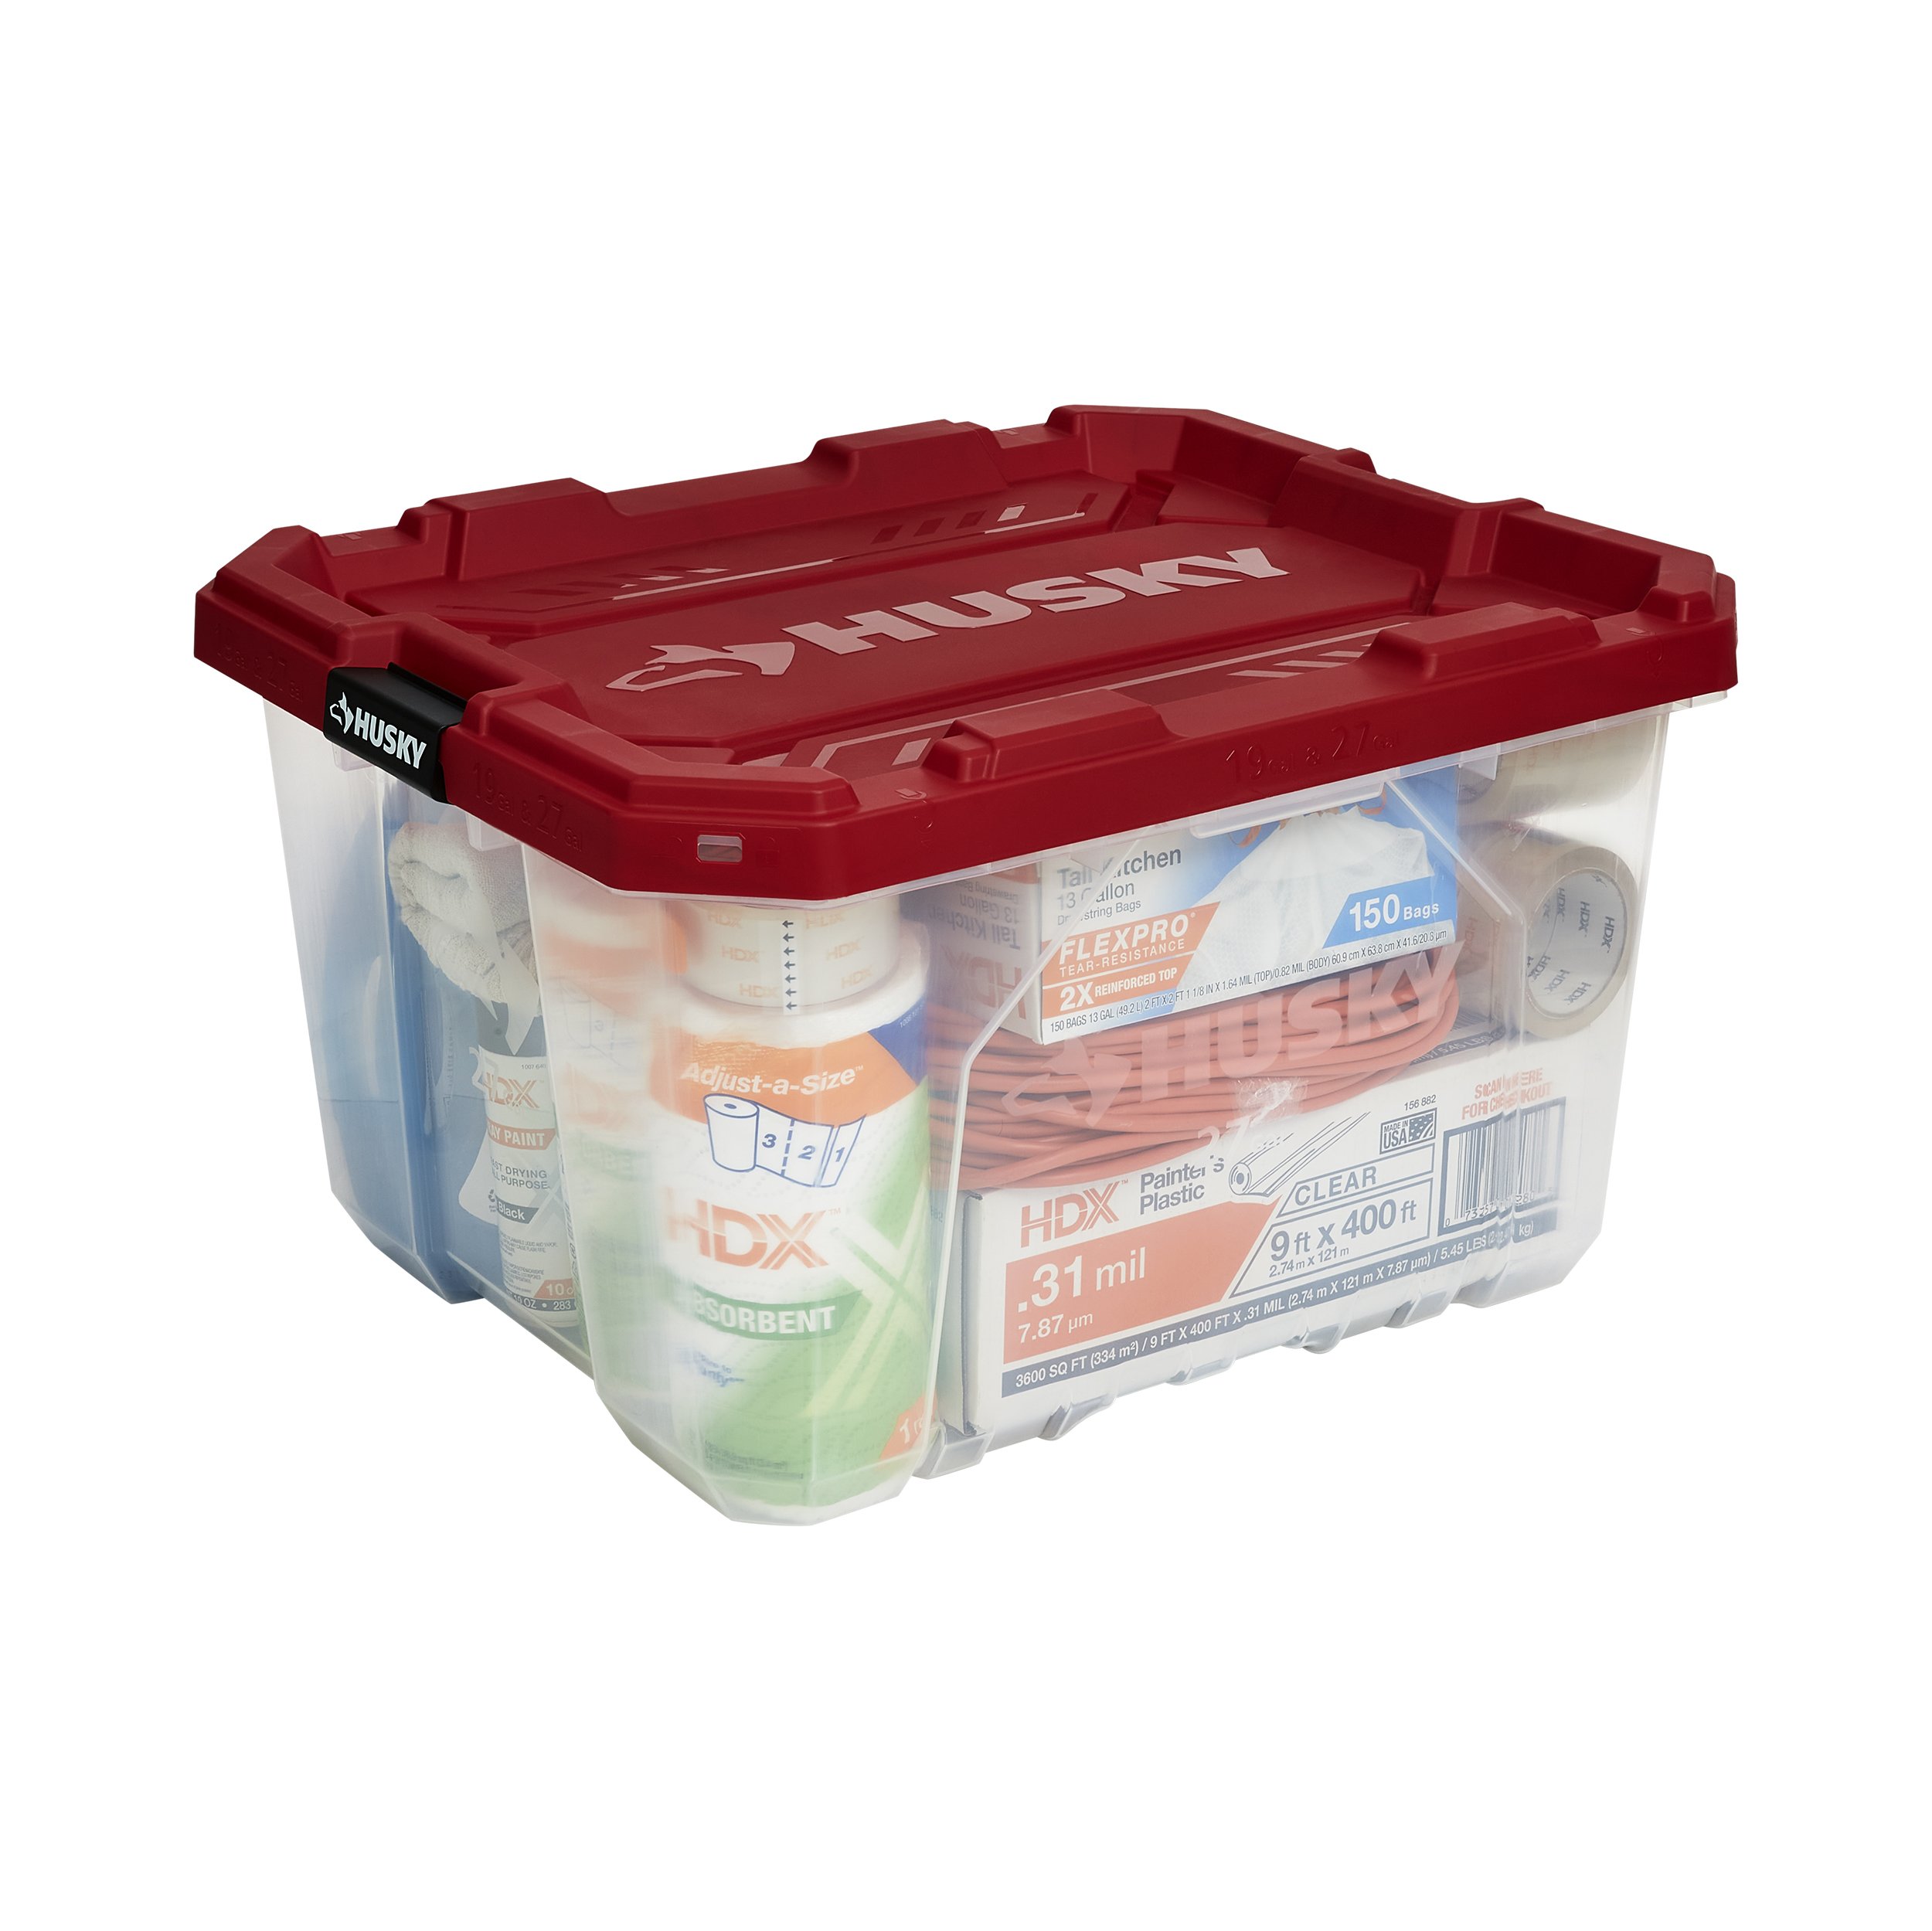
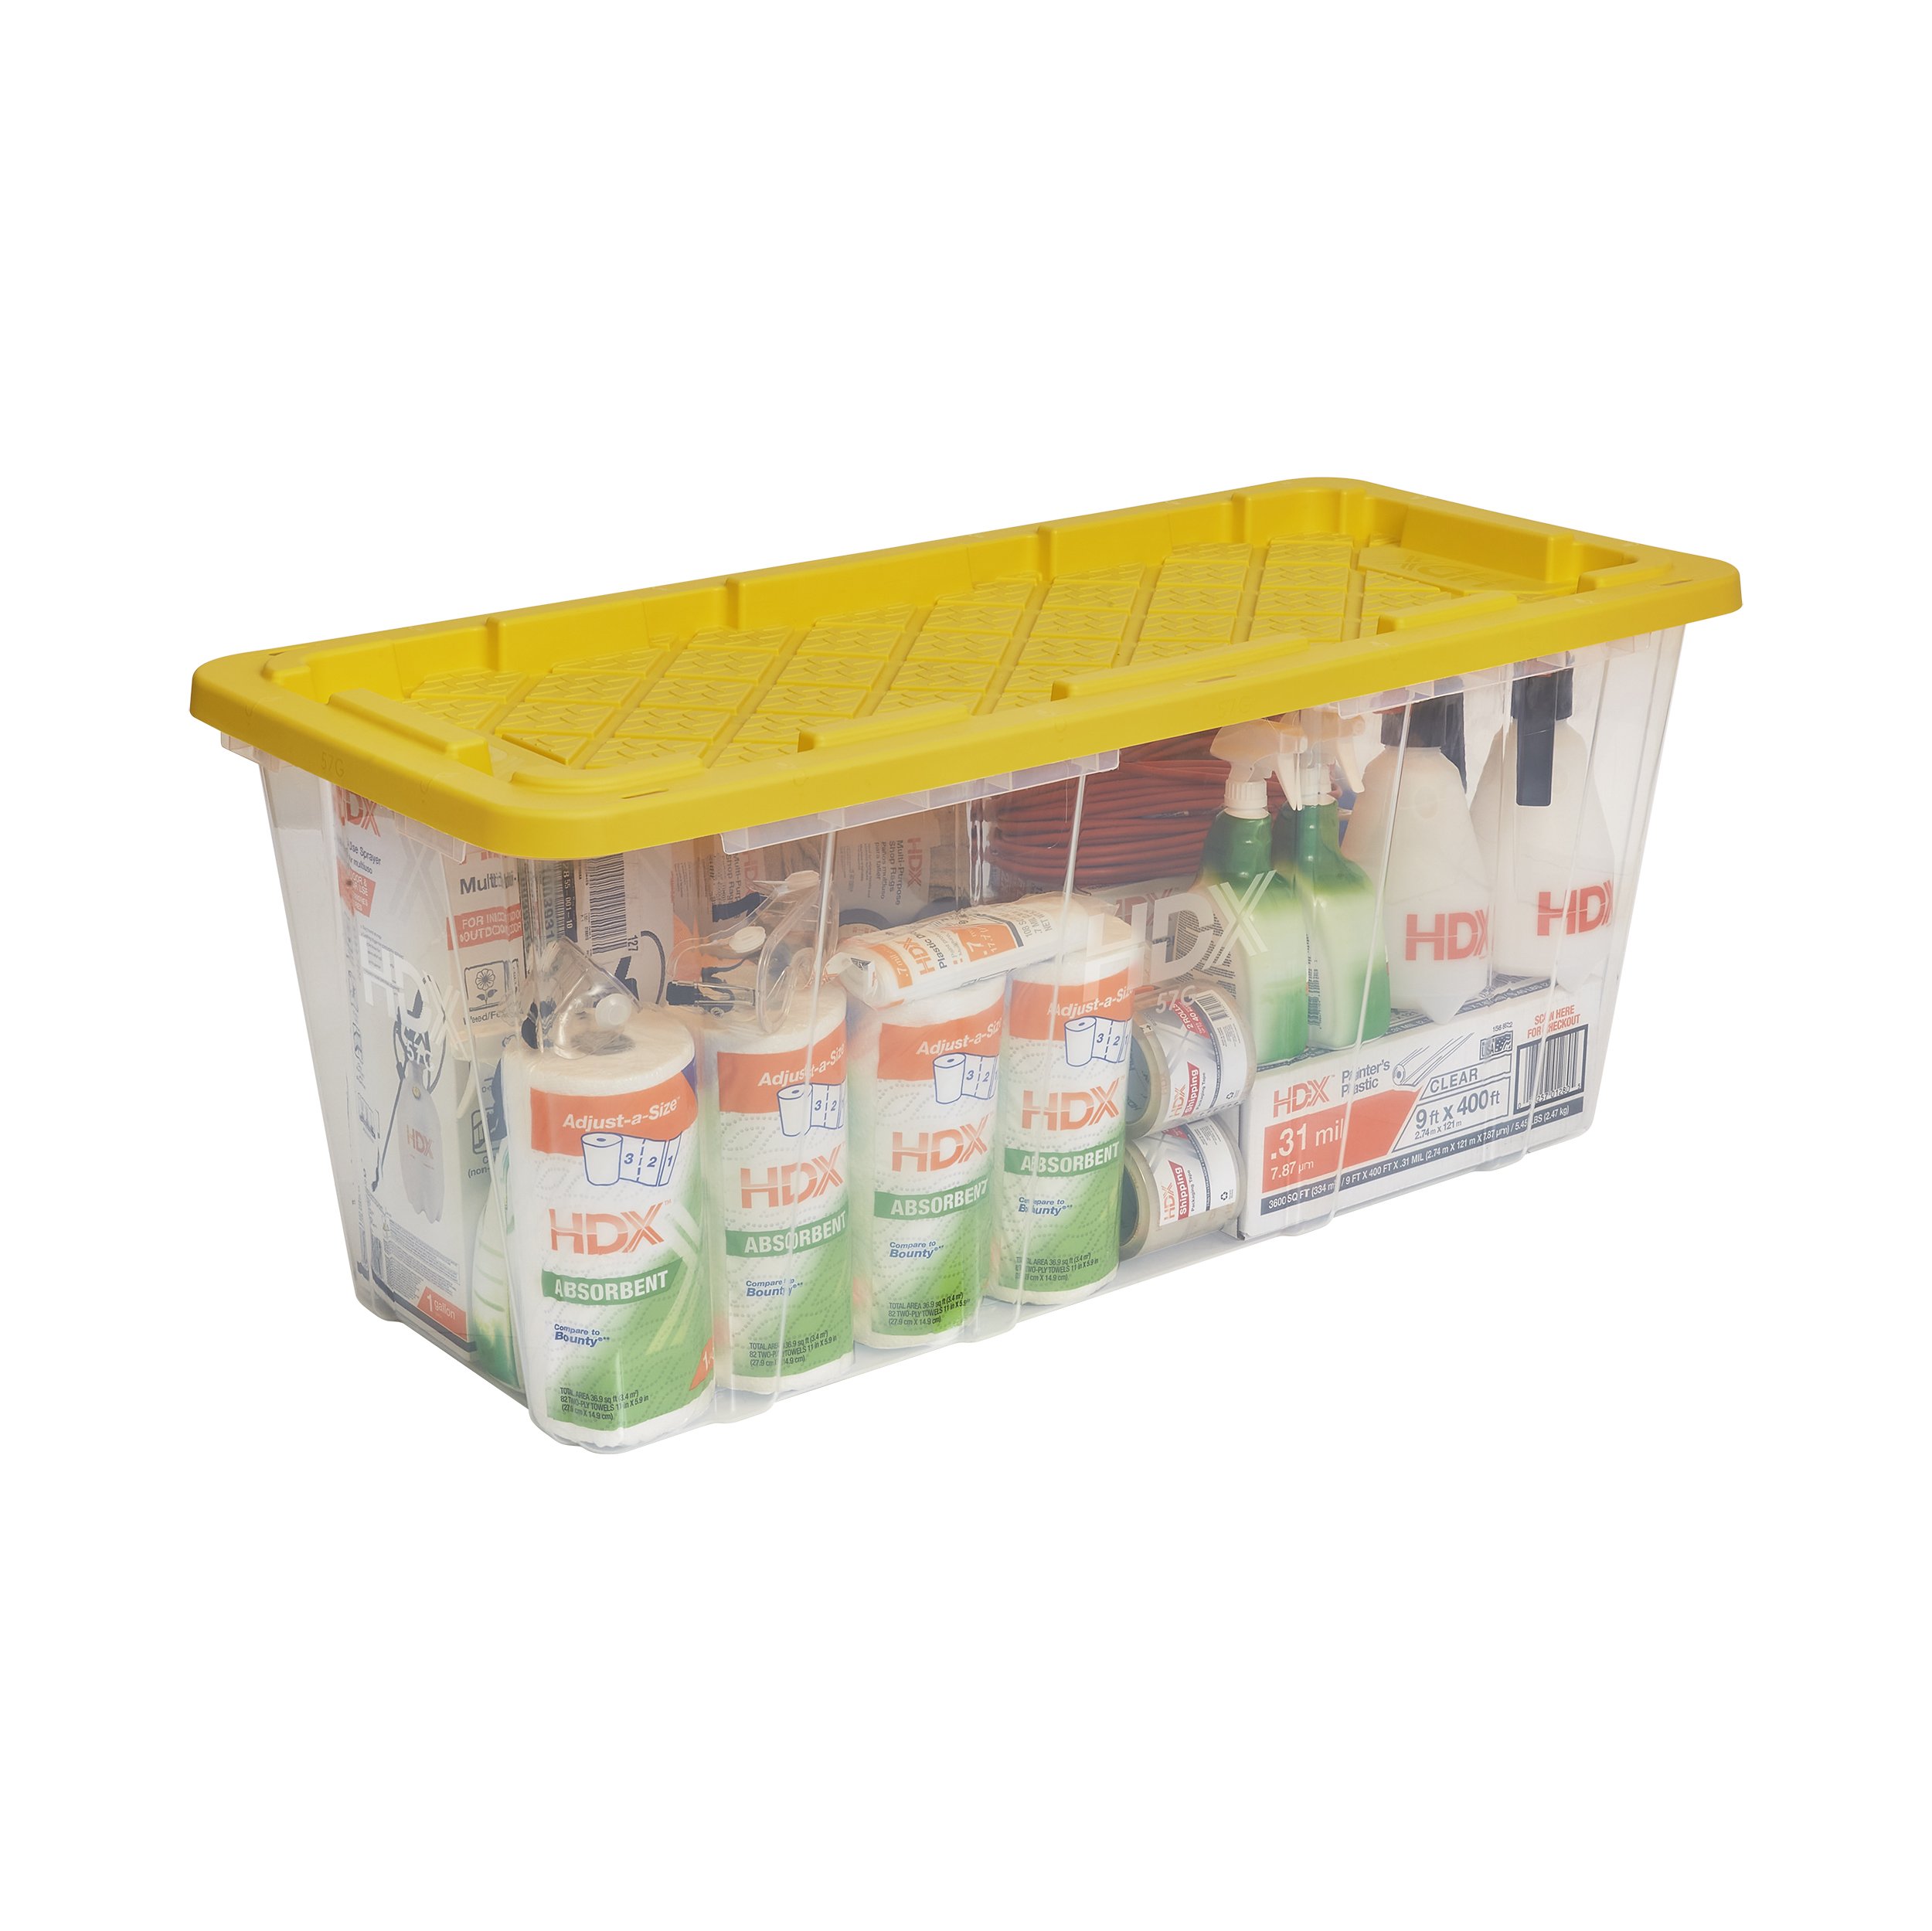
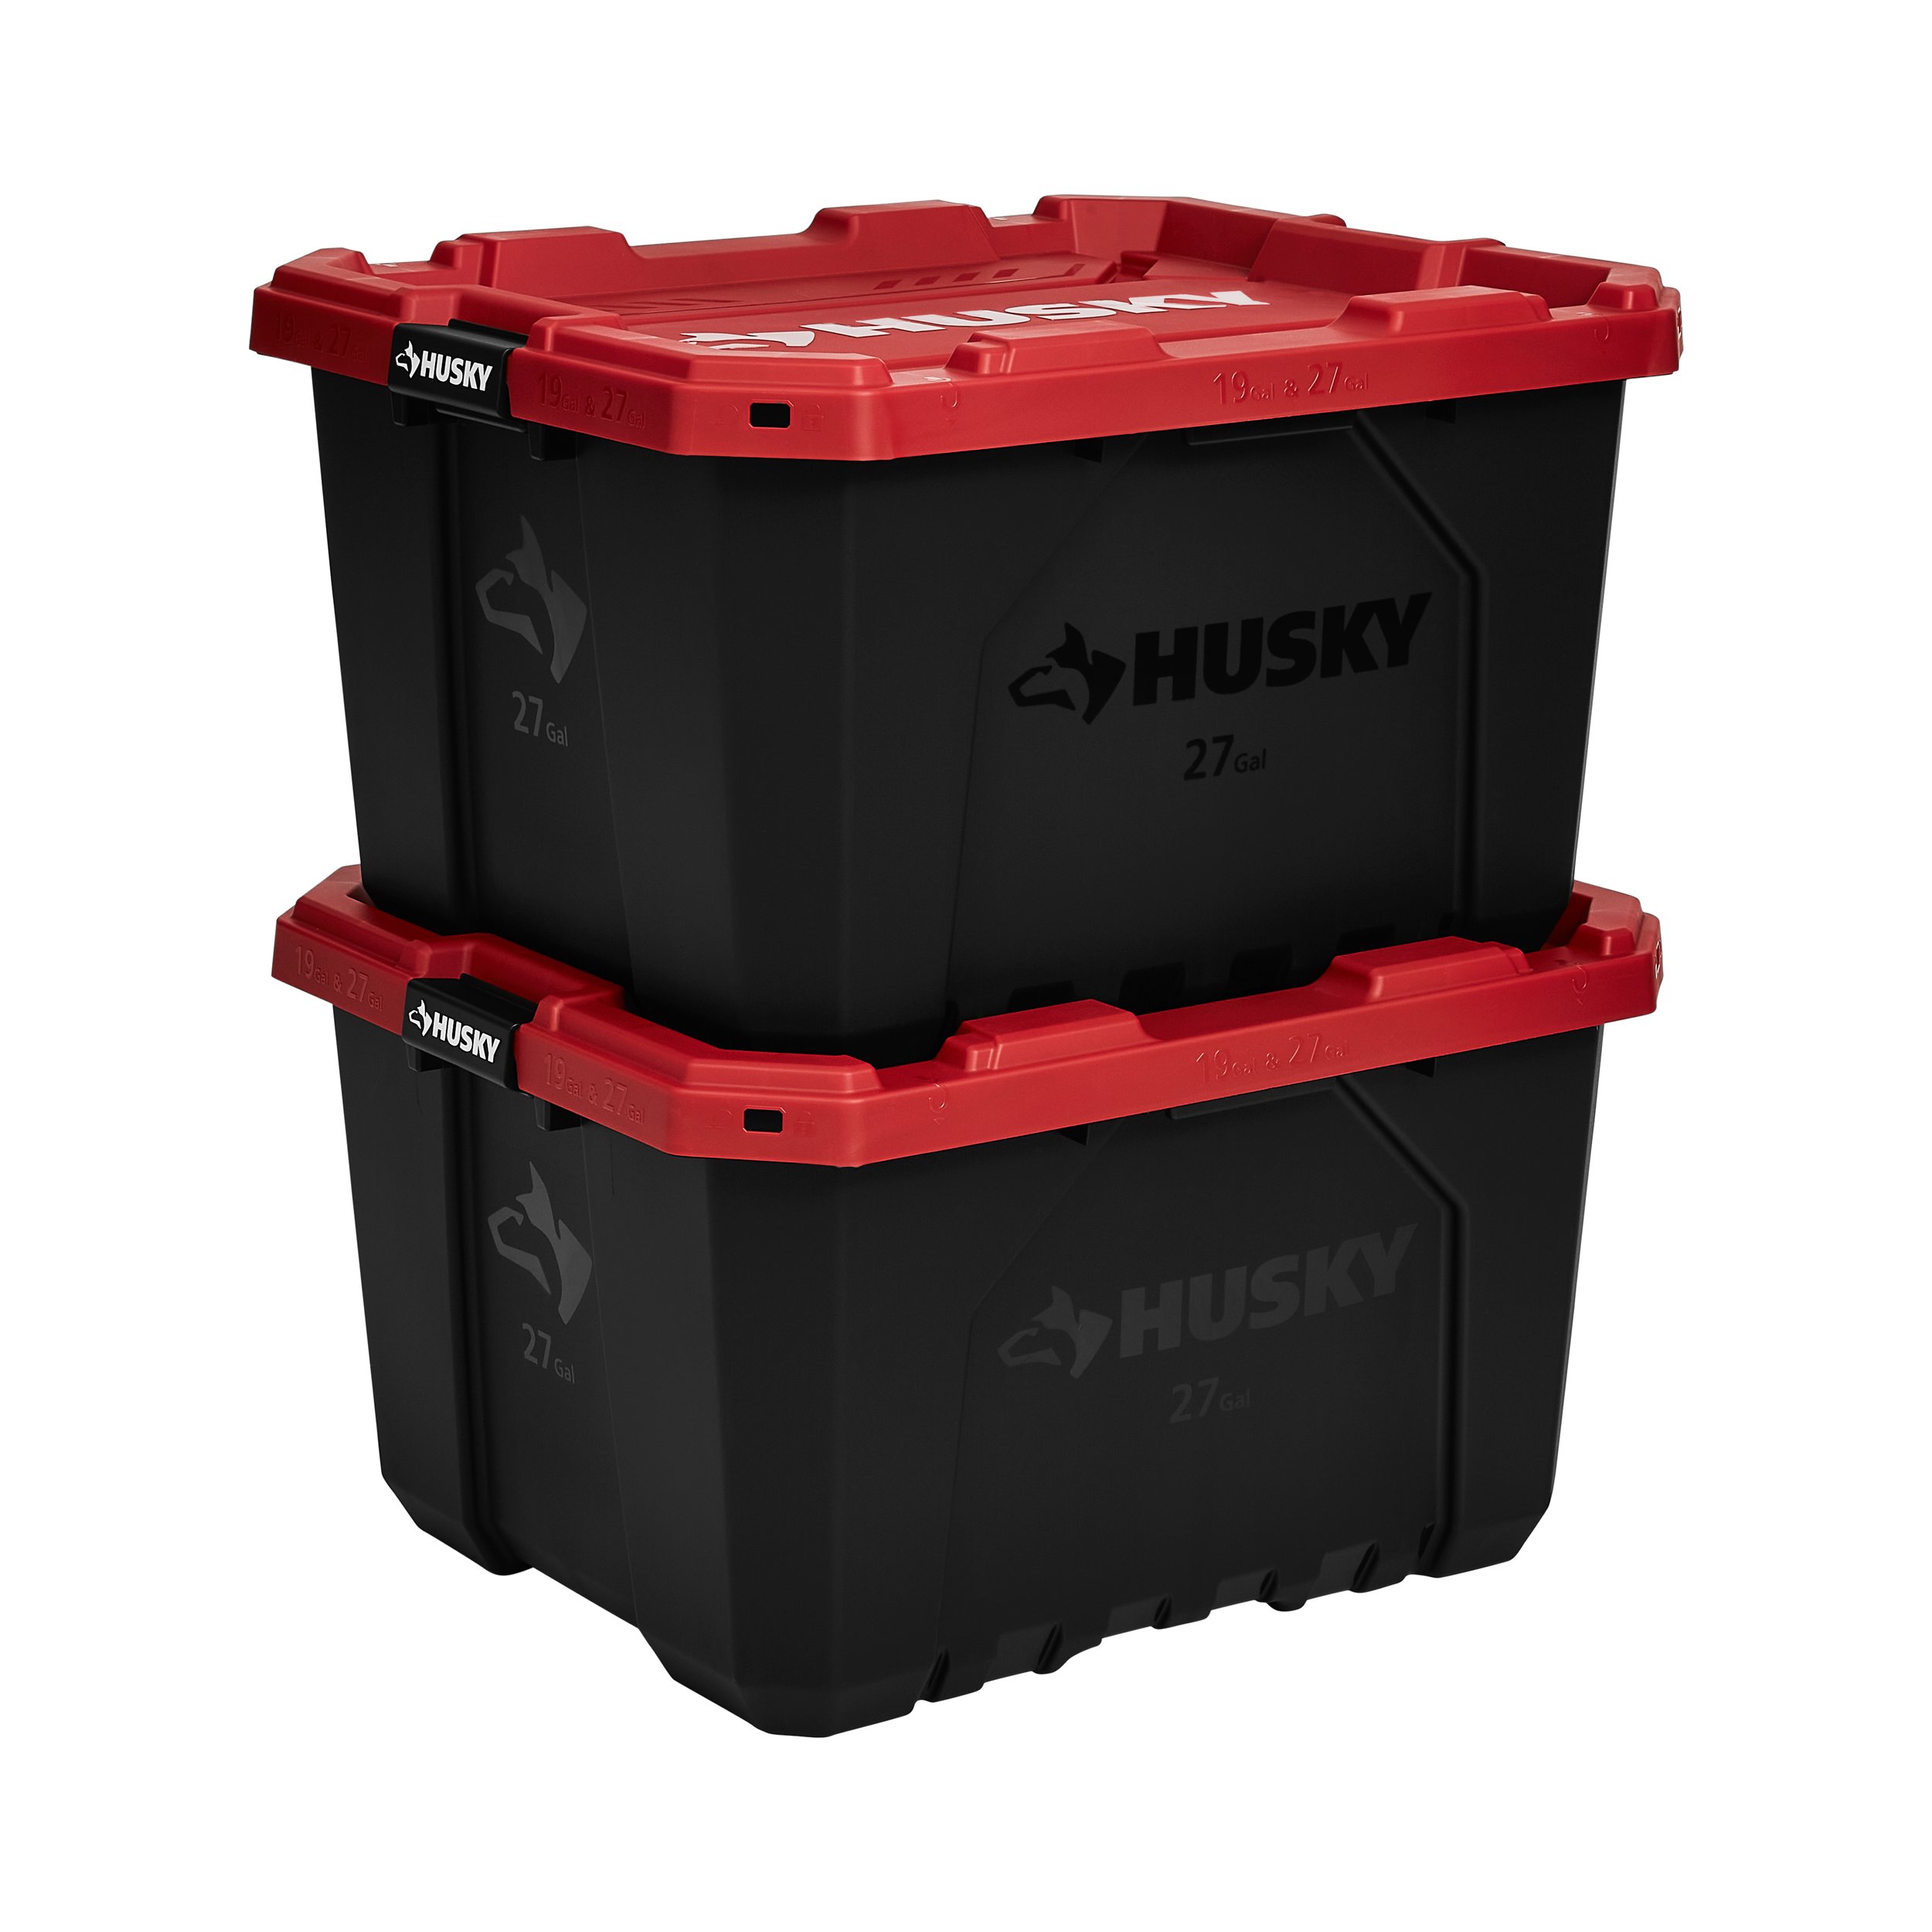
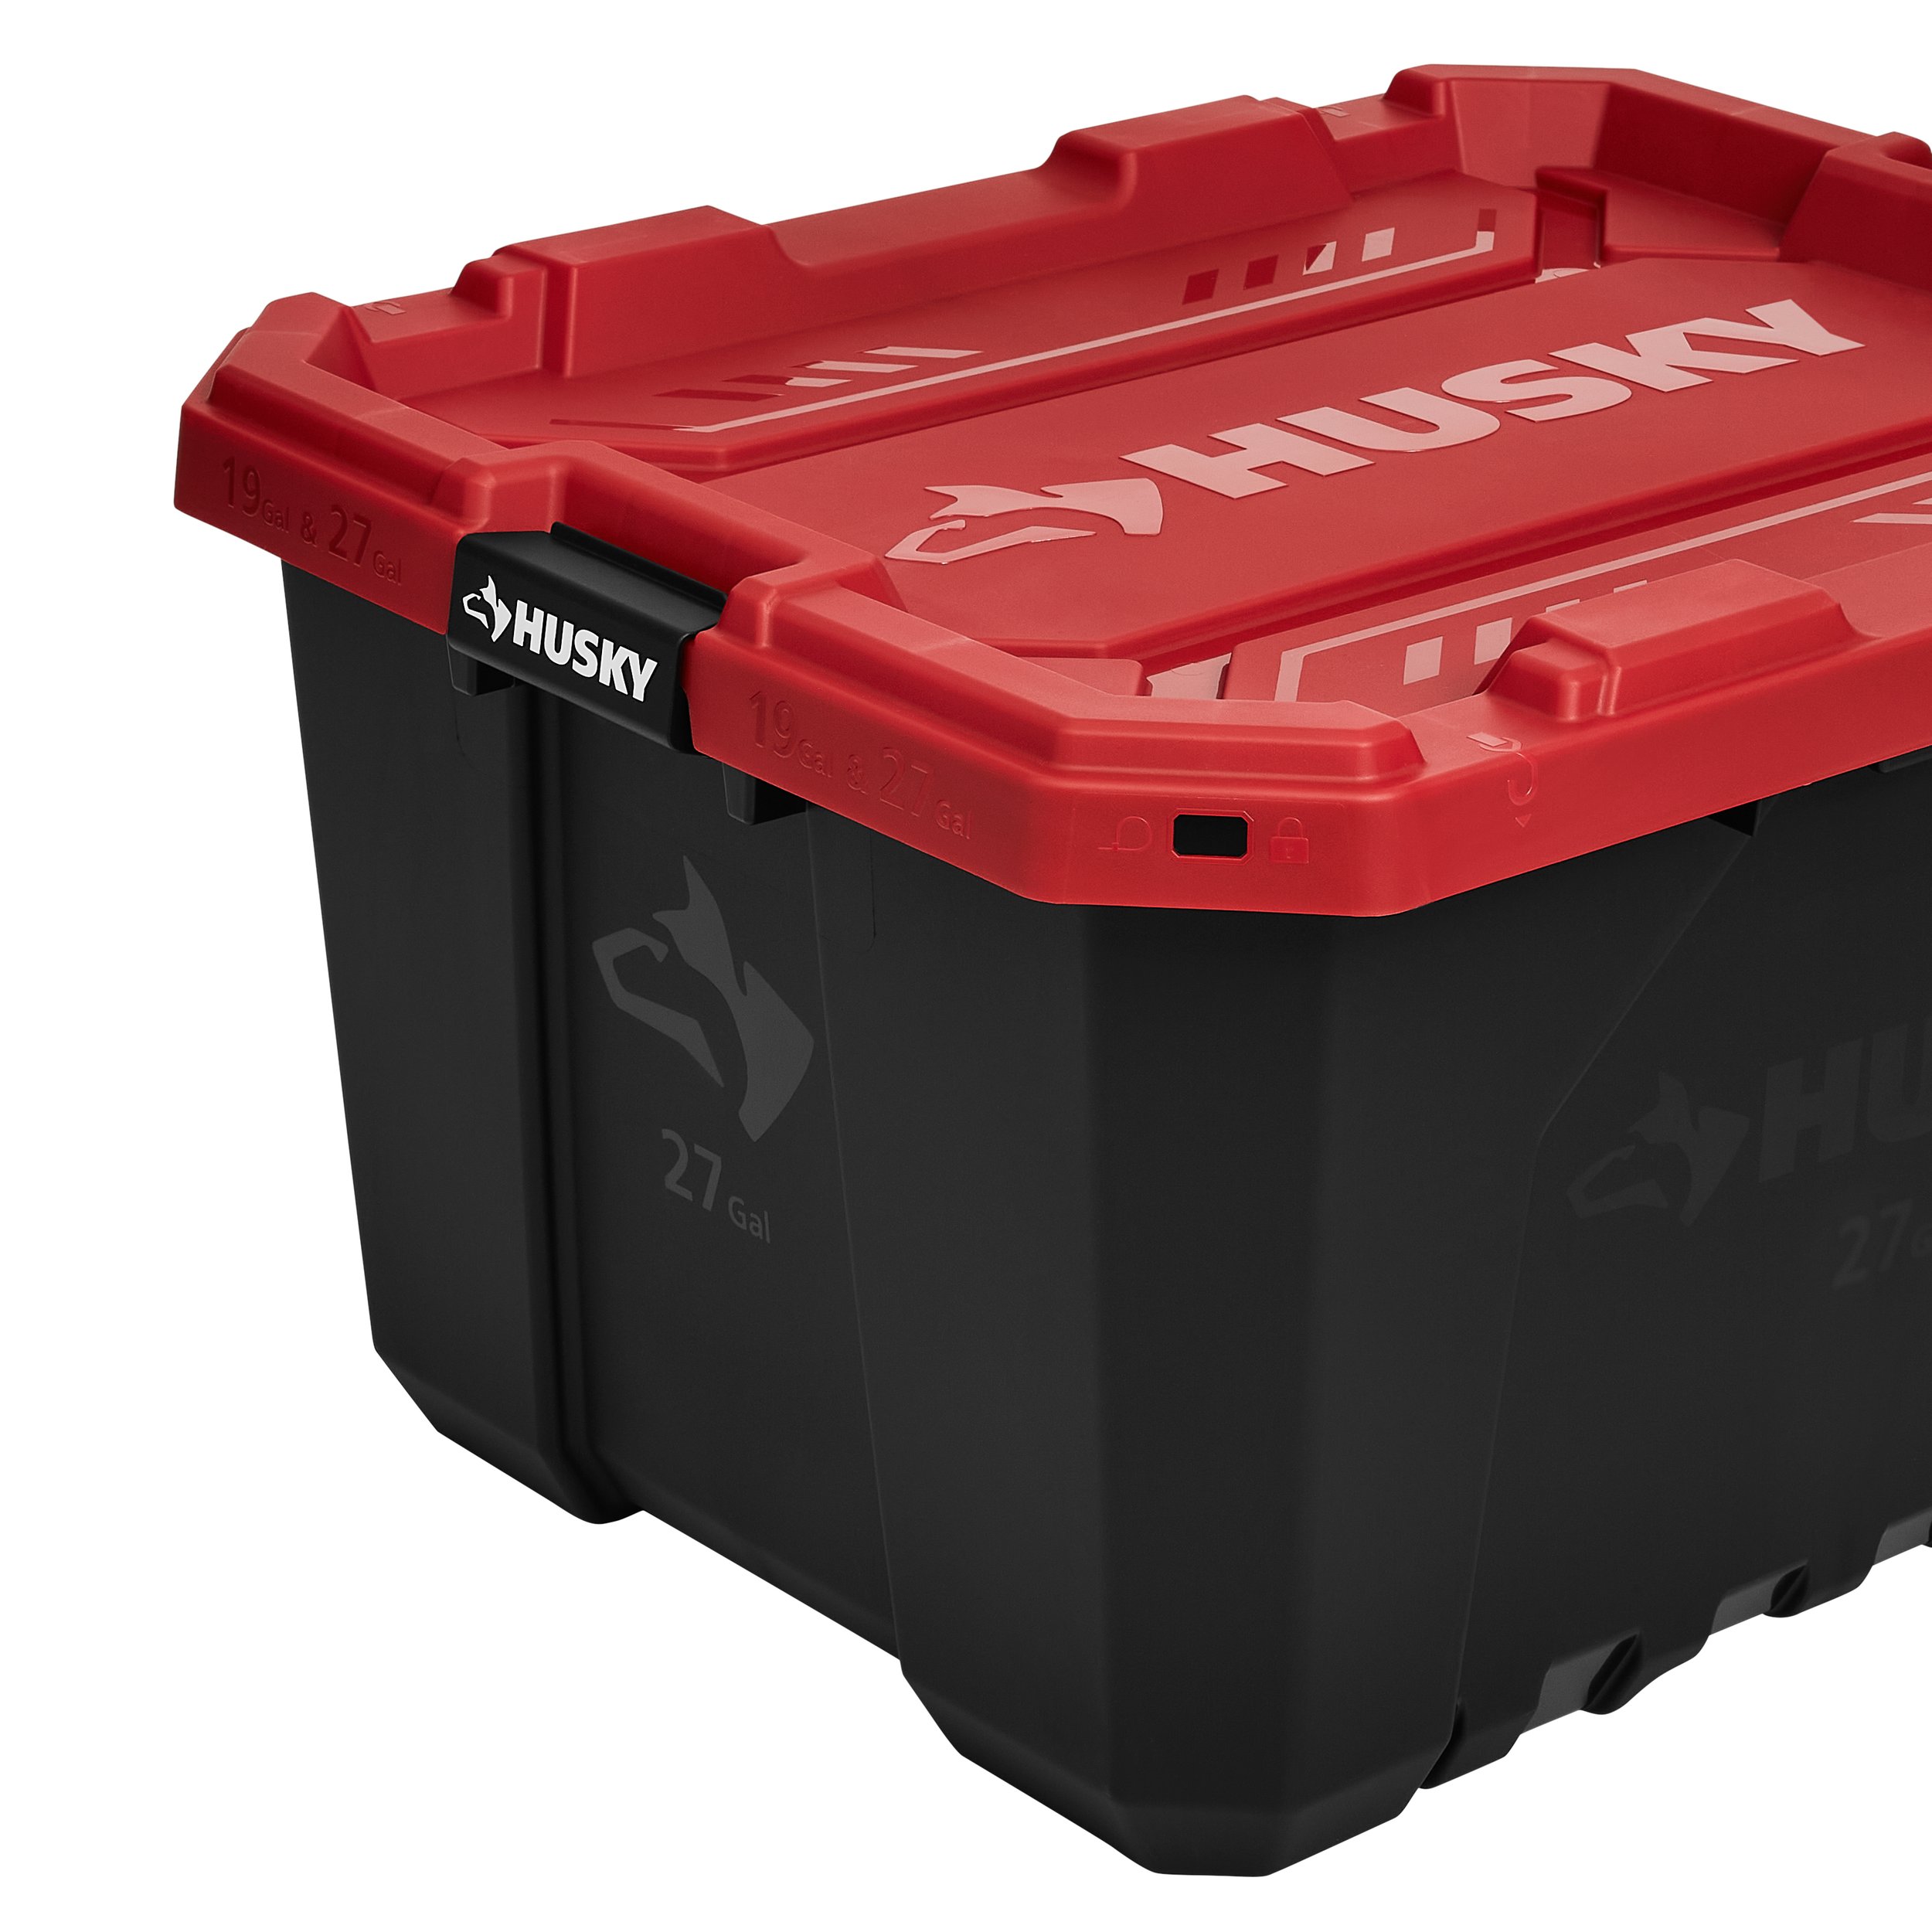

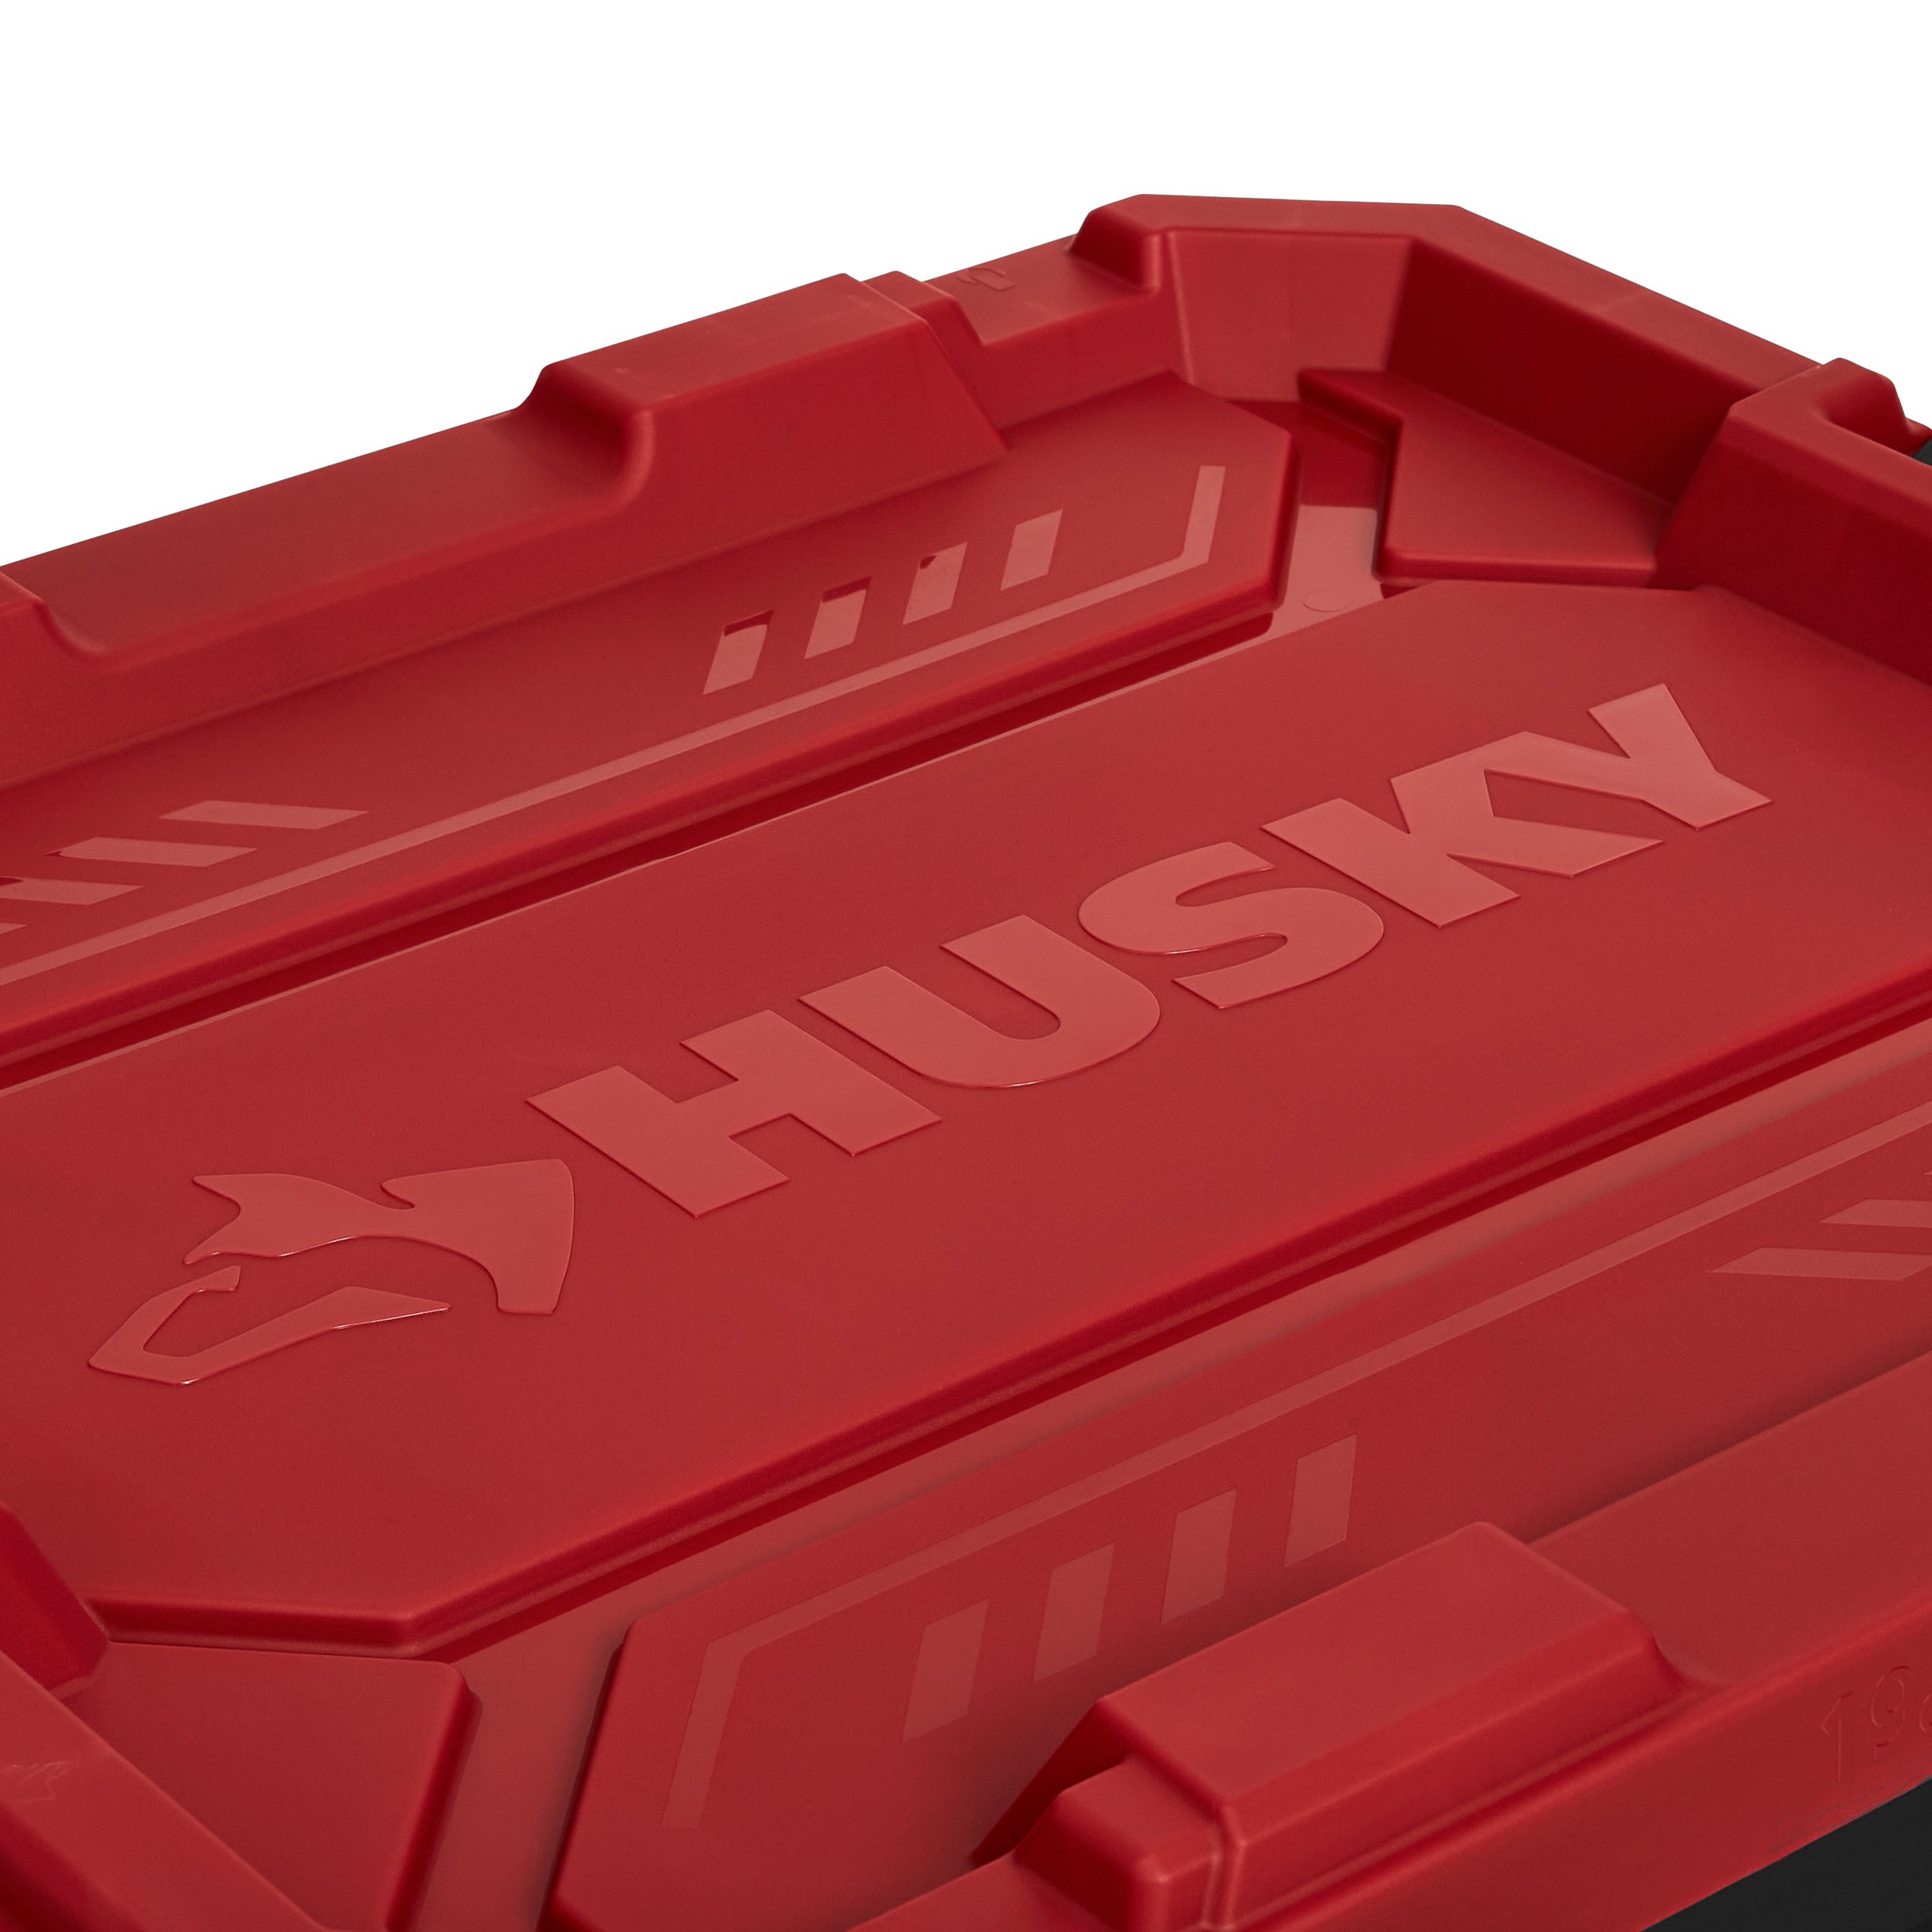
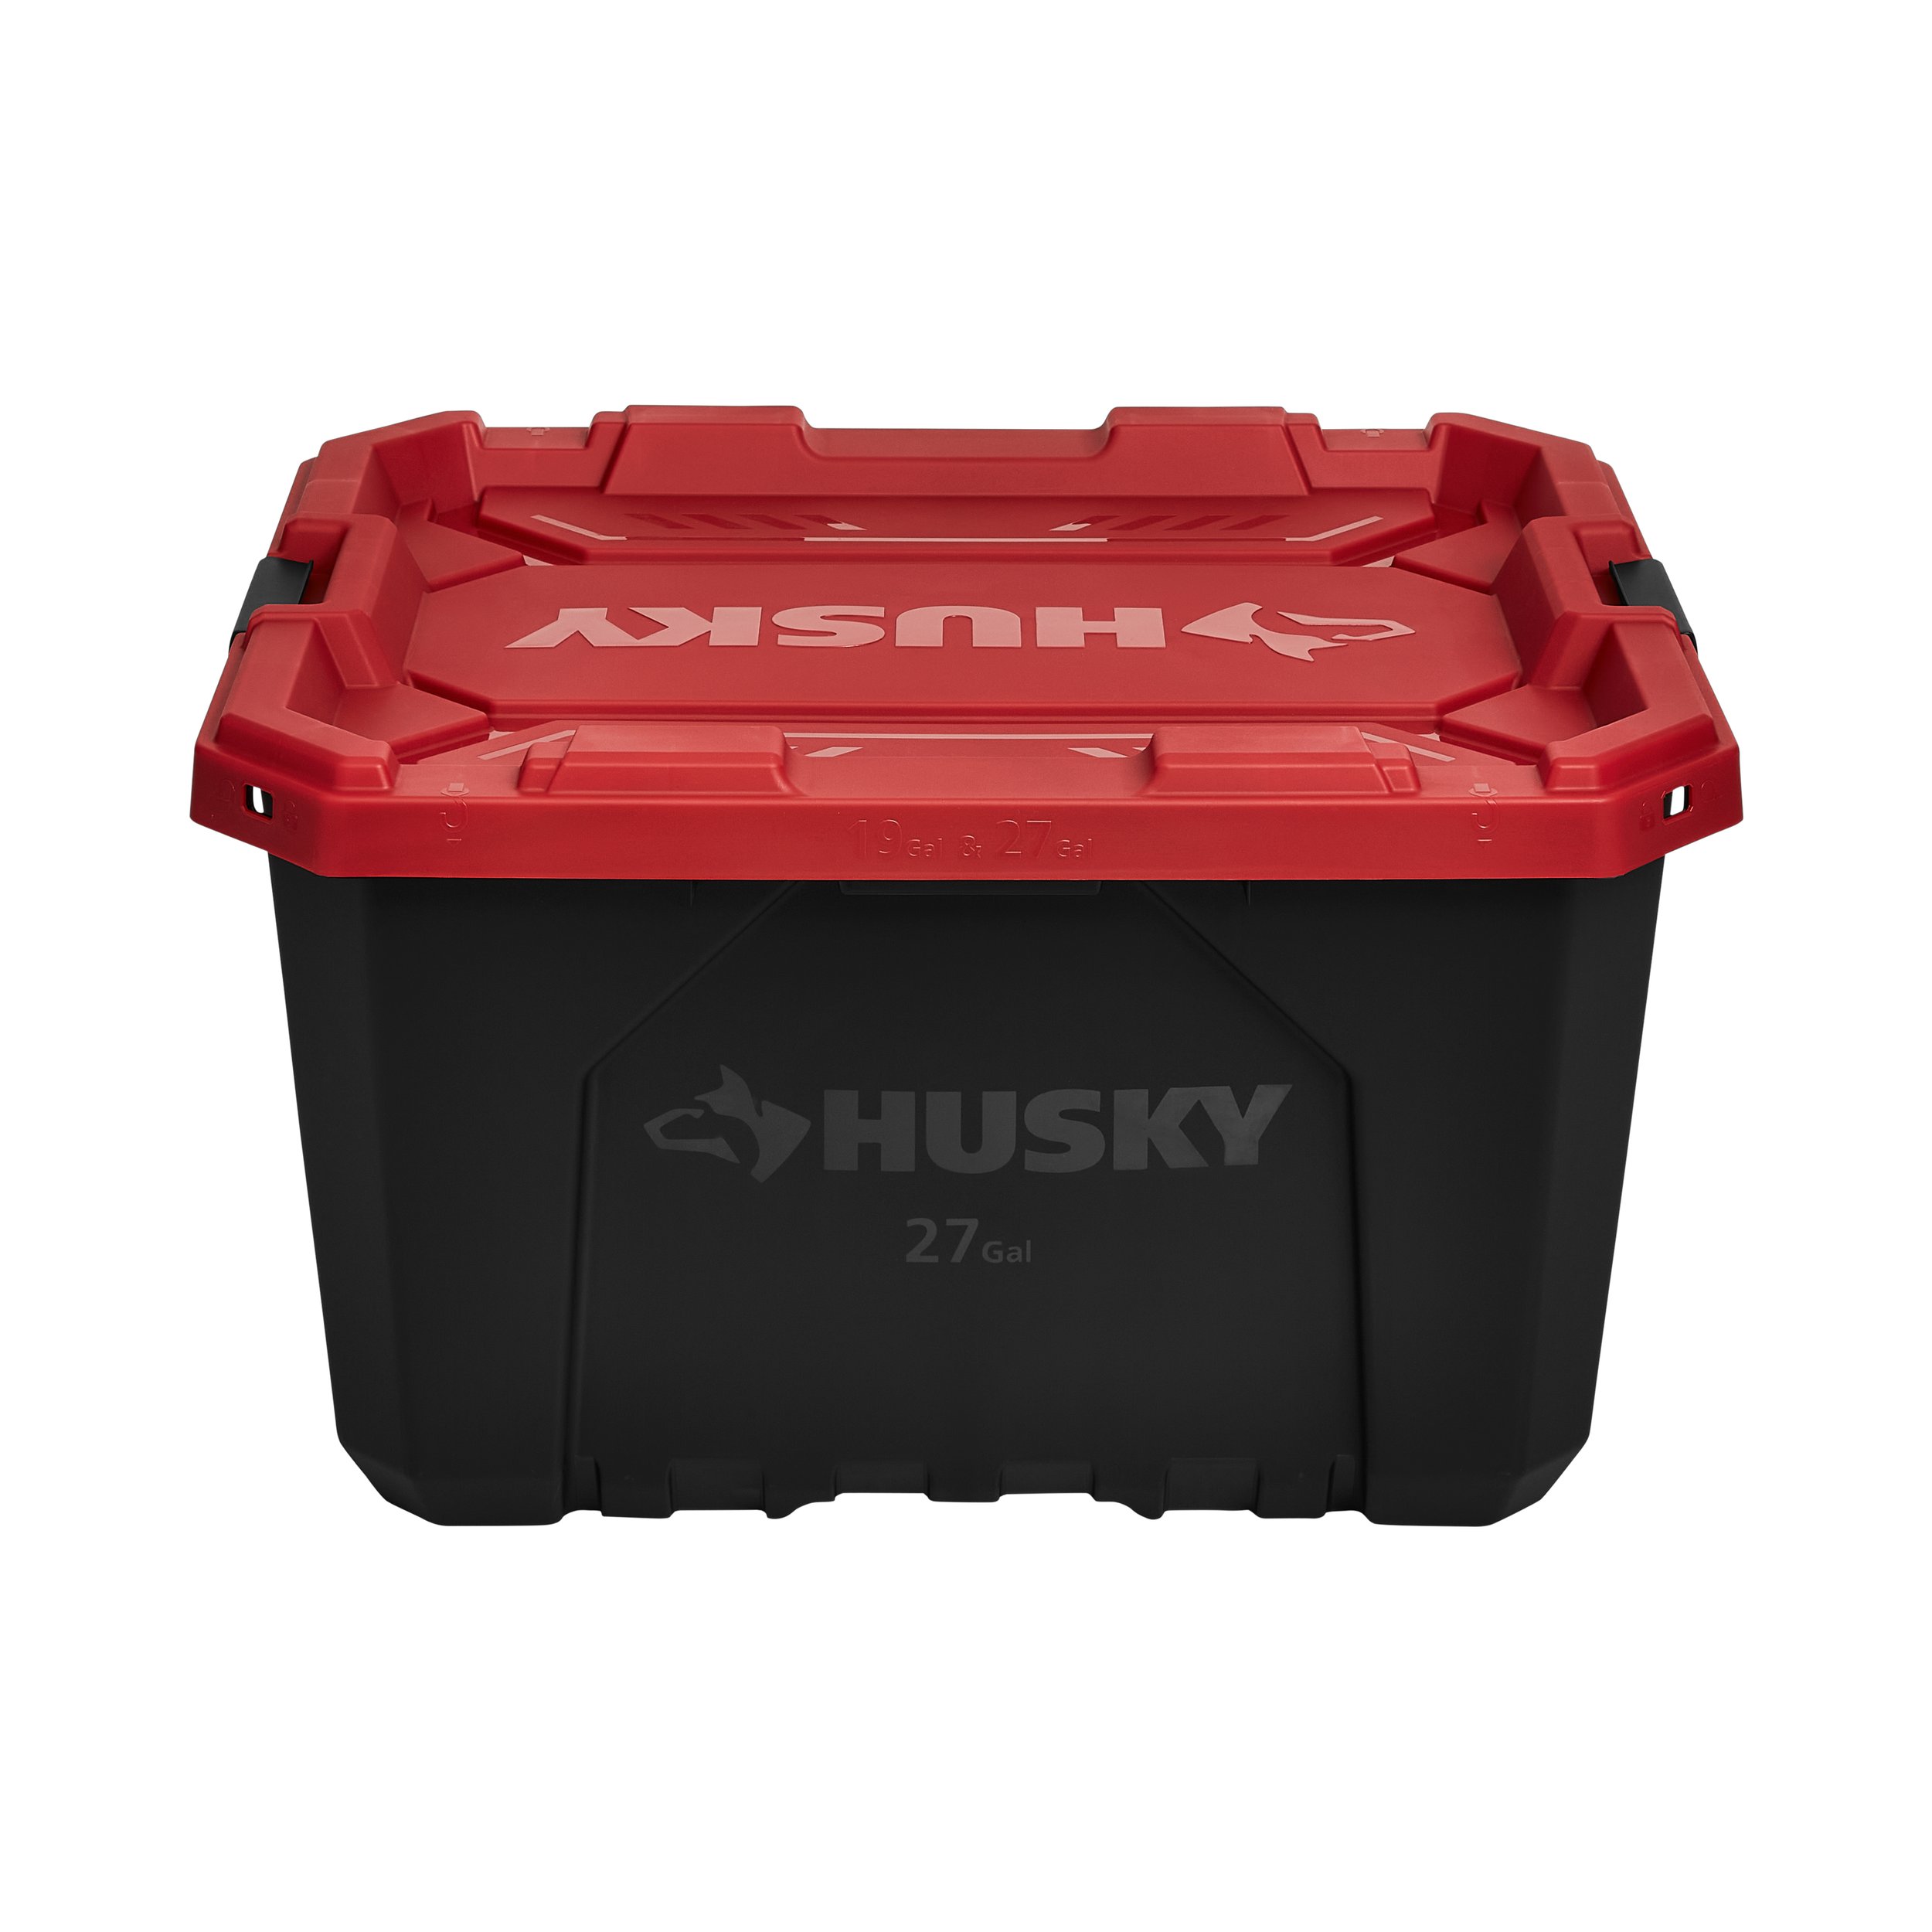


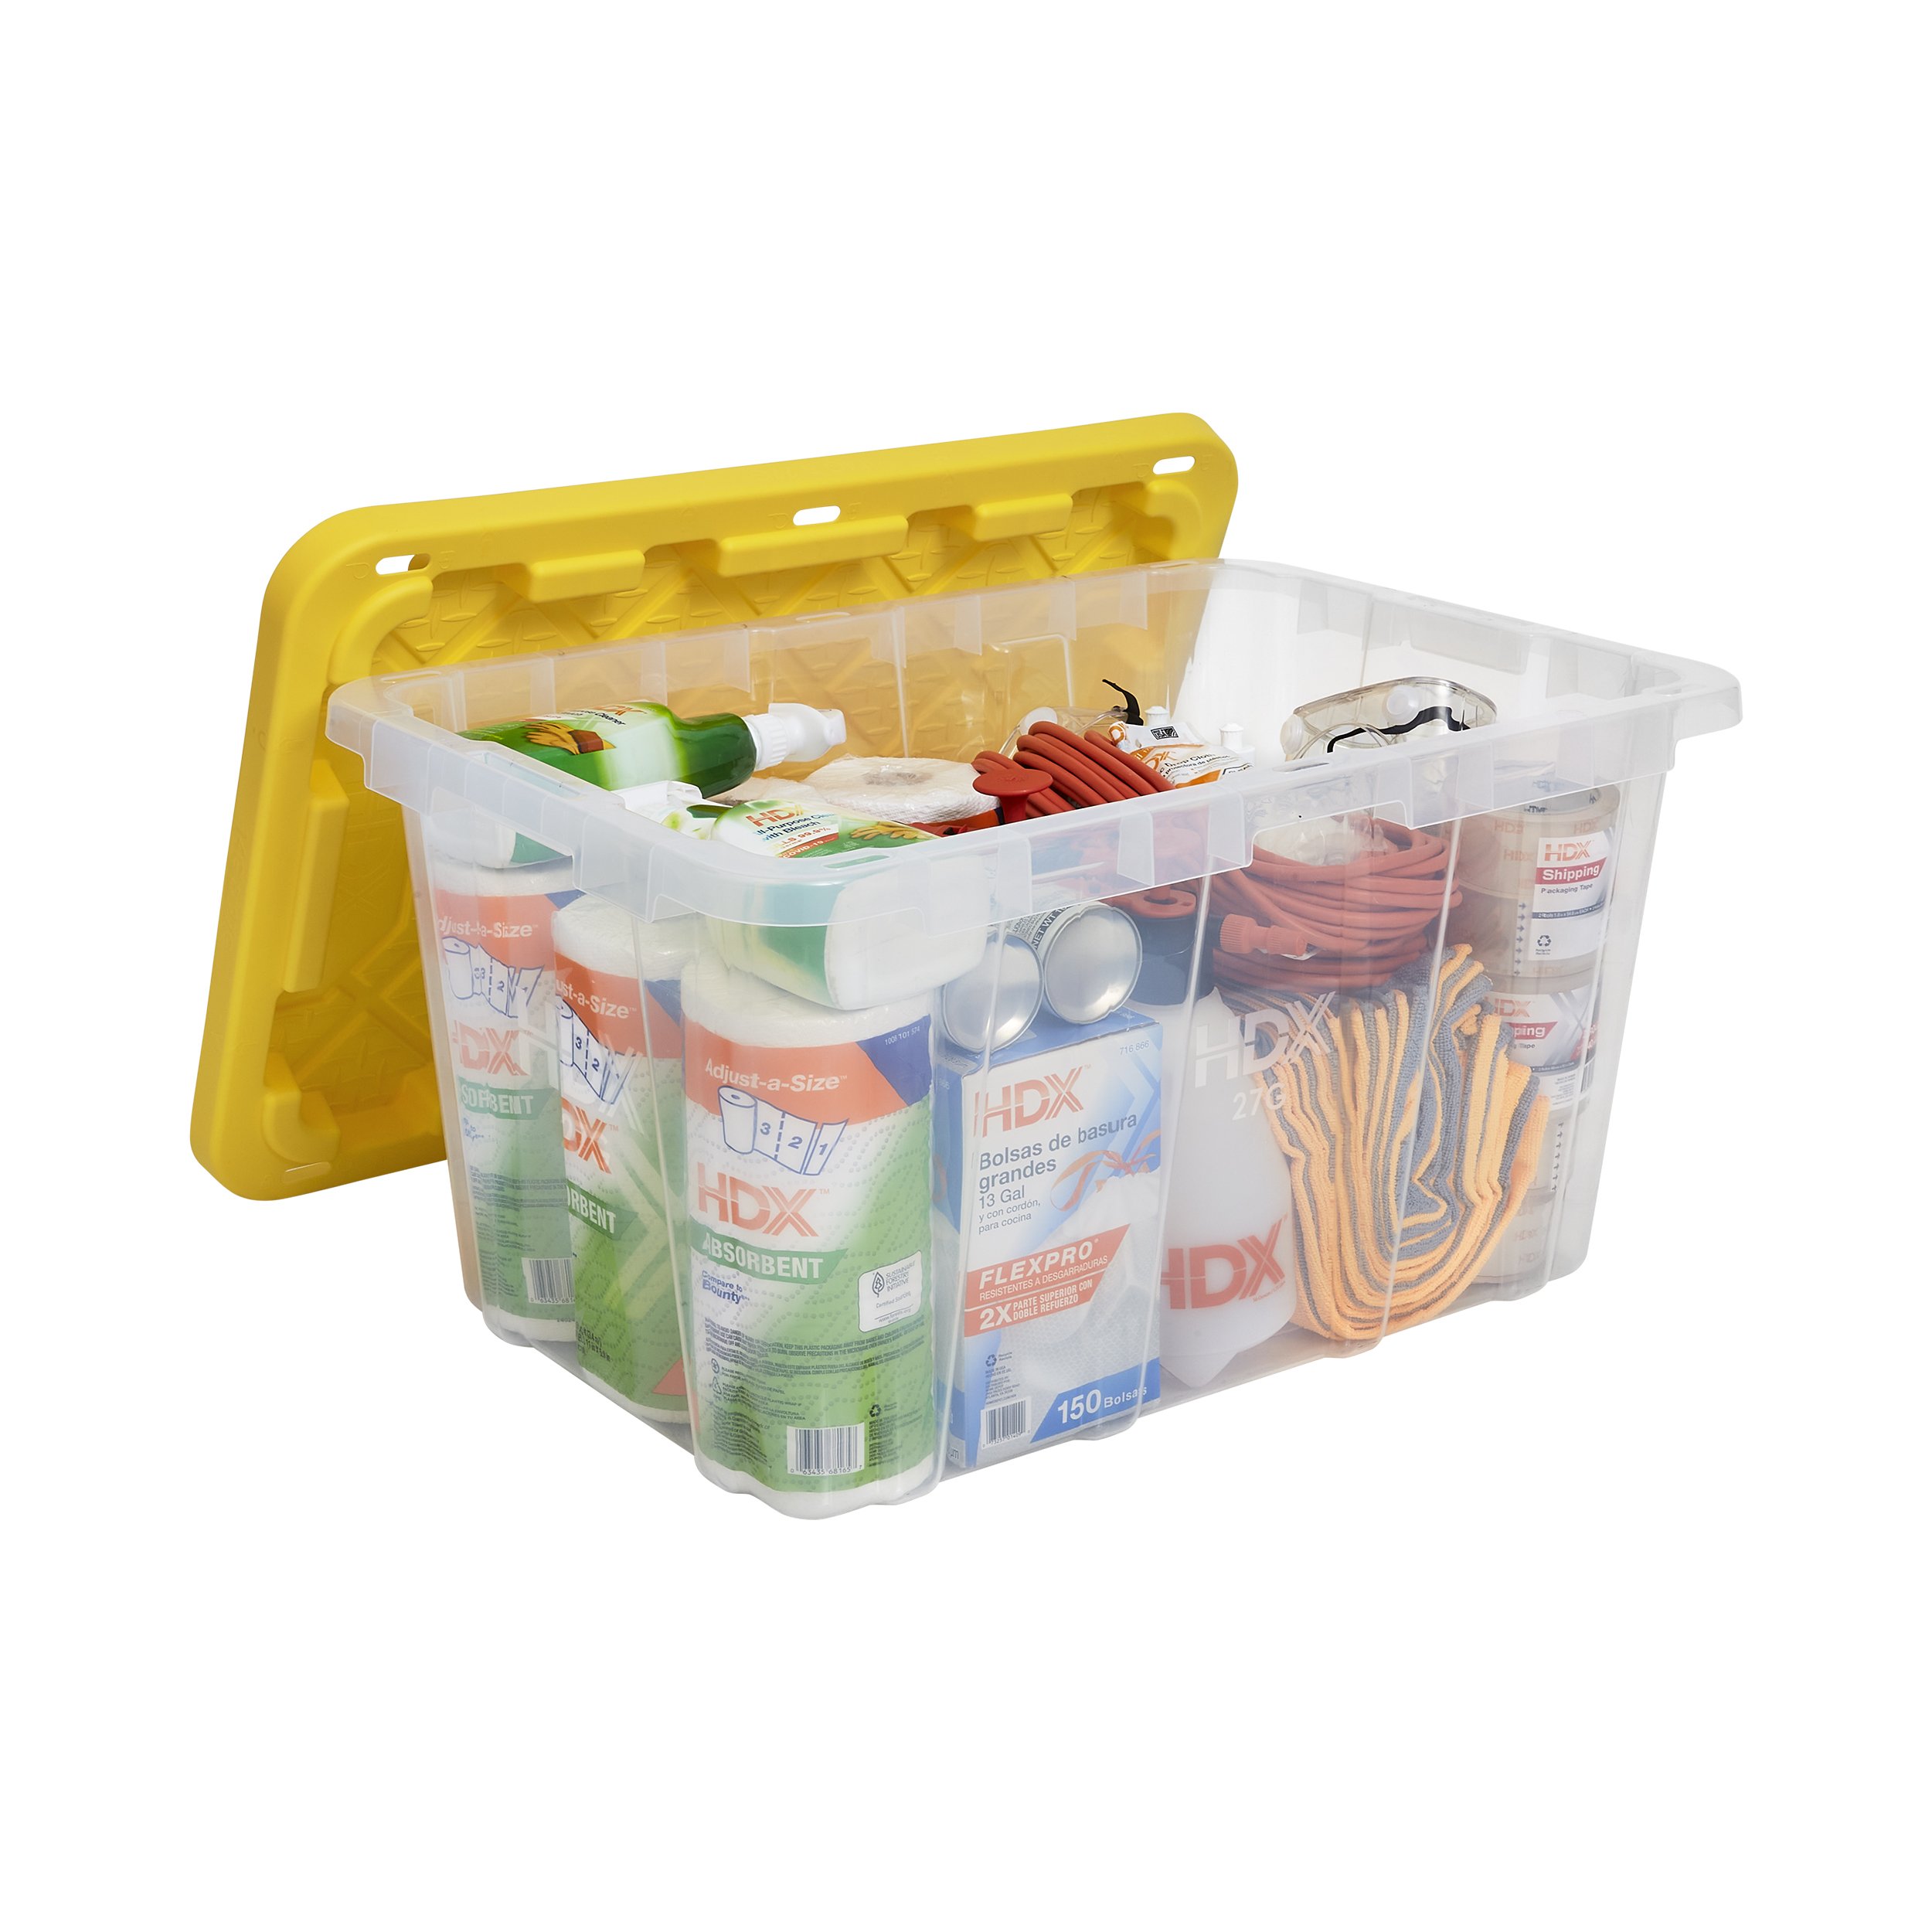
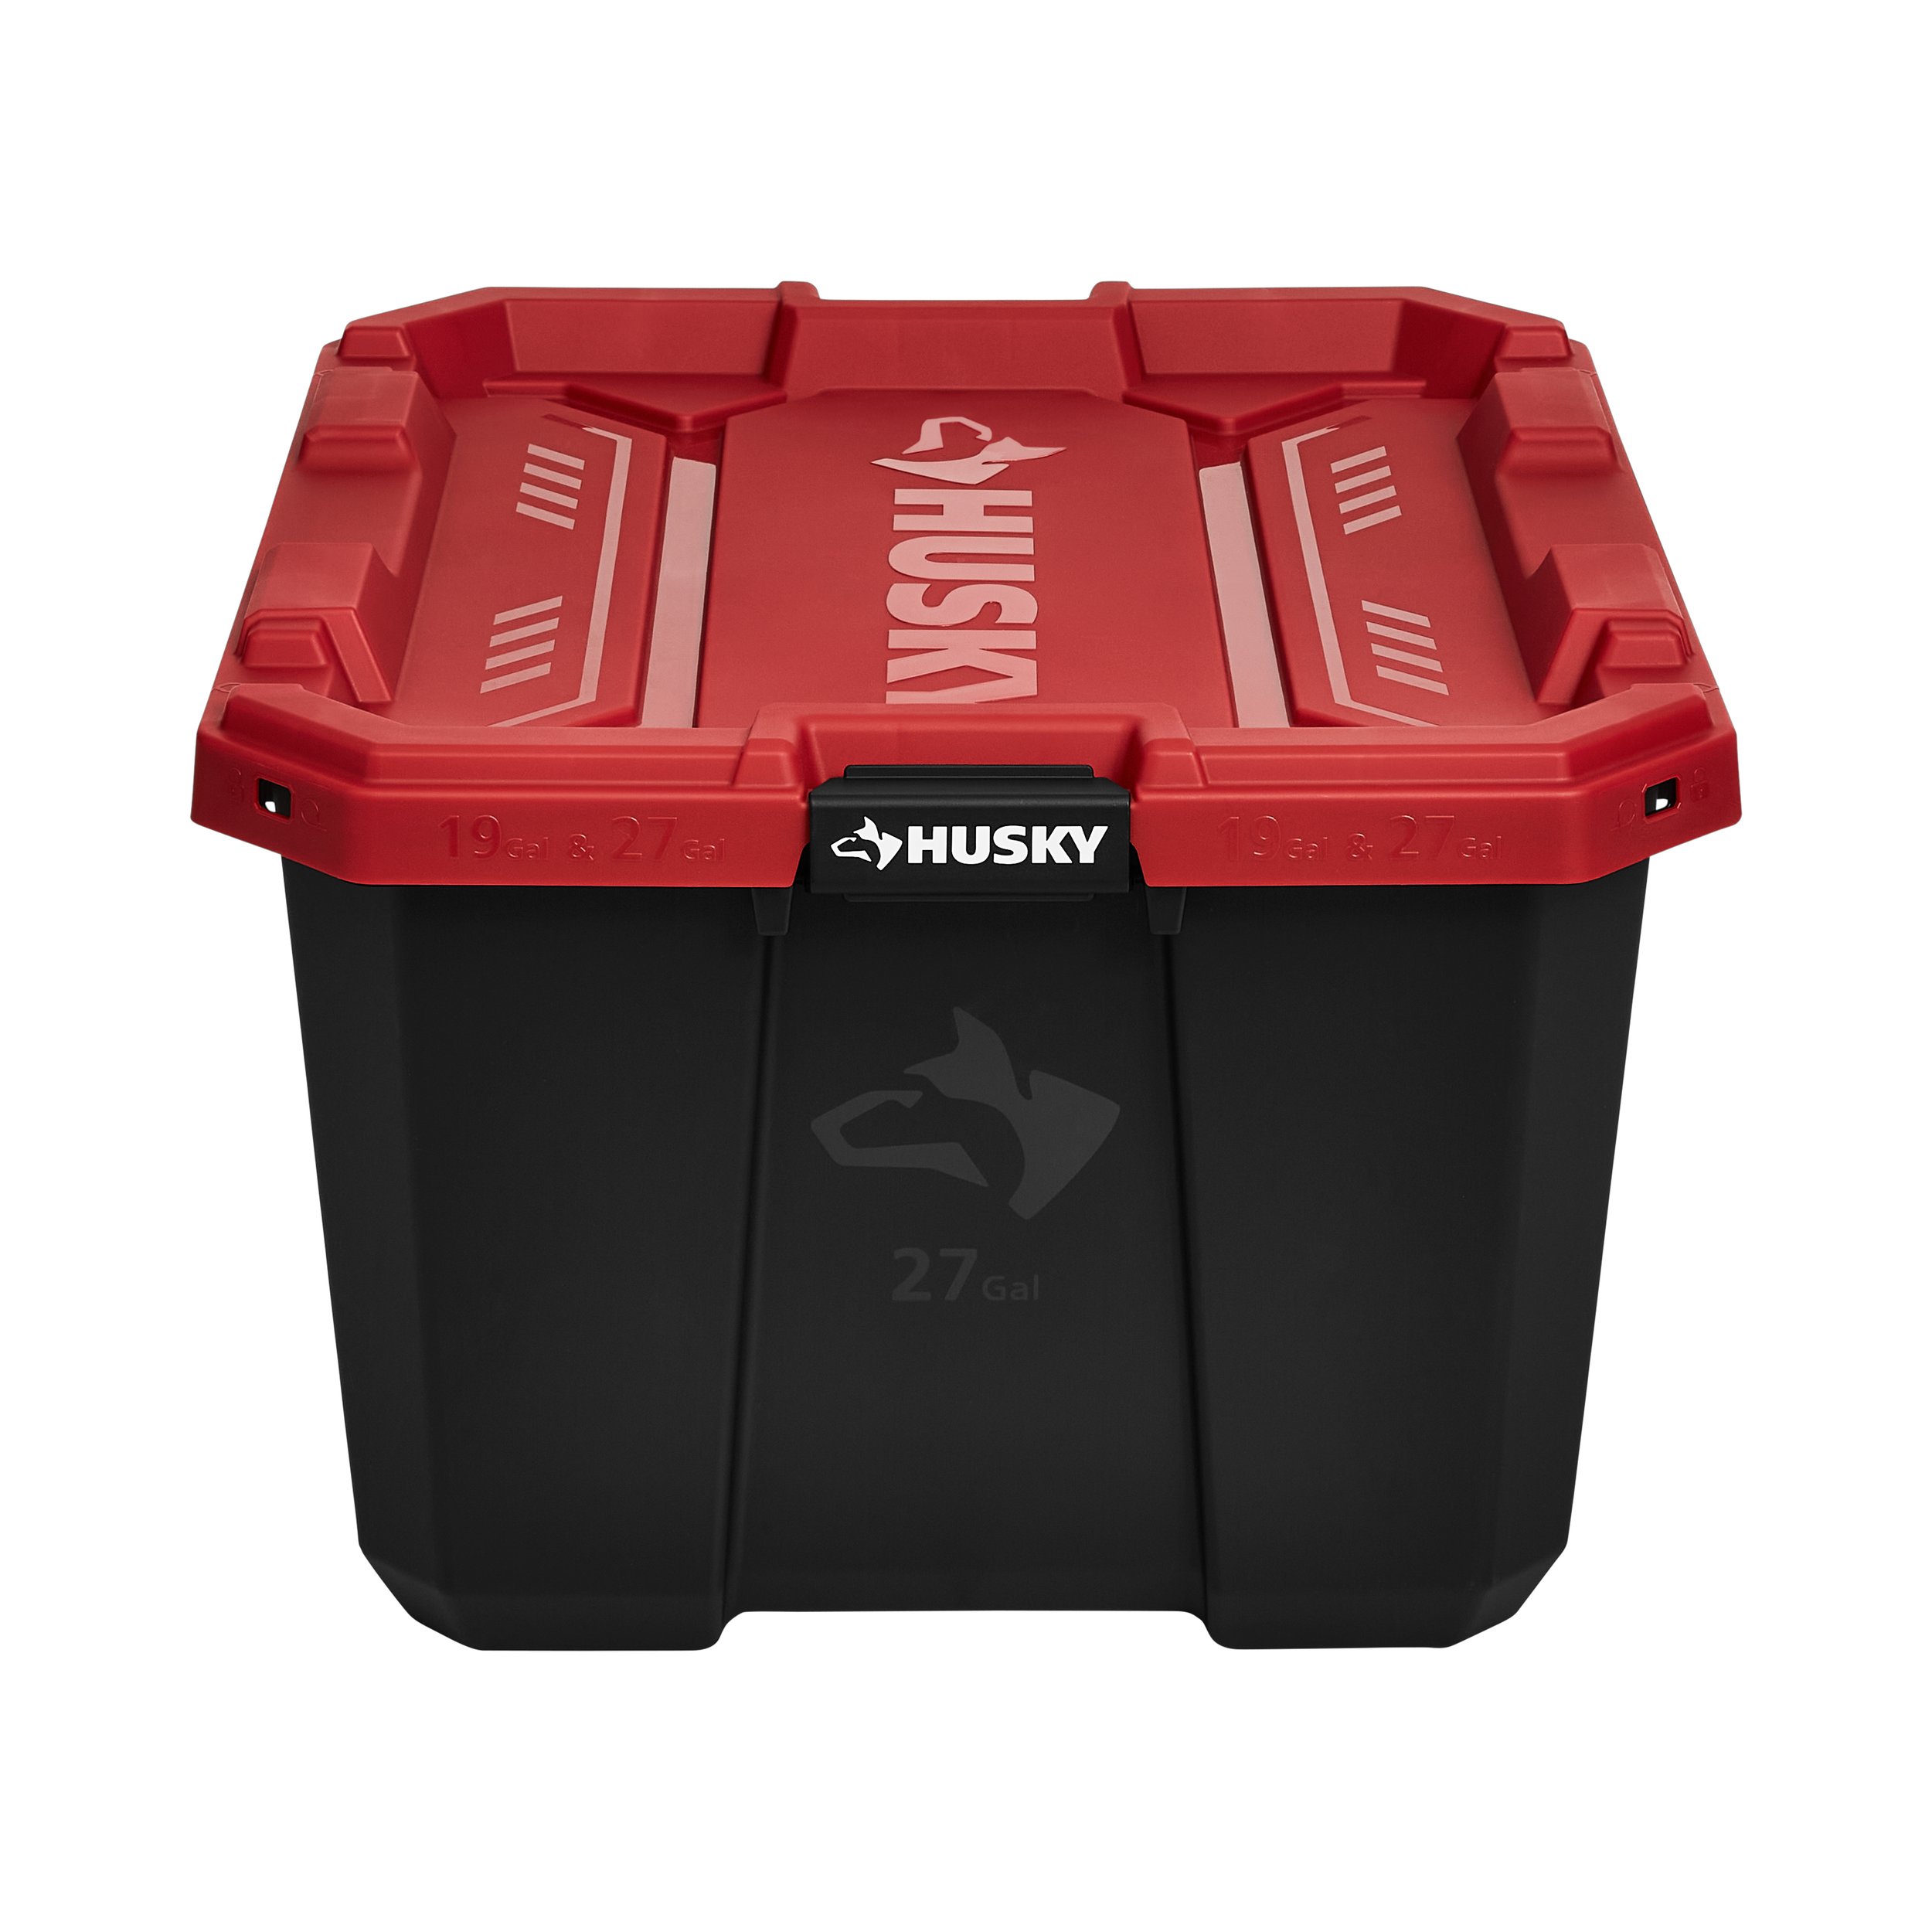

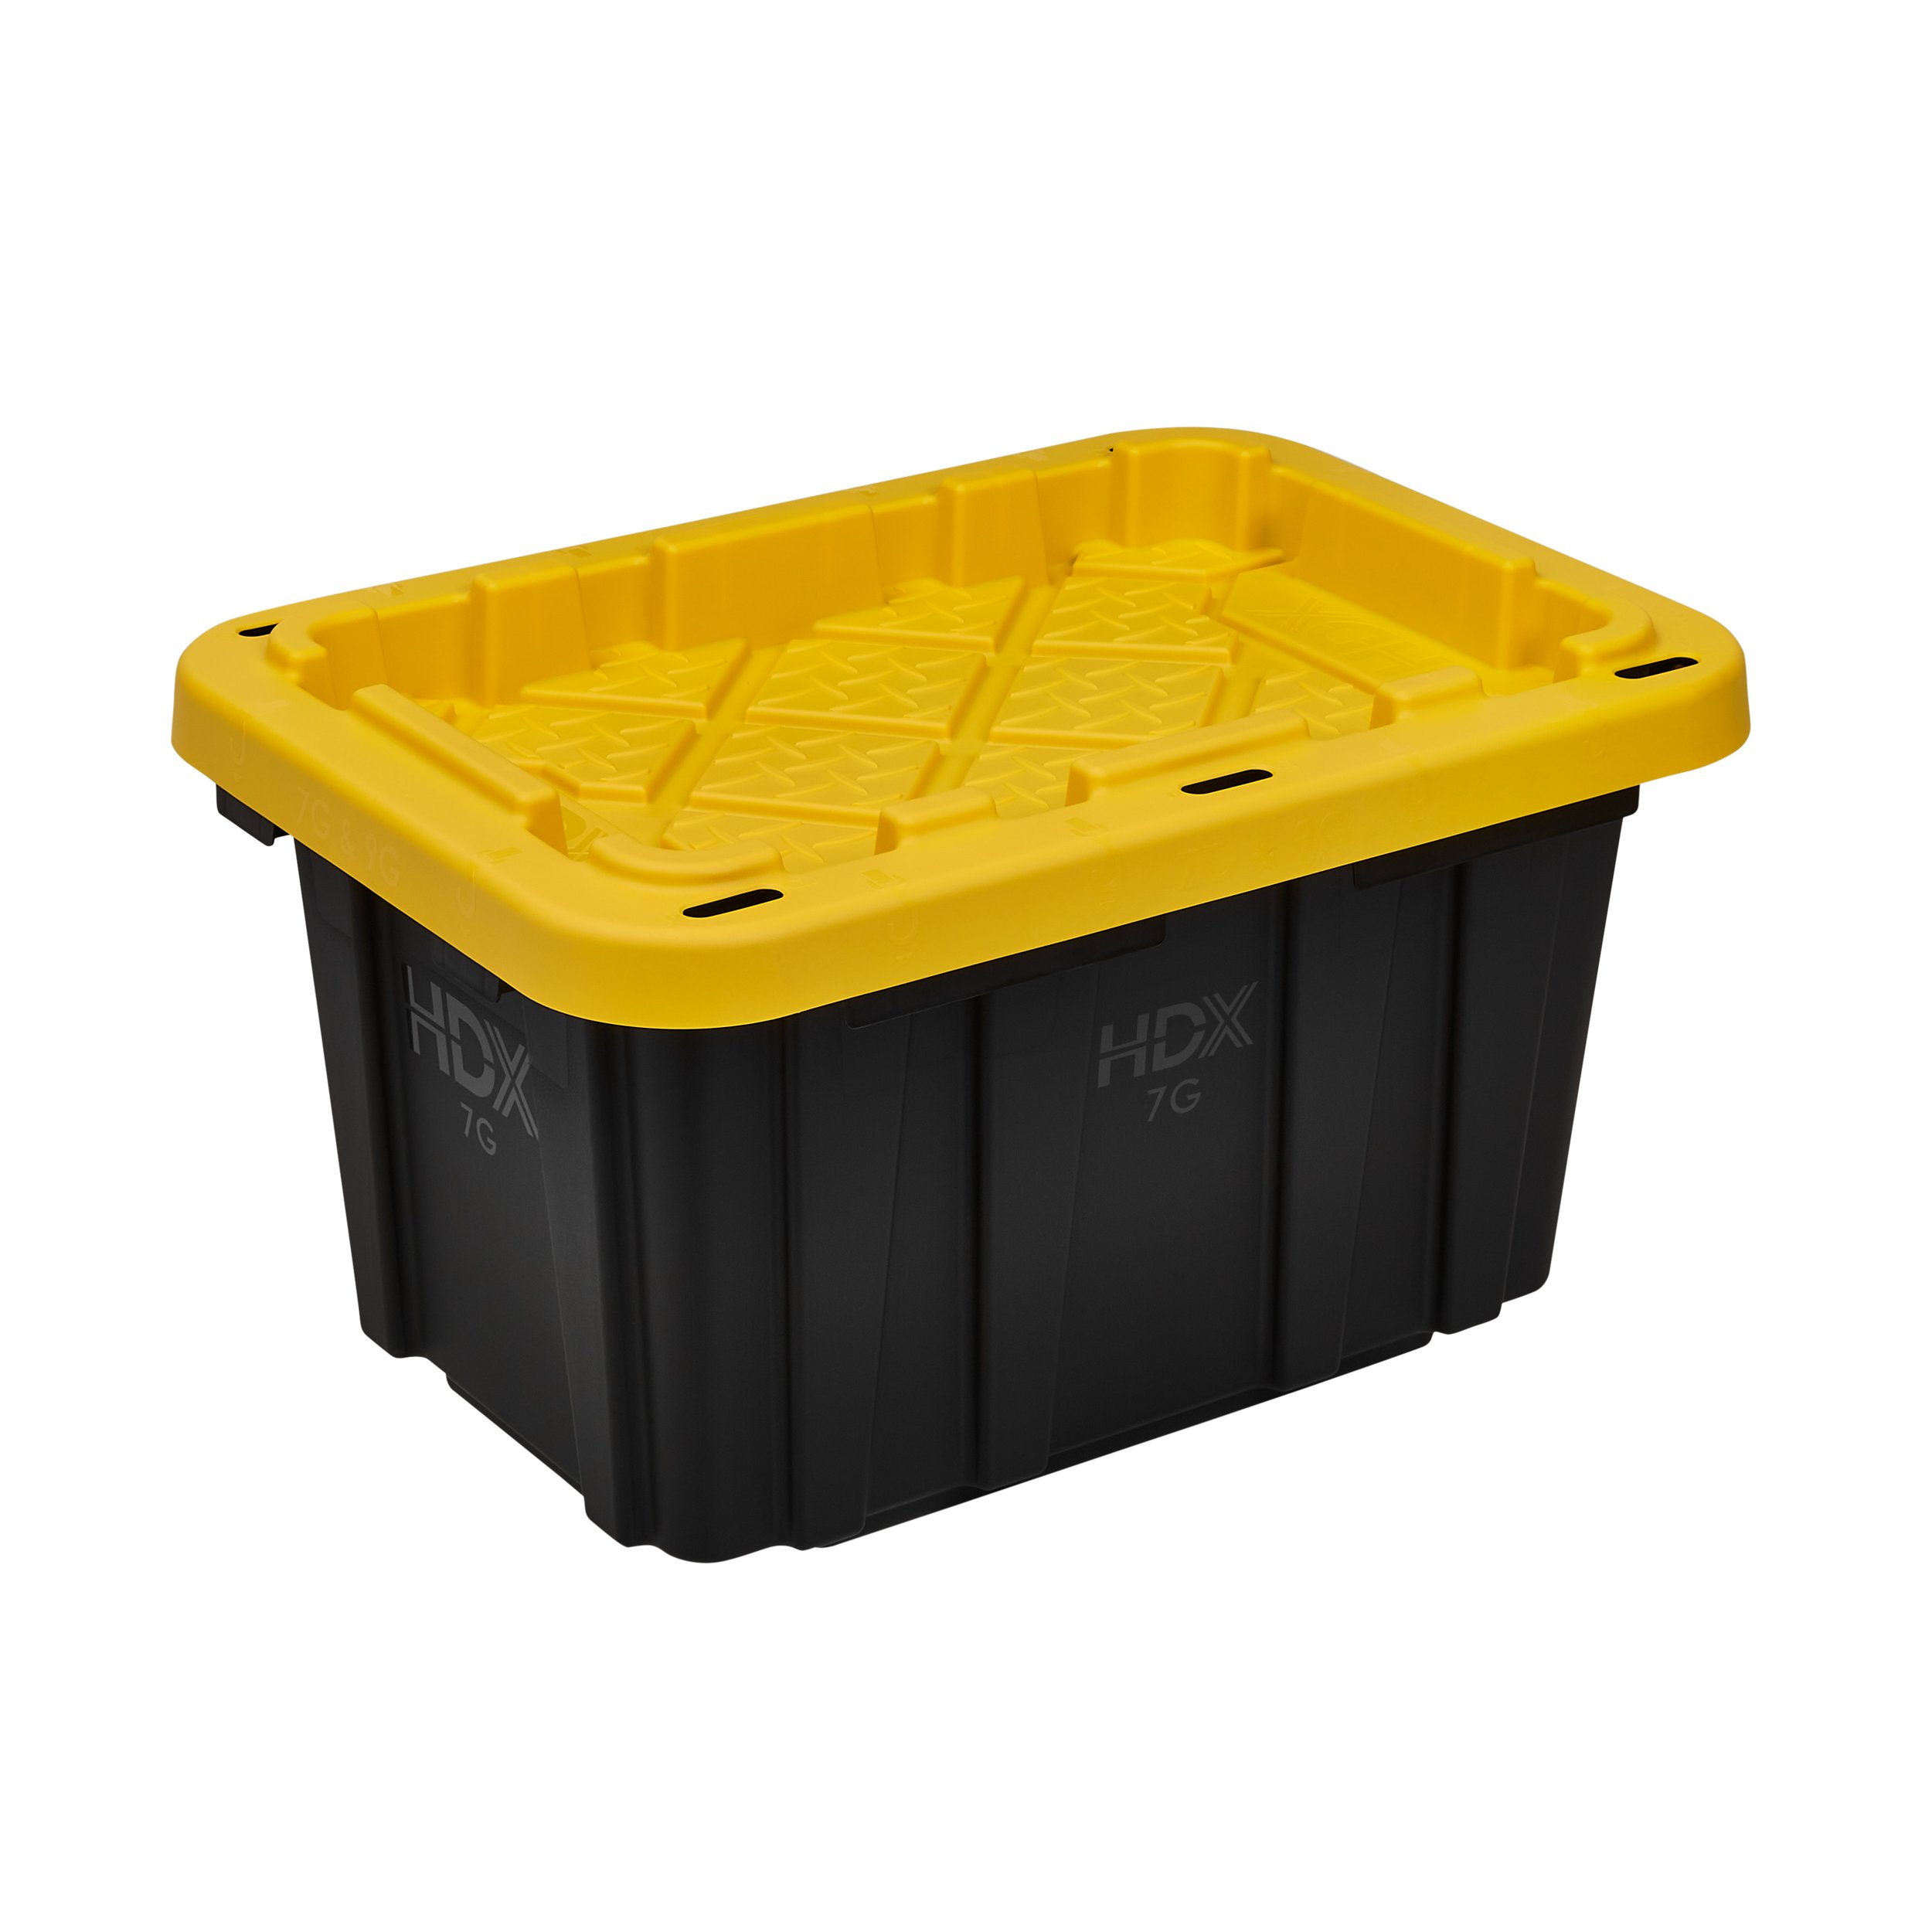

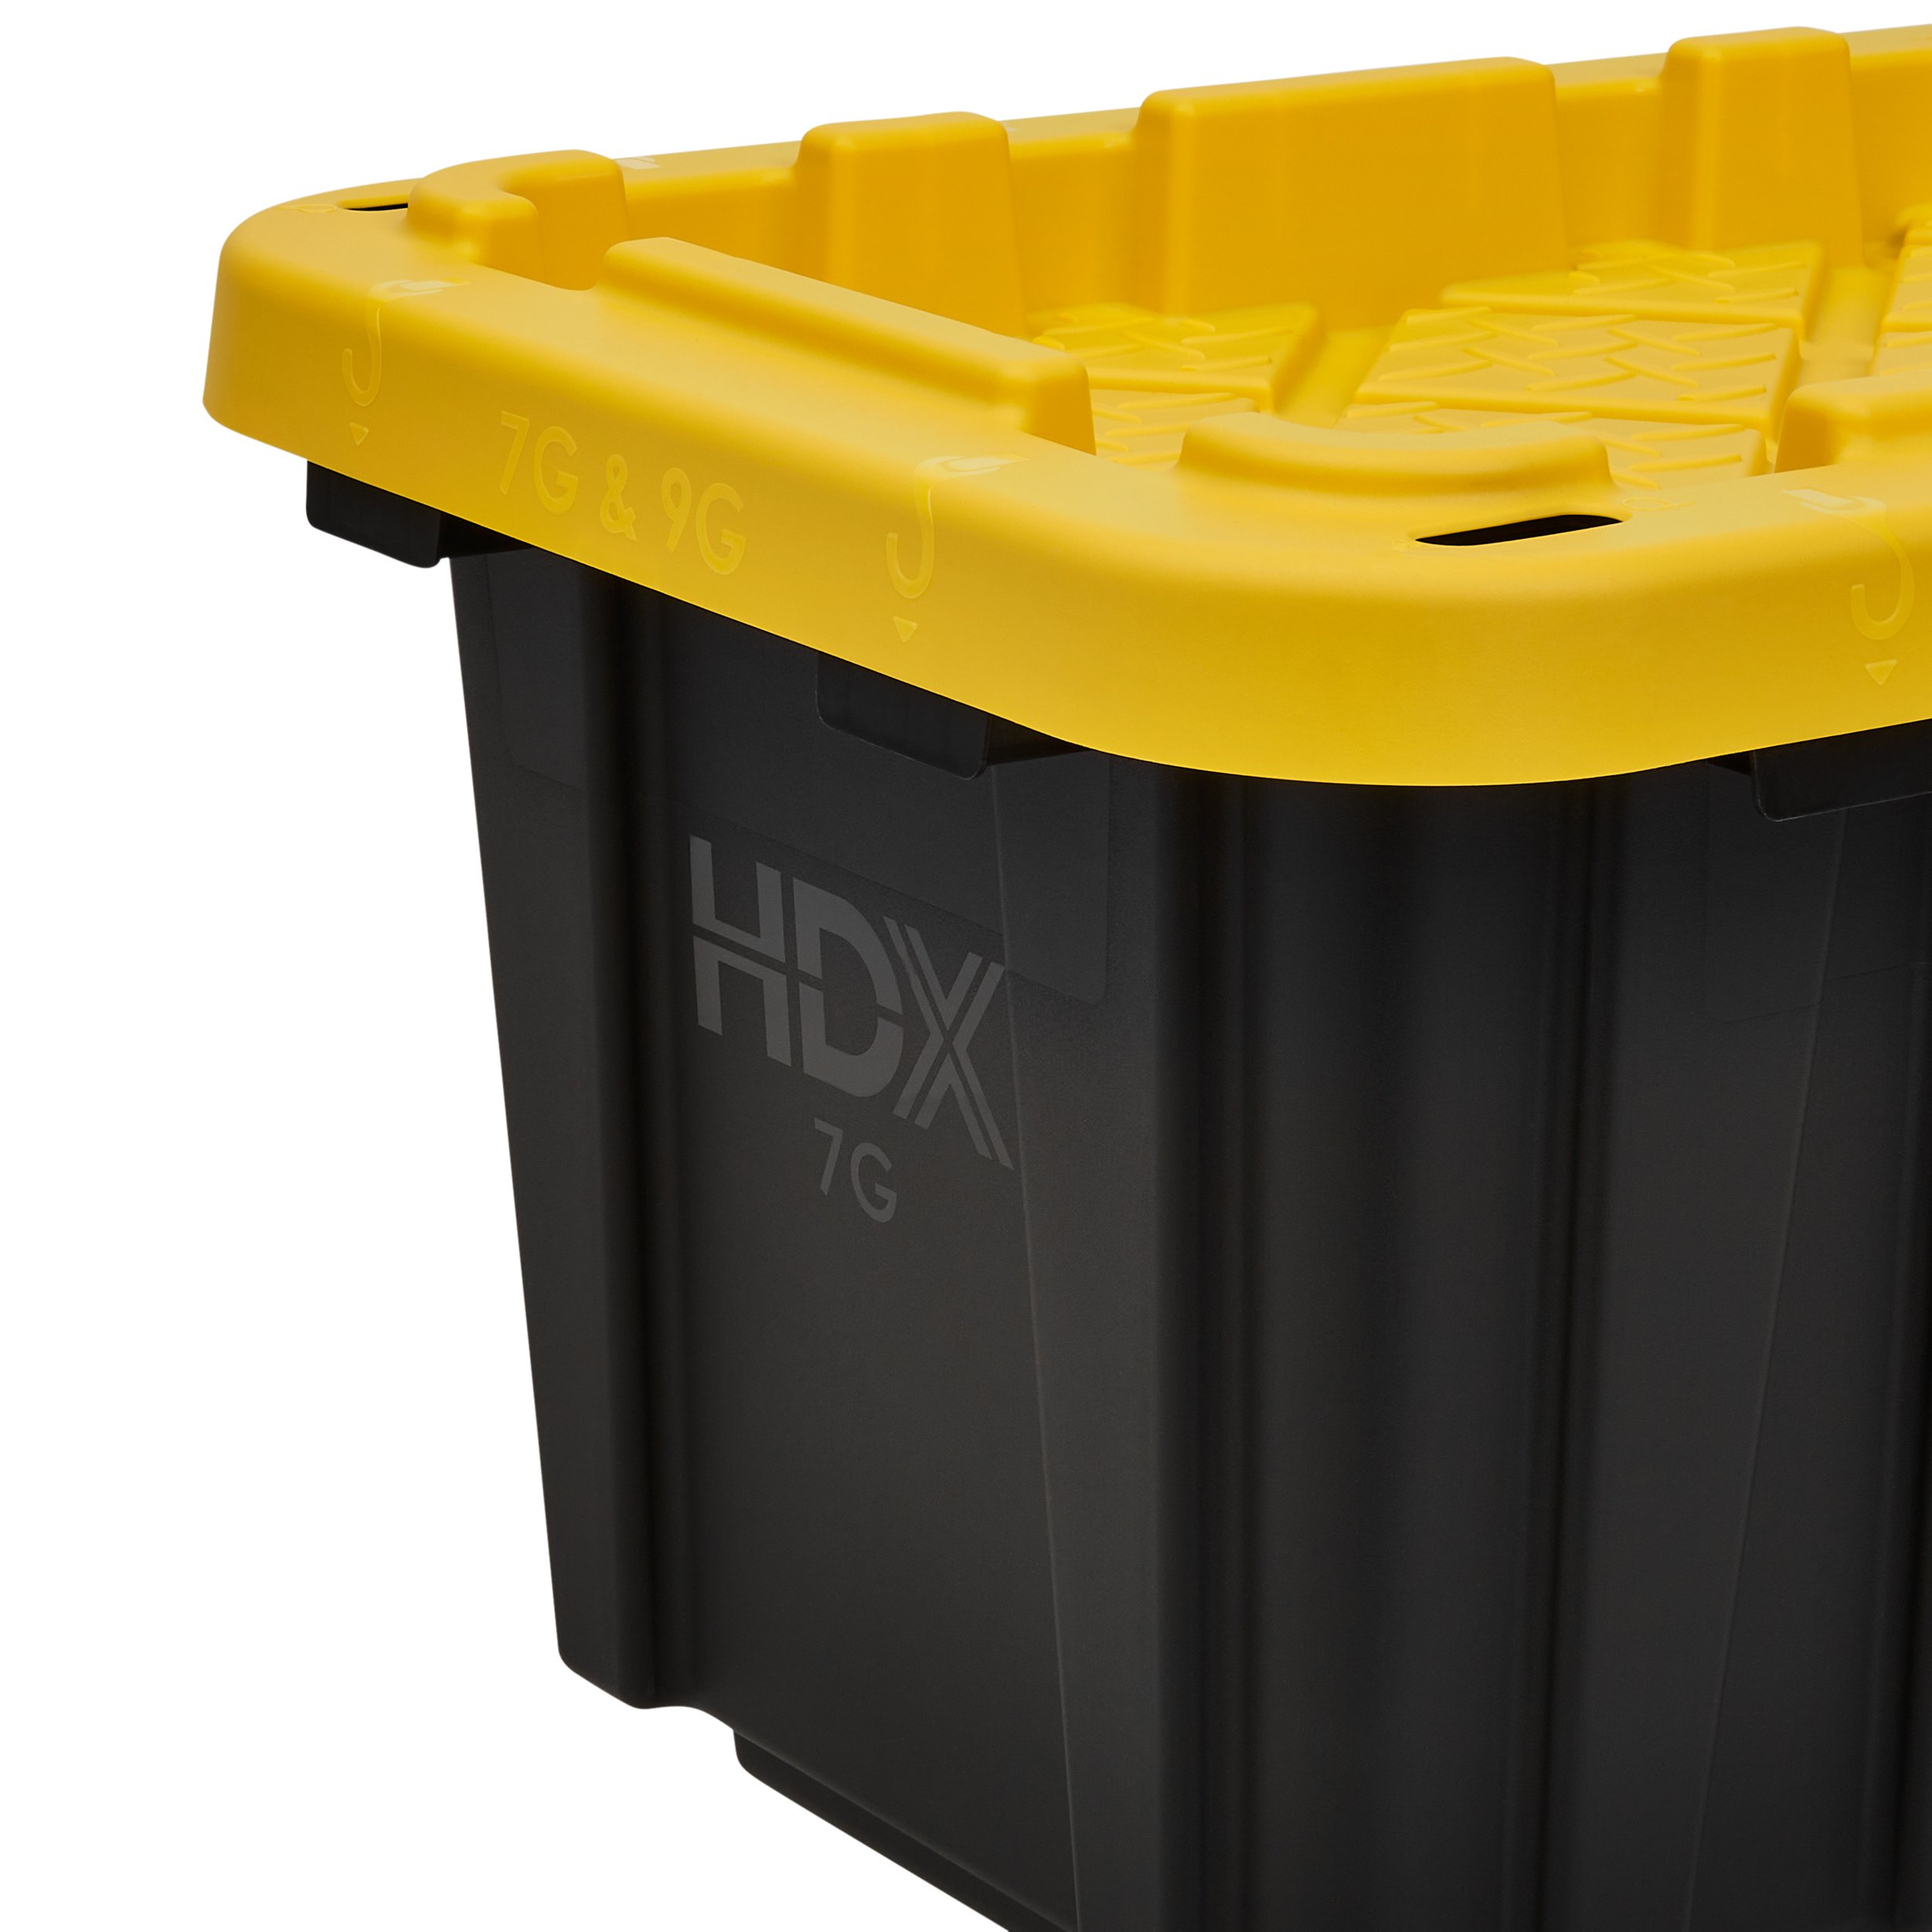

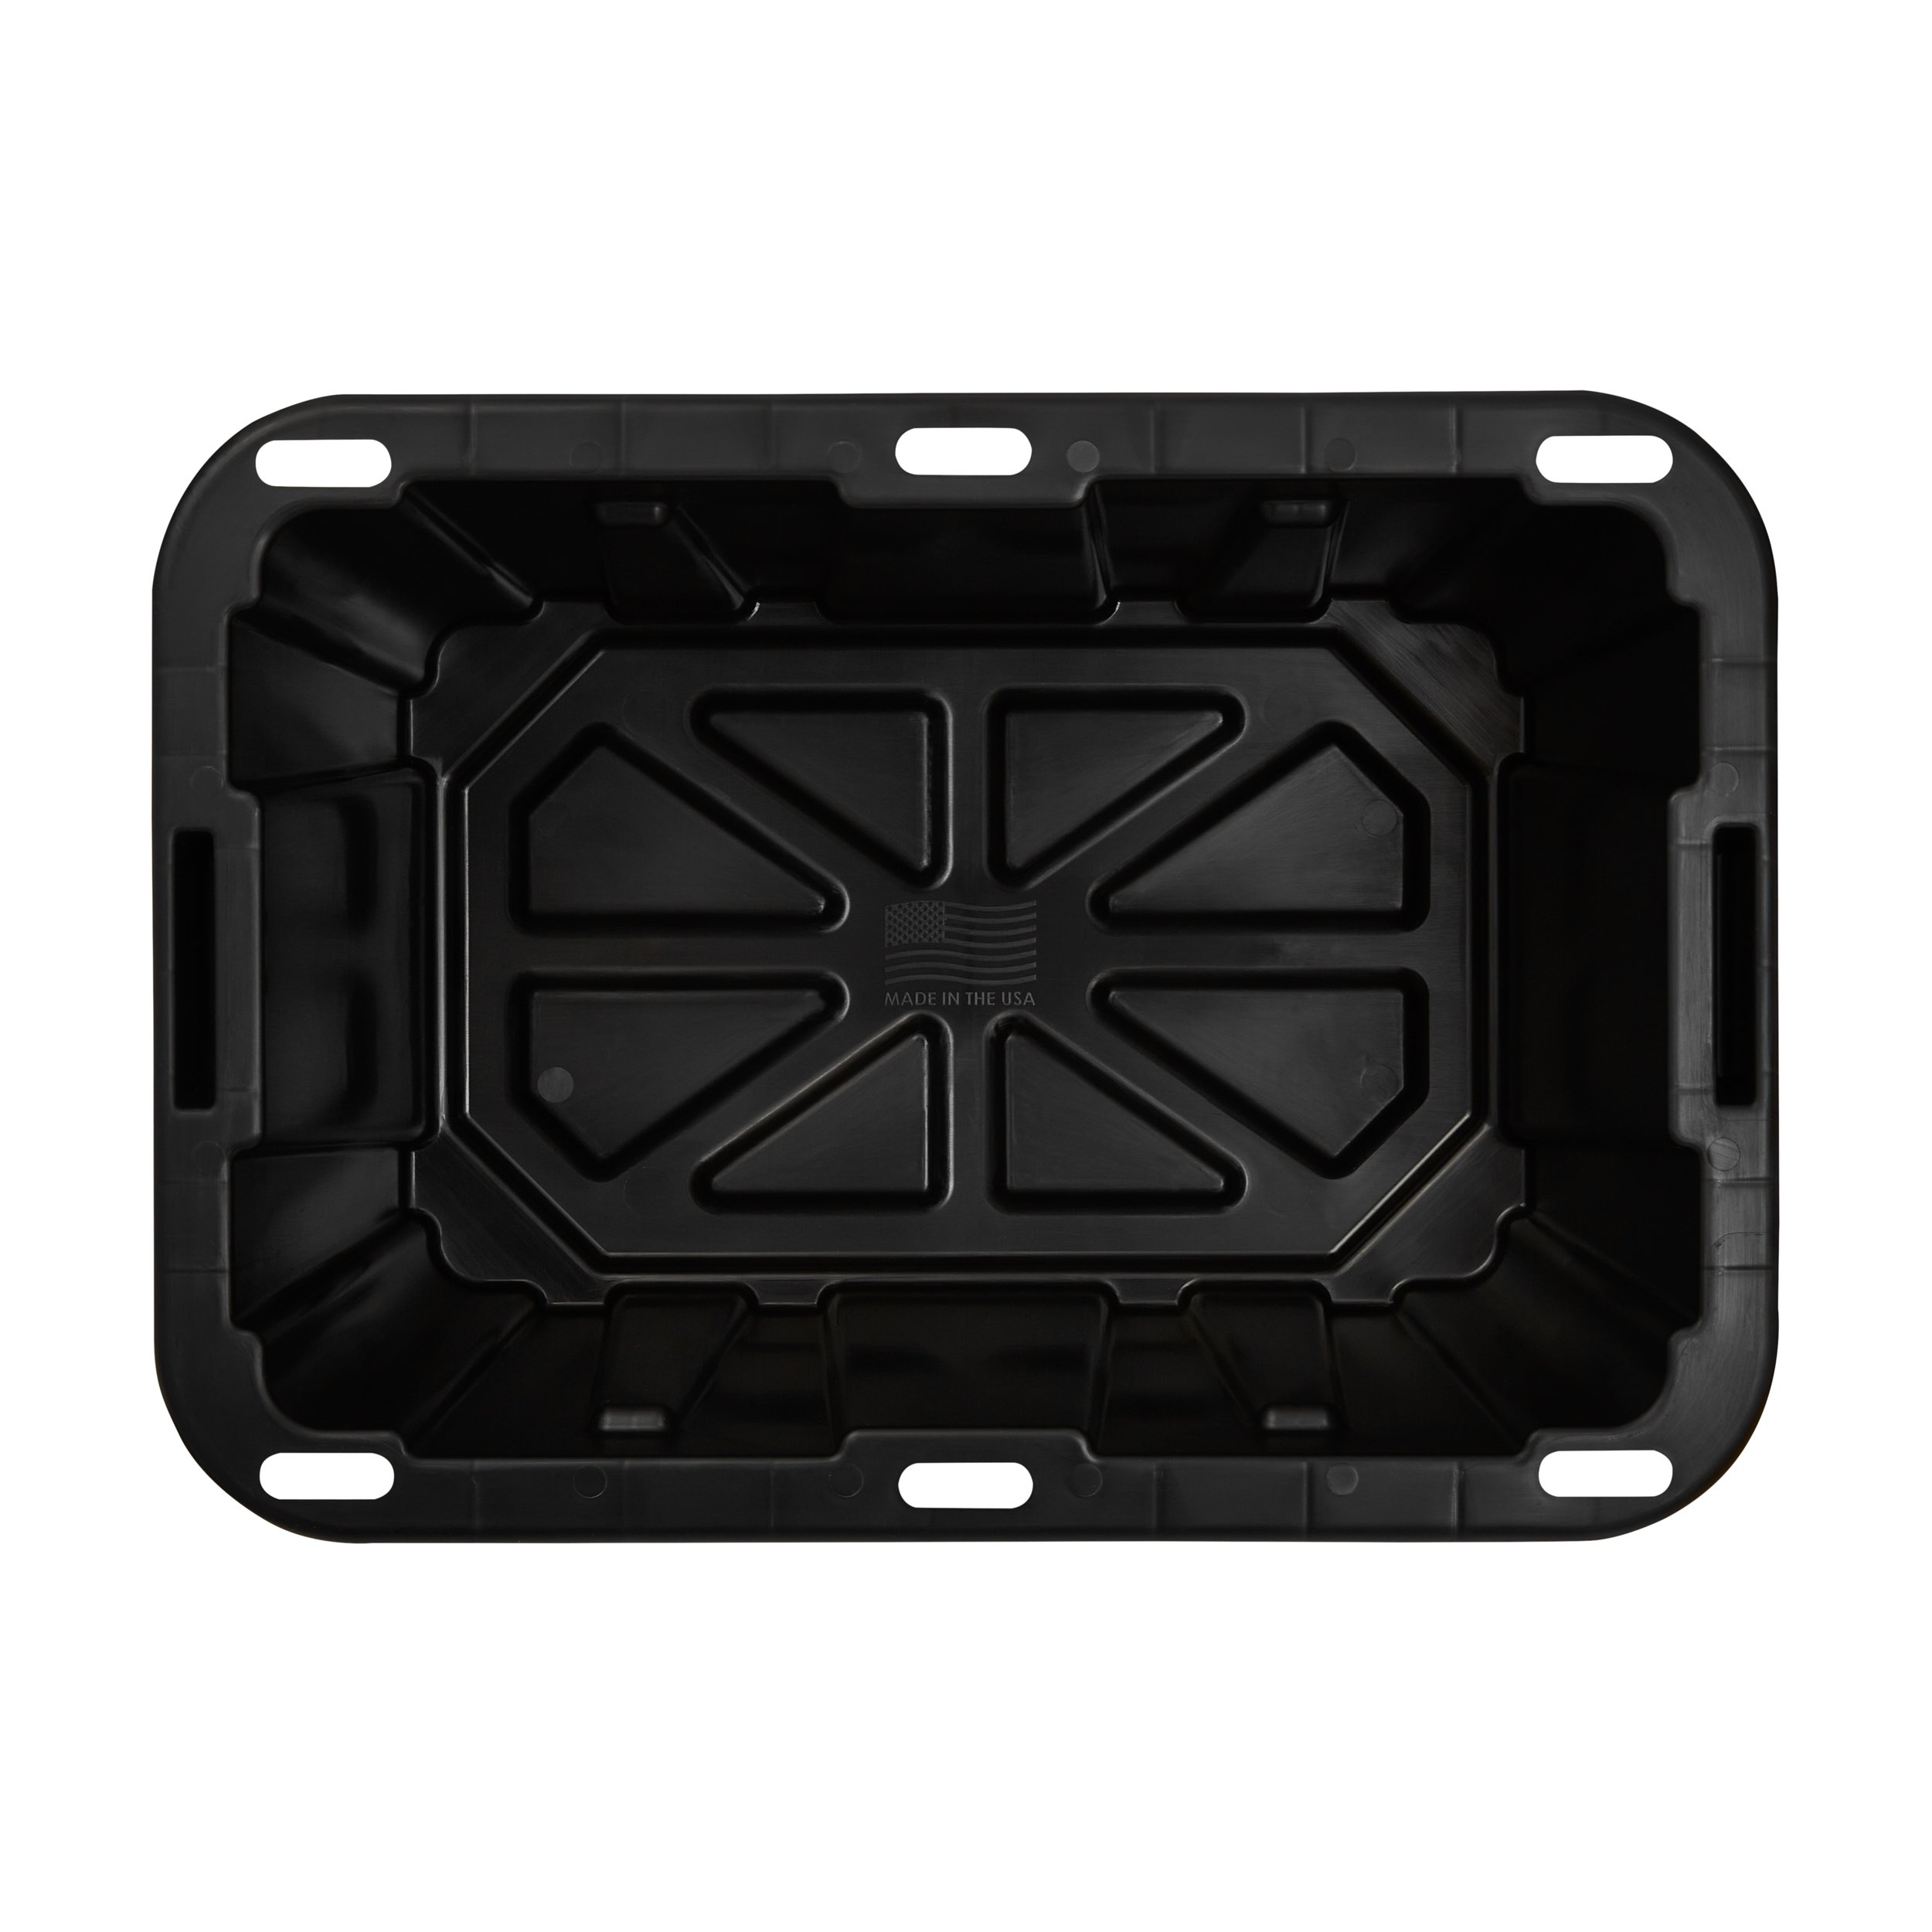
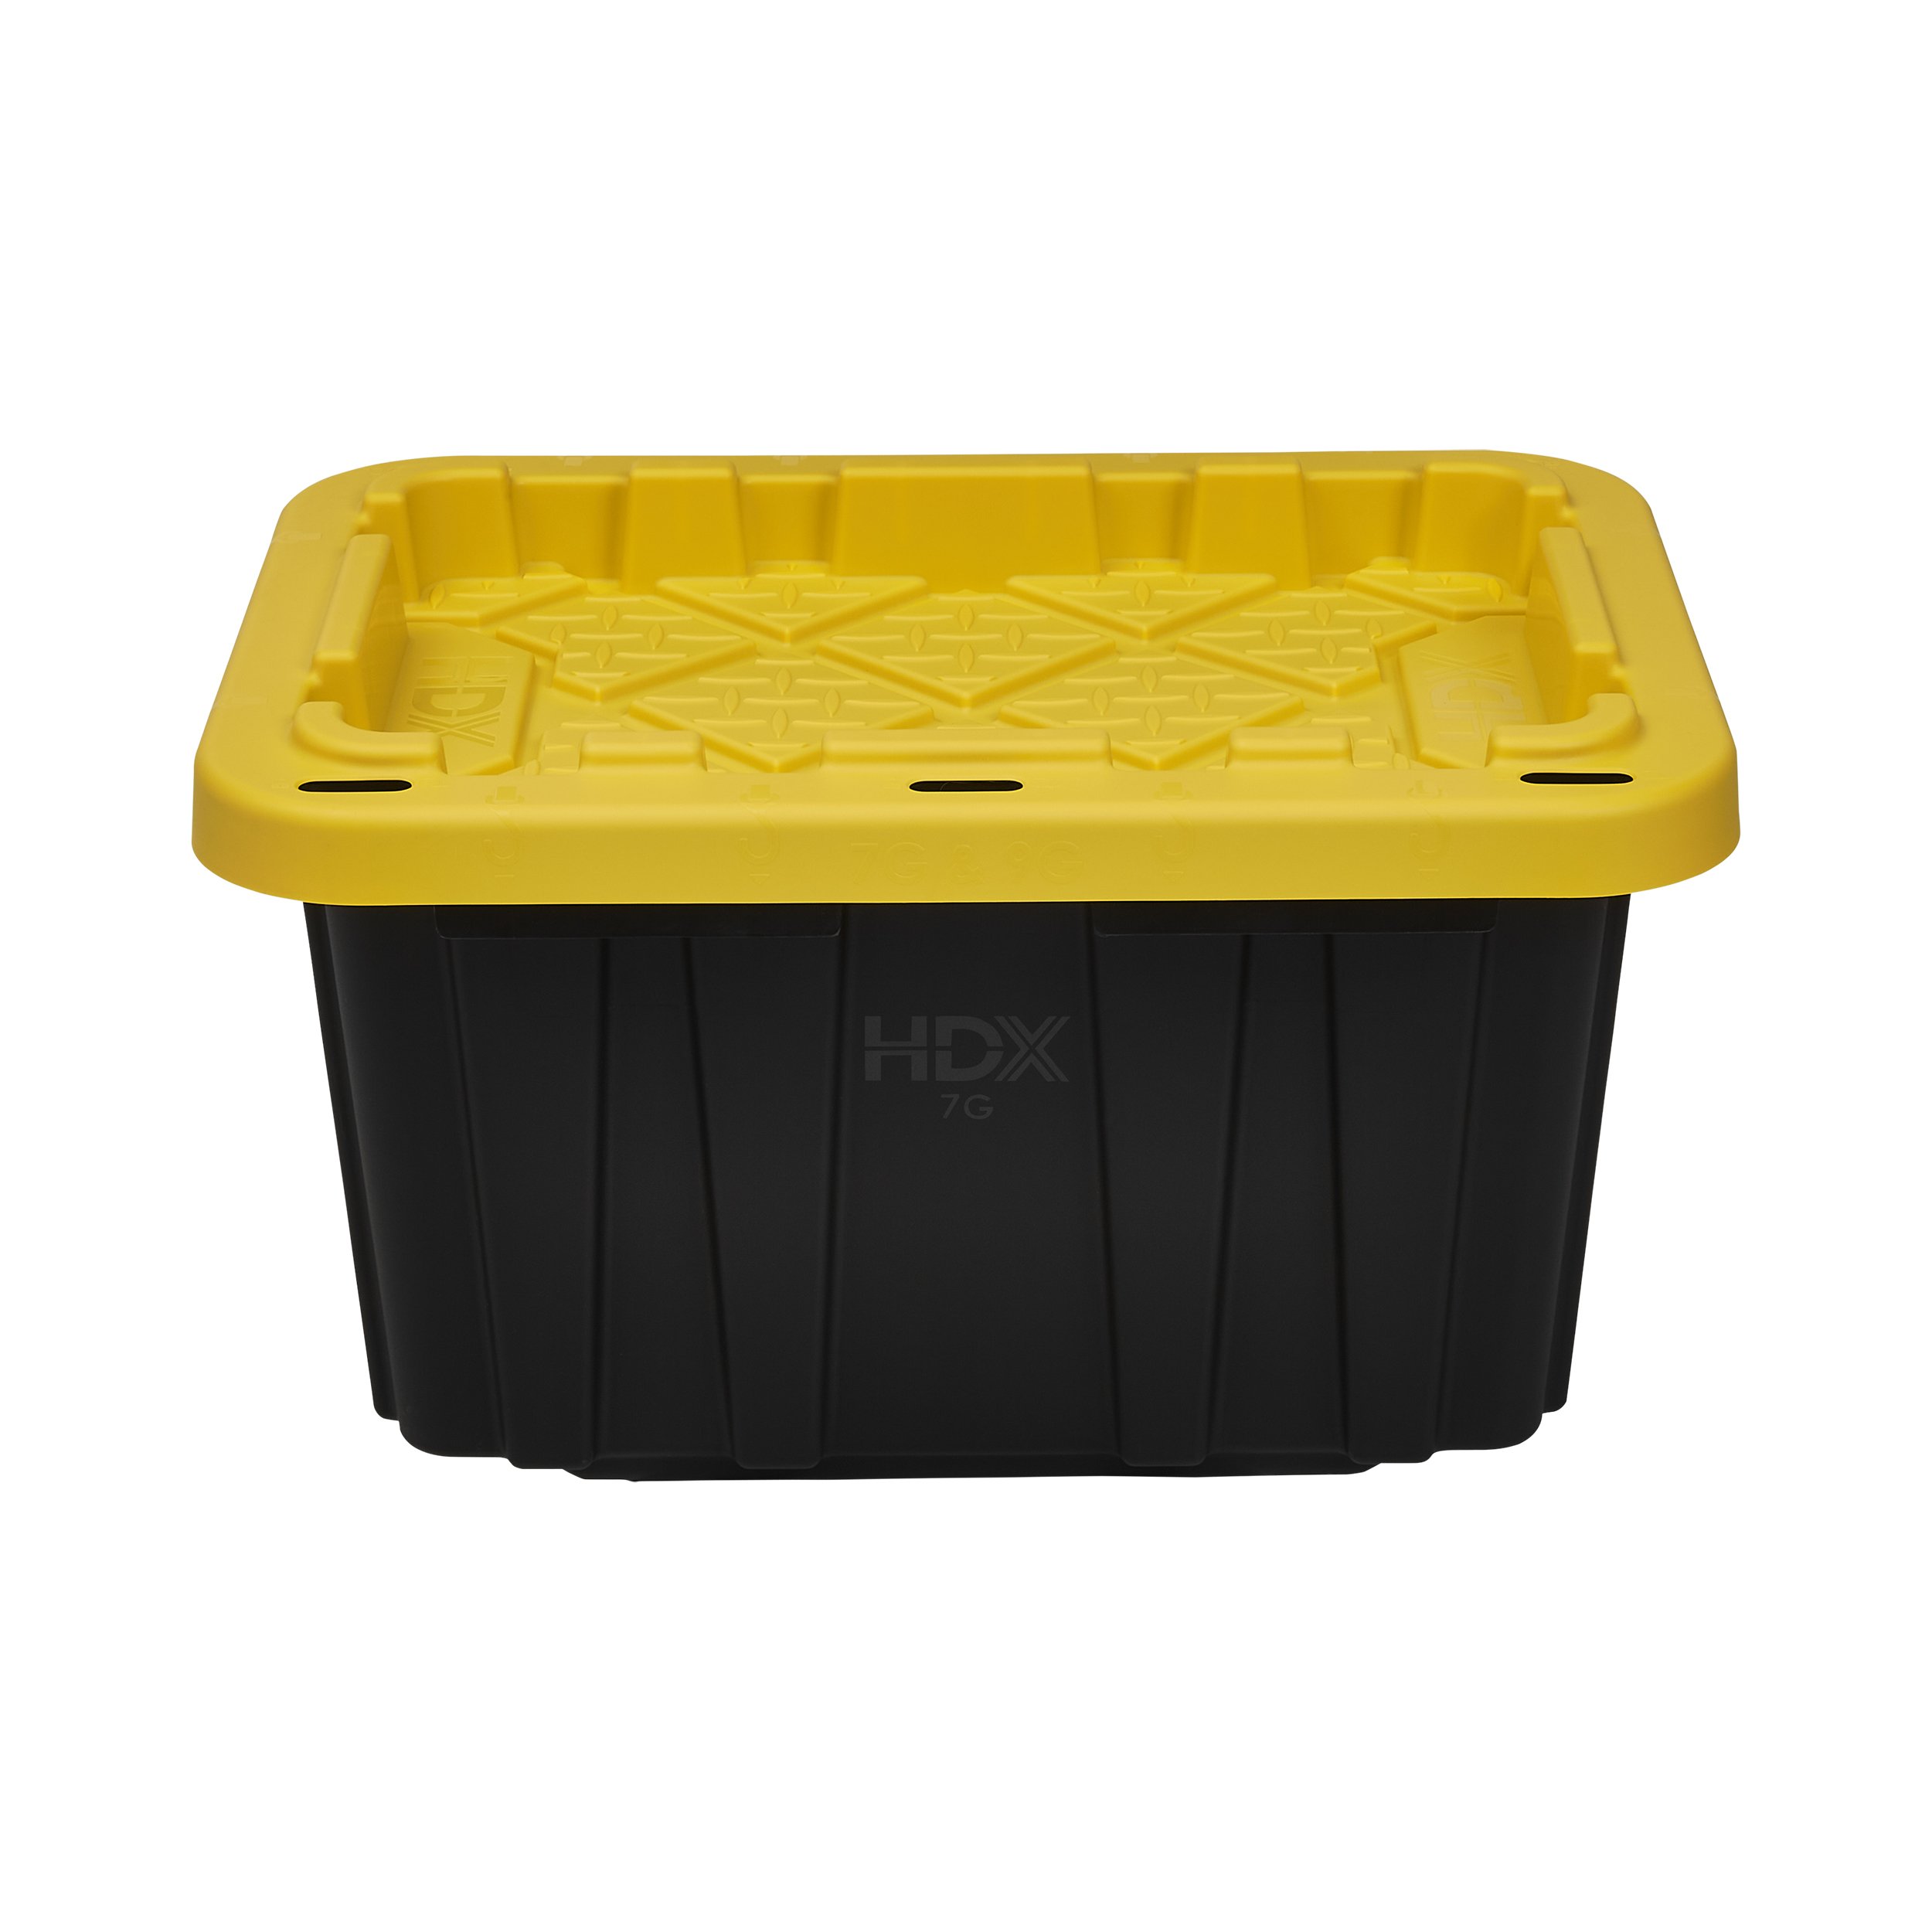
Most photographers I know avoid basic e-comm work like it’s the plague. I get it, shooting large volumes of product on a white background isn’t as exciting as the other work we do, but it’s arguably the most important. And, to be quite frank, it makes you the most money.
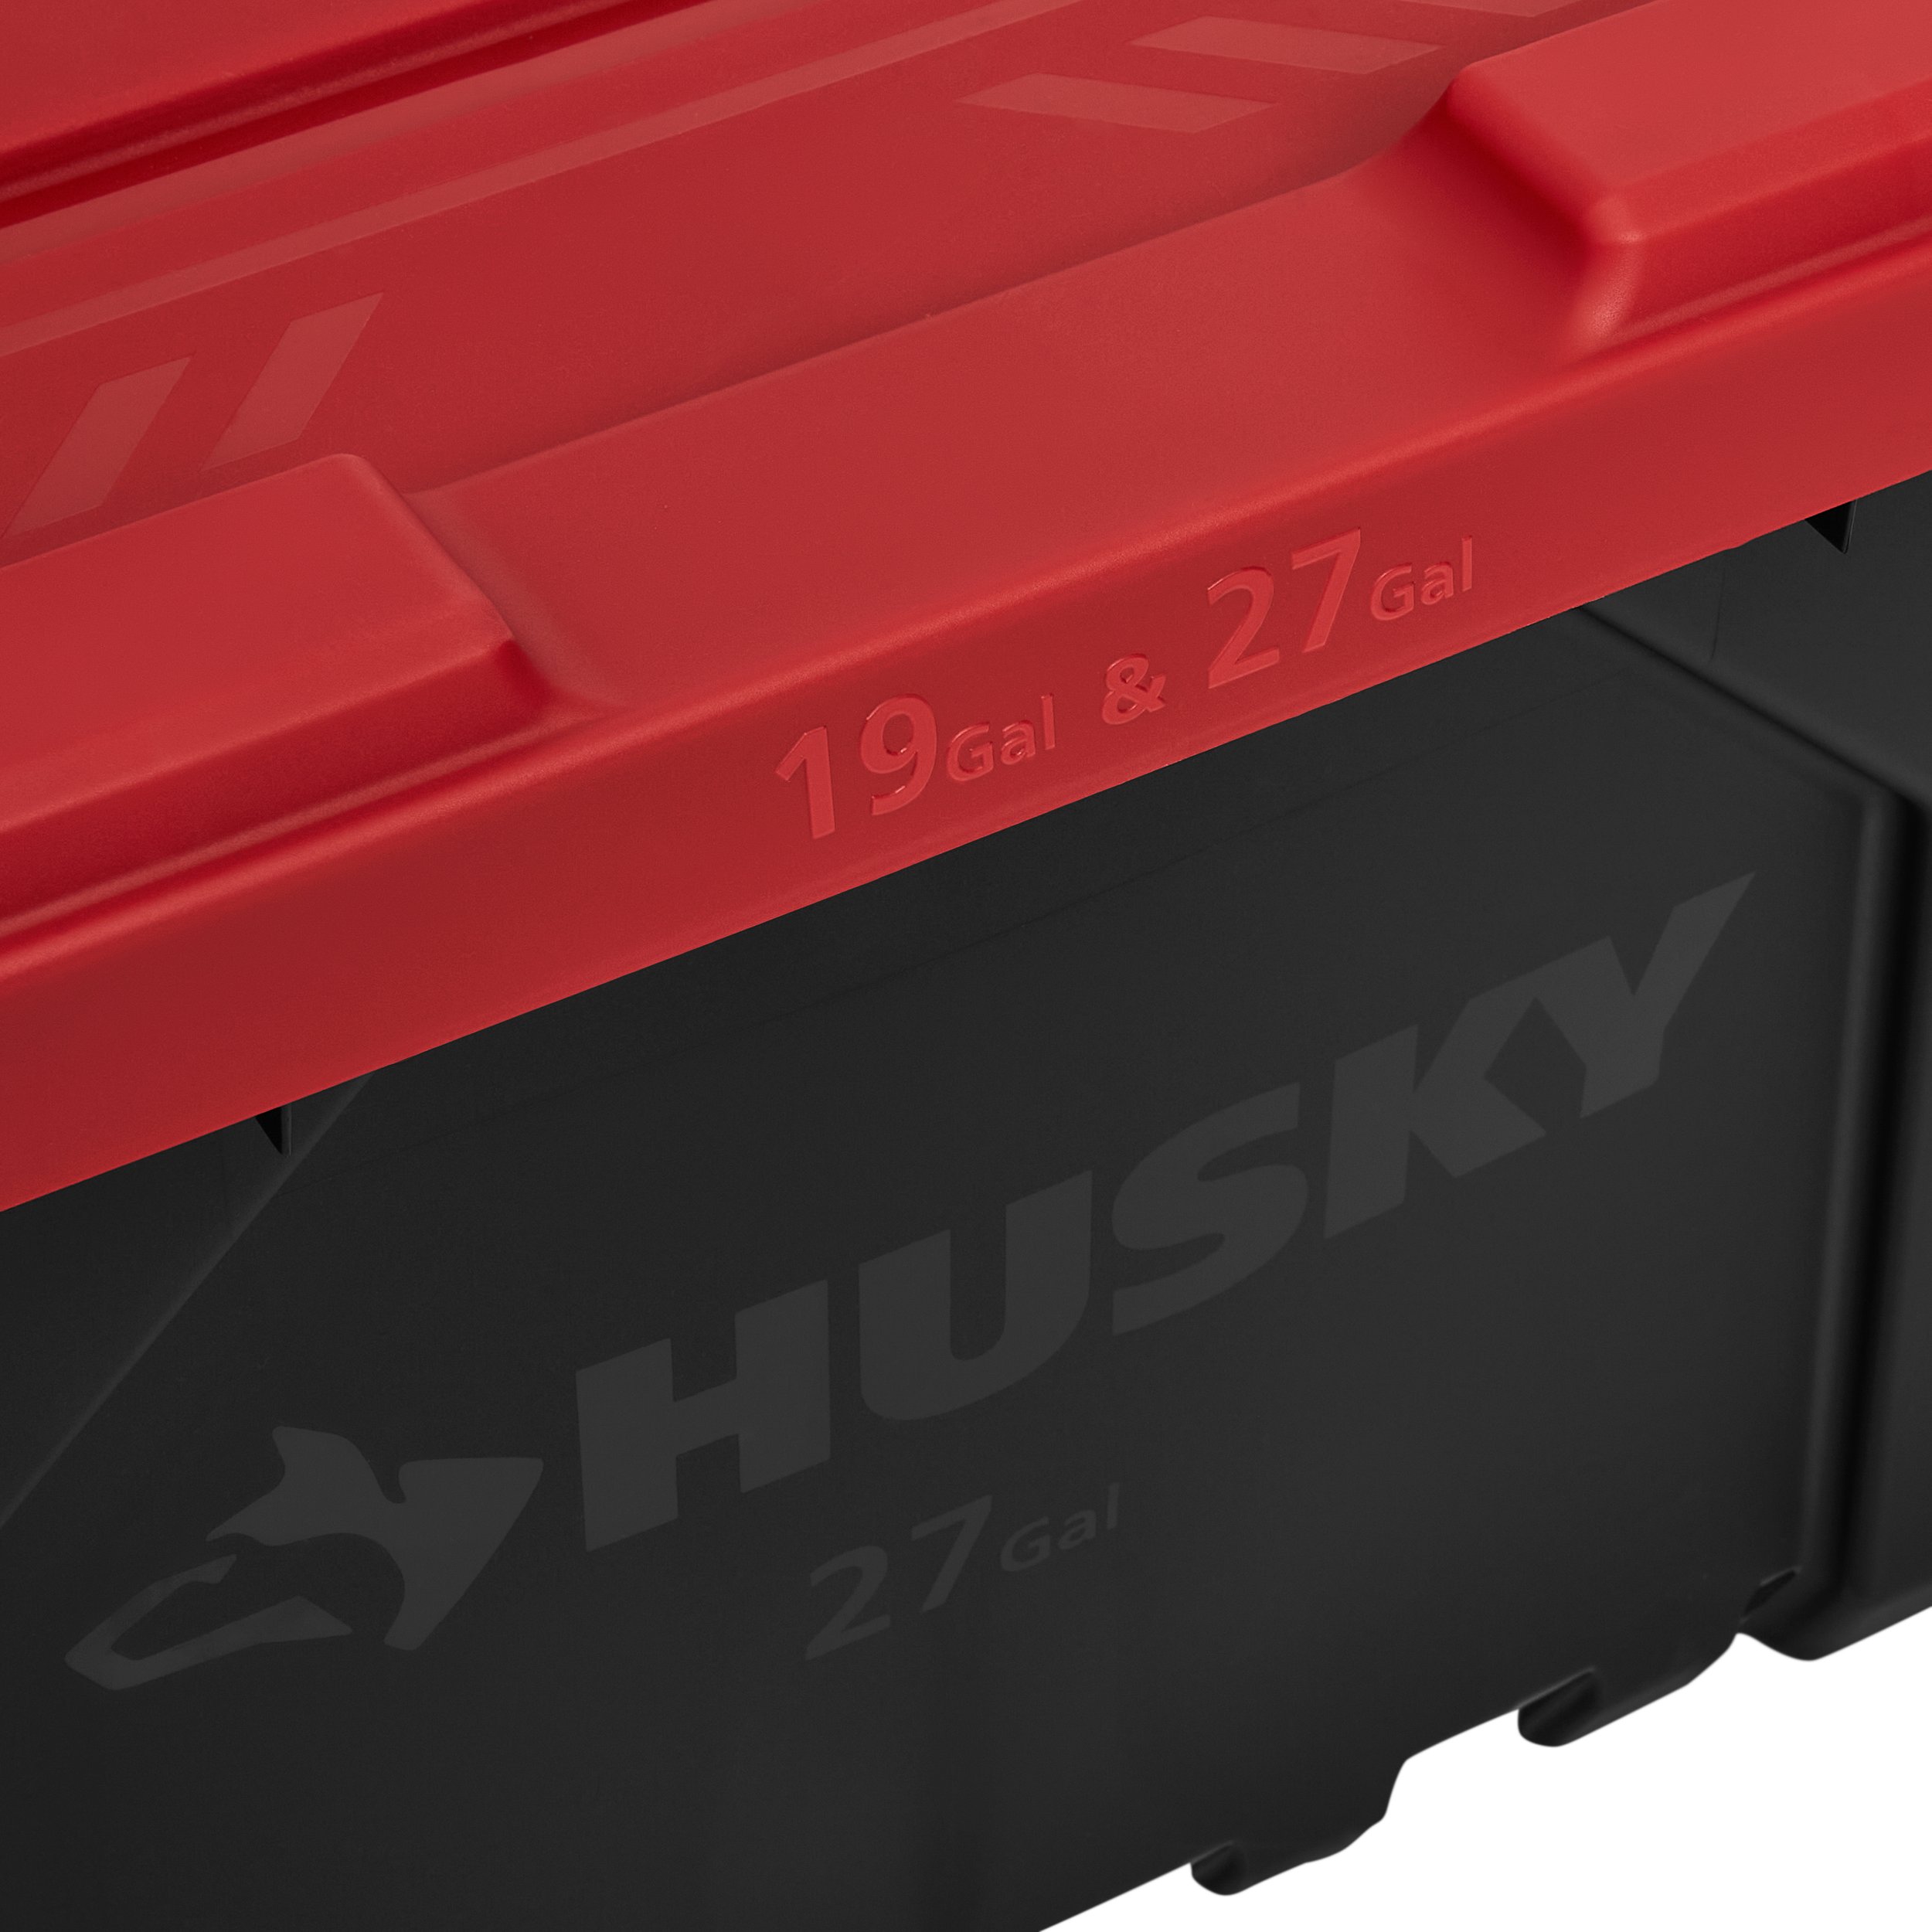
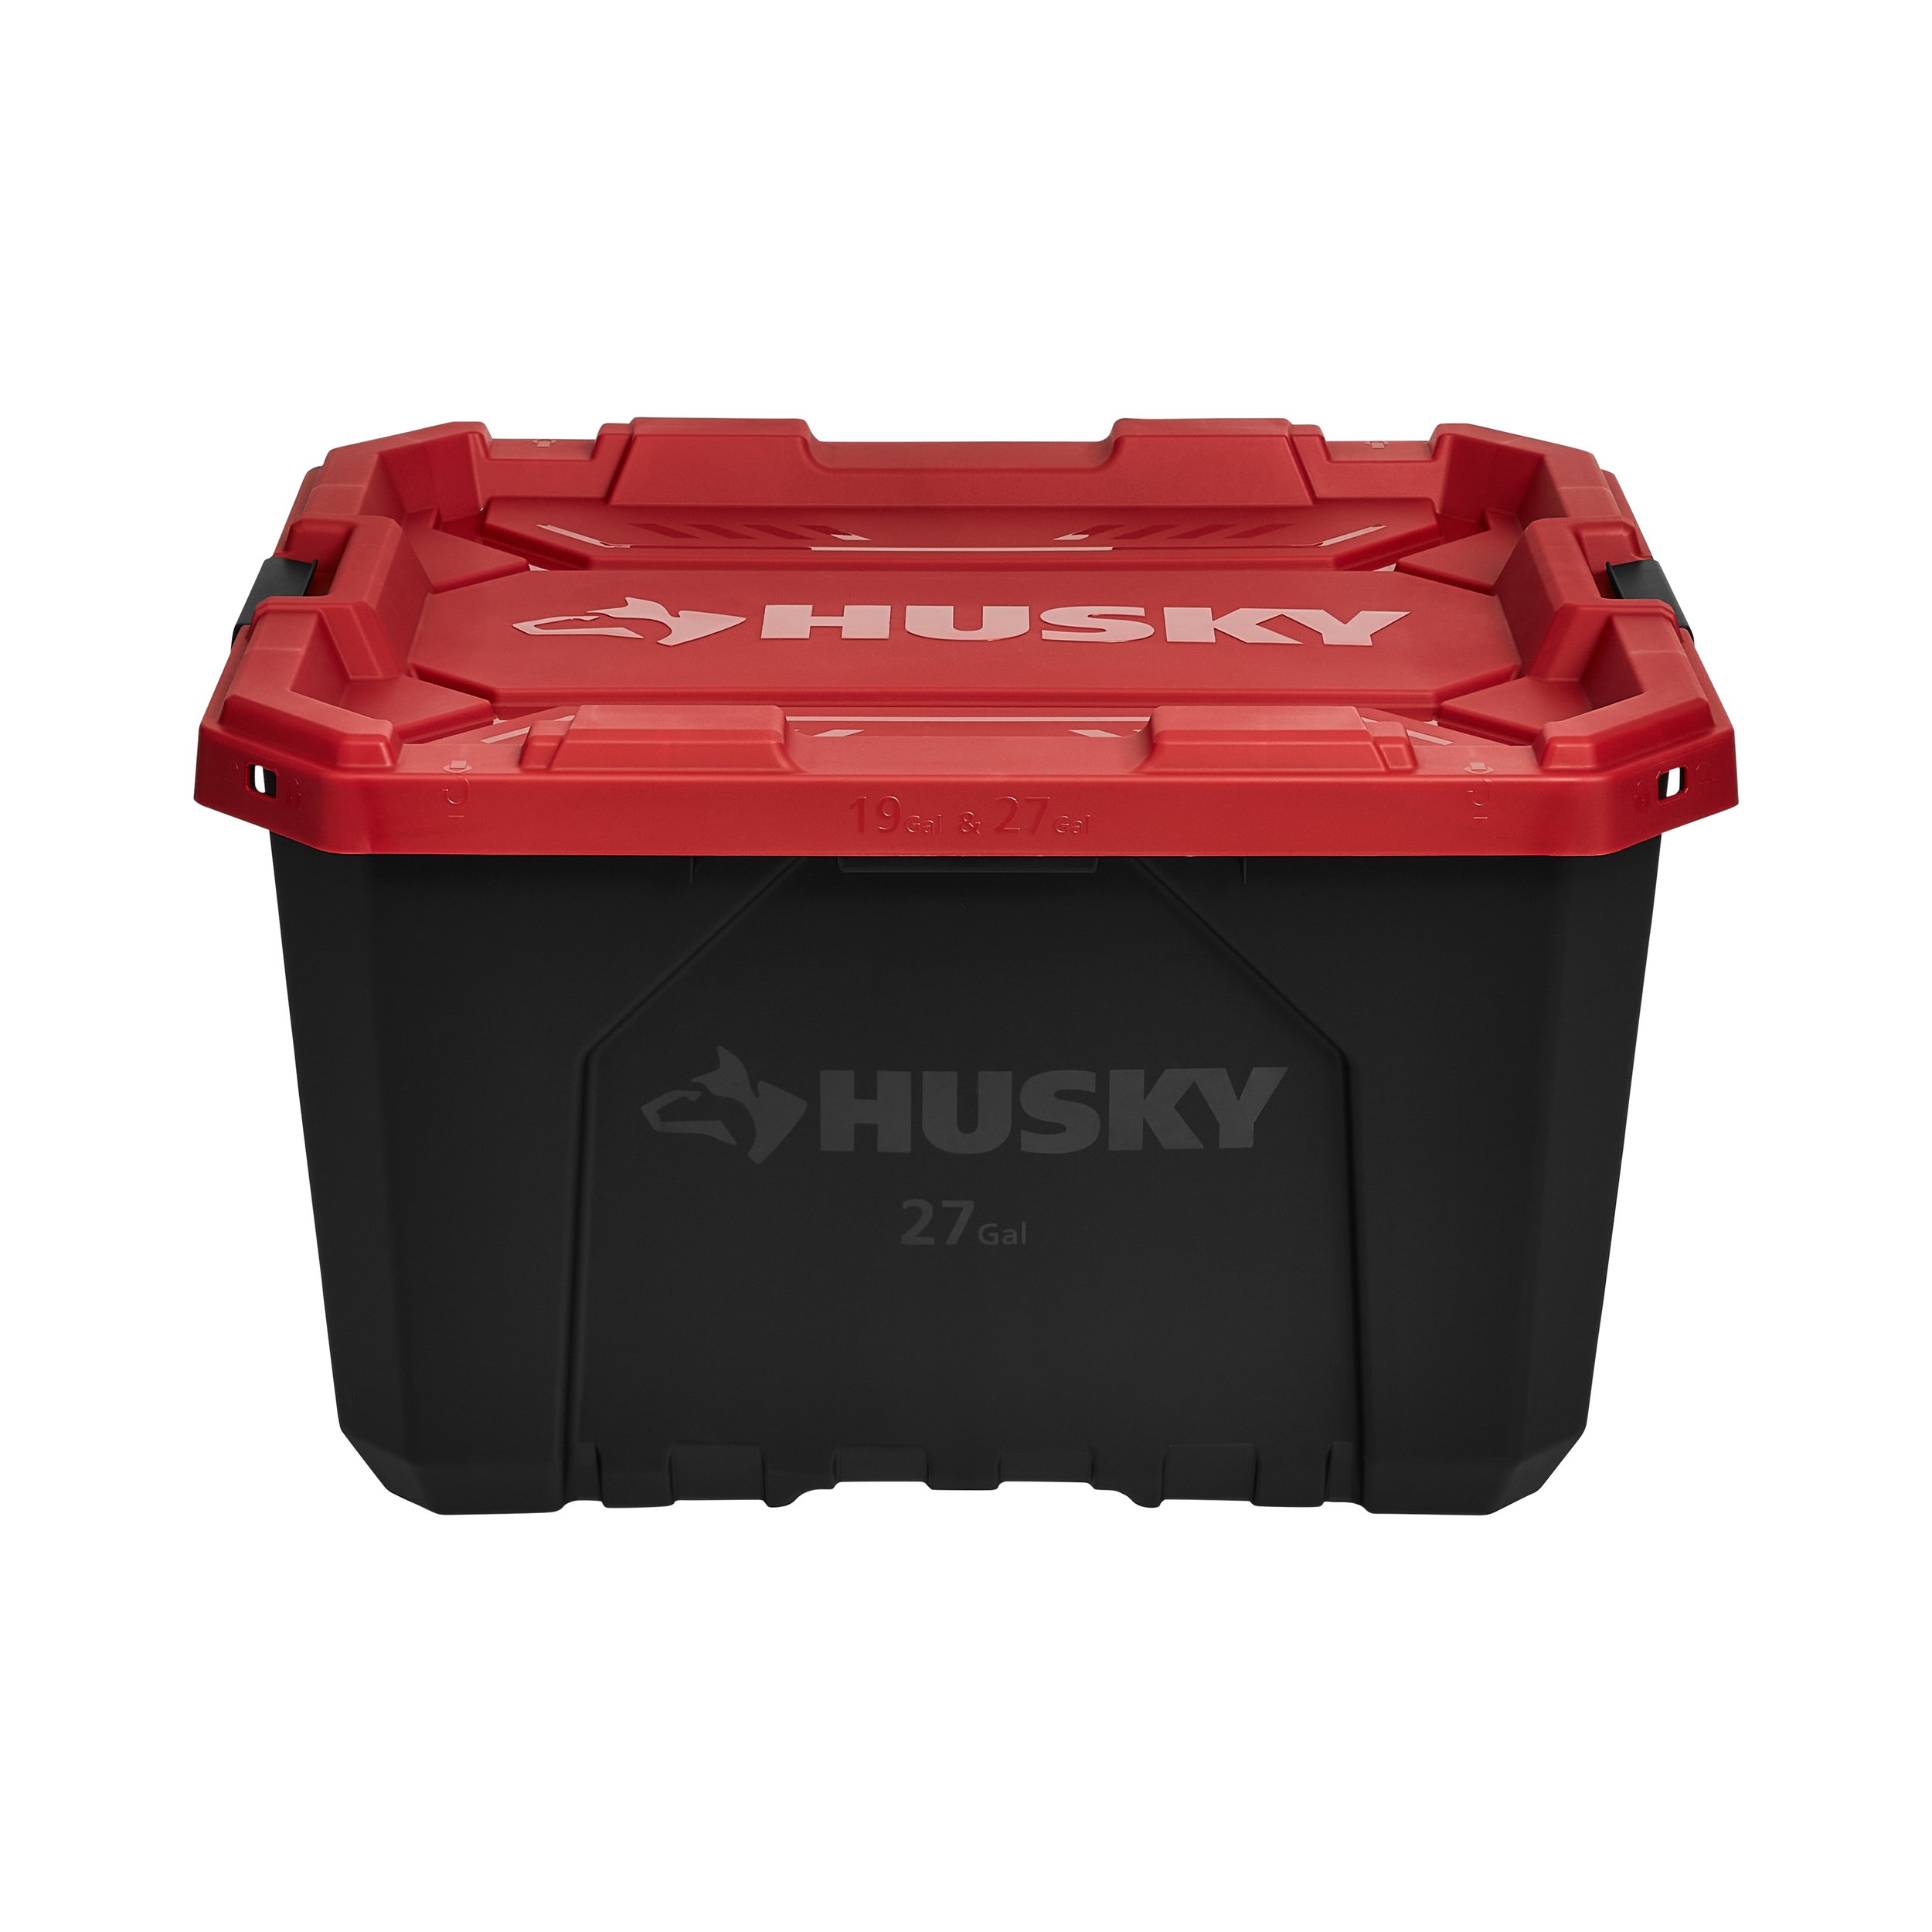
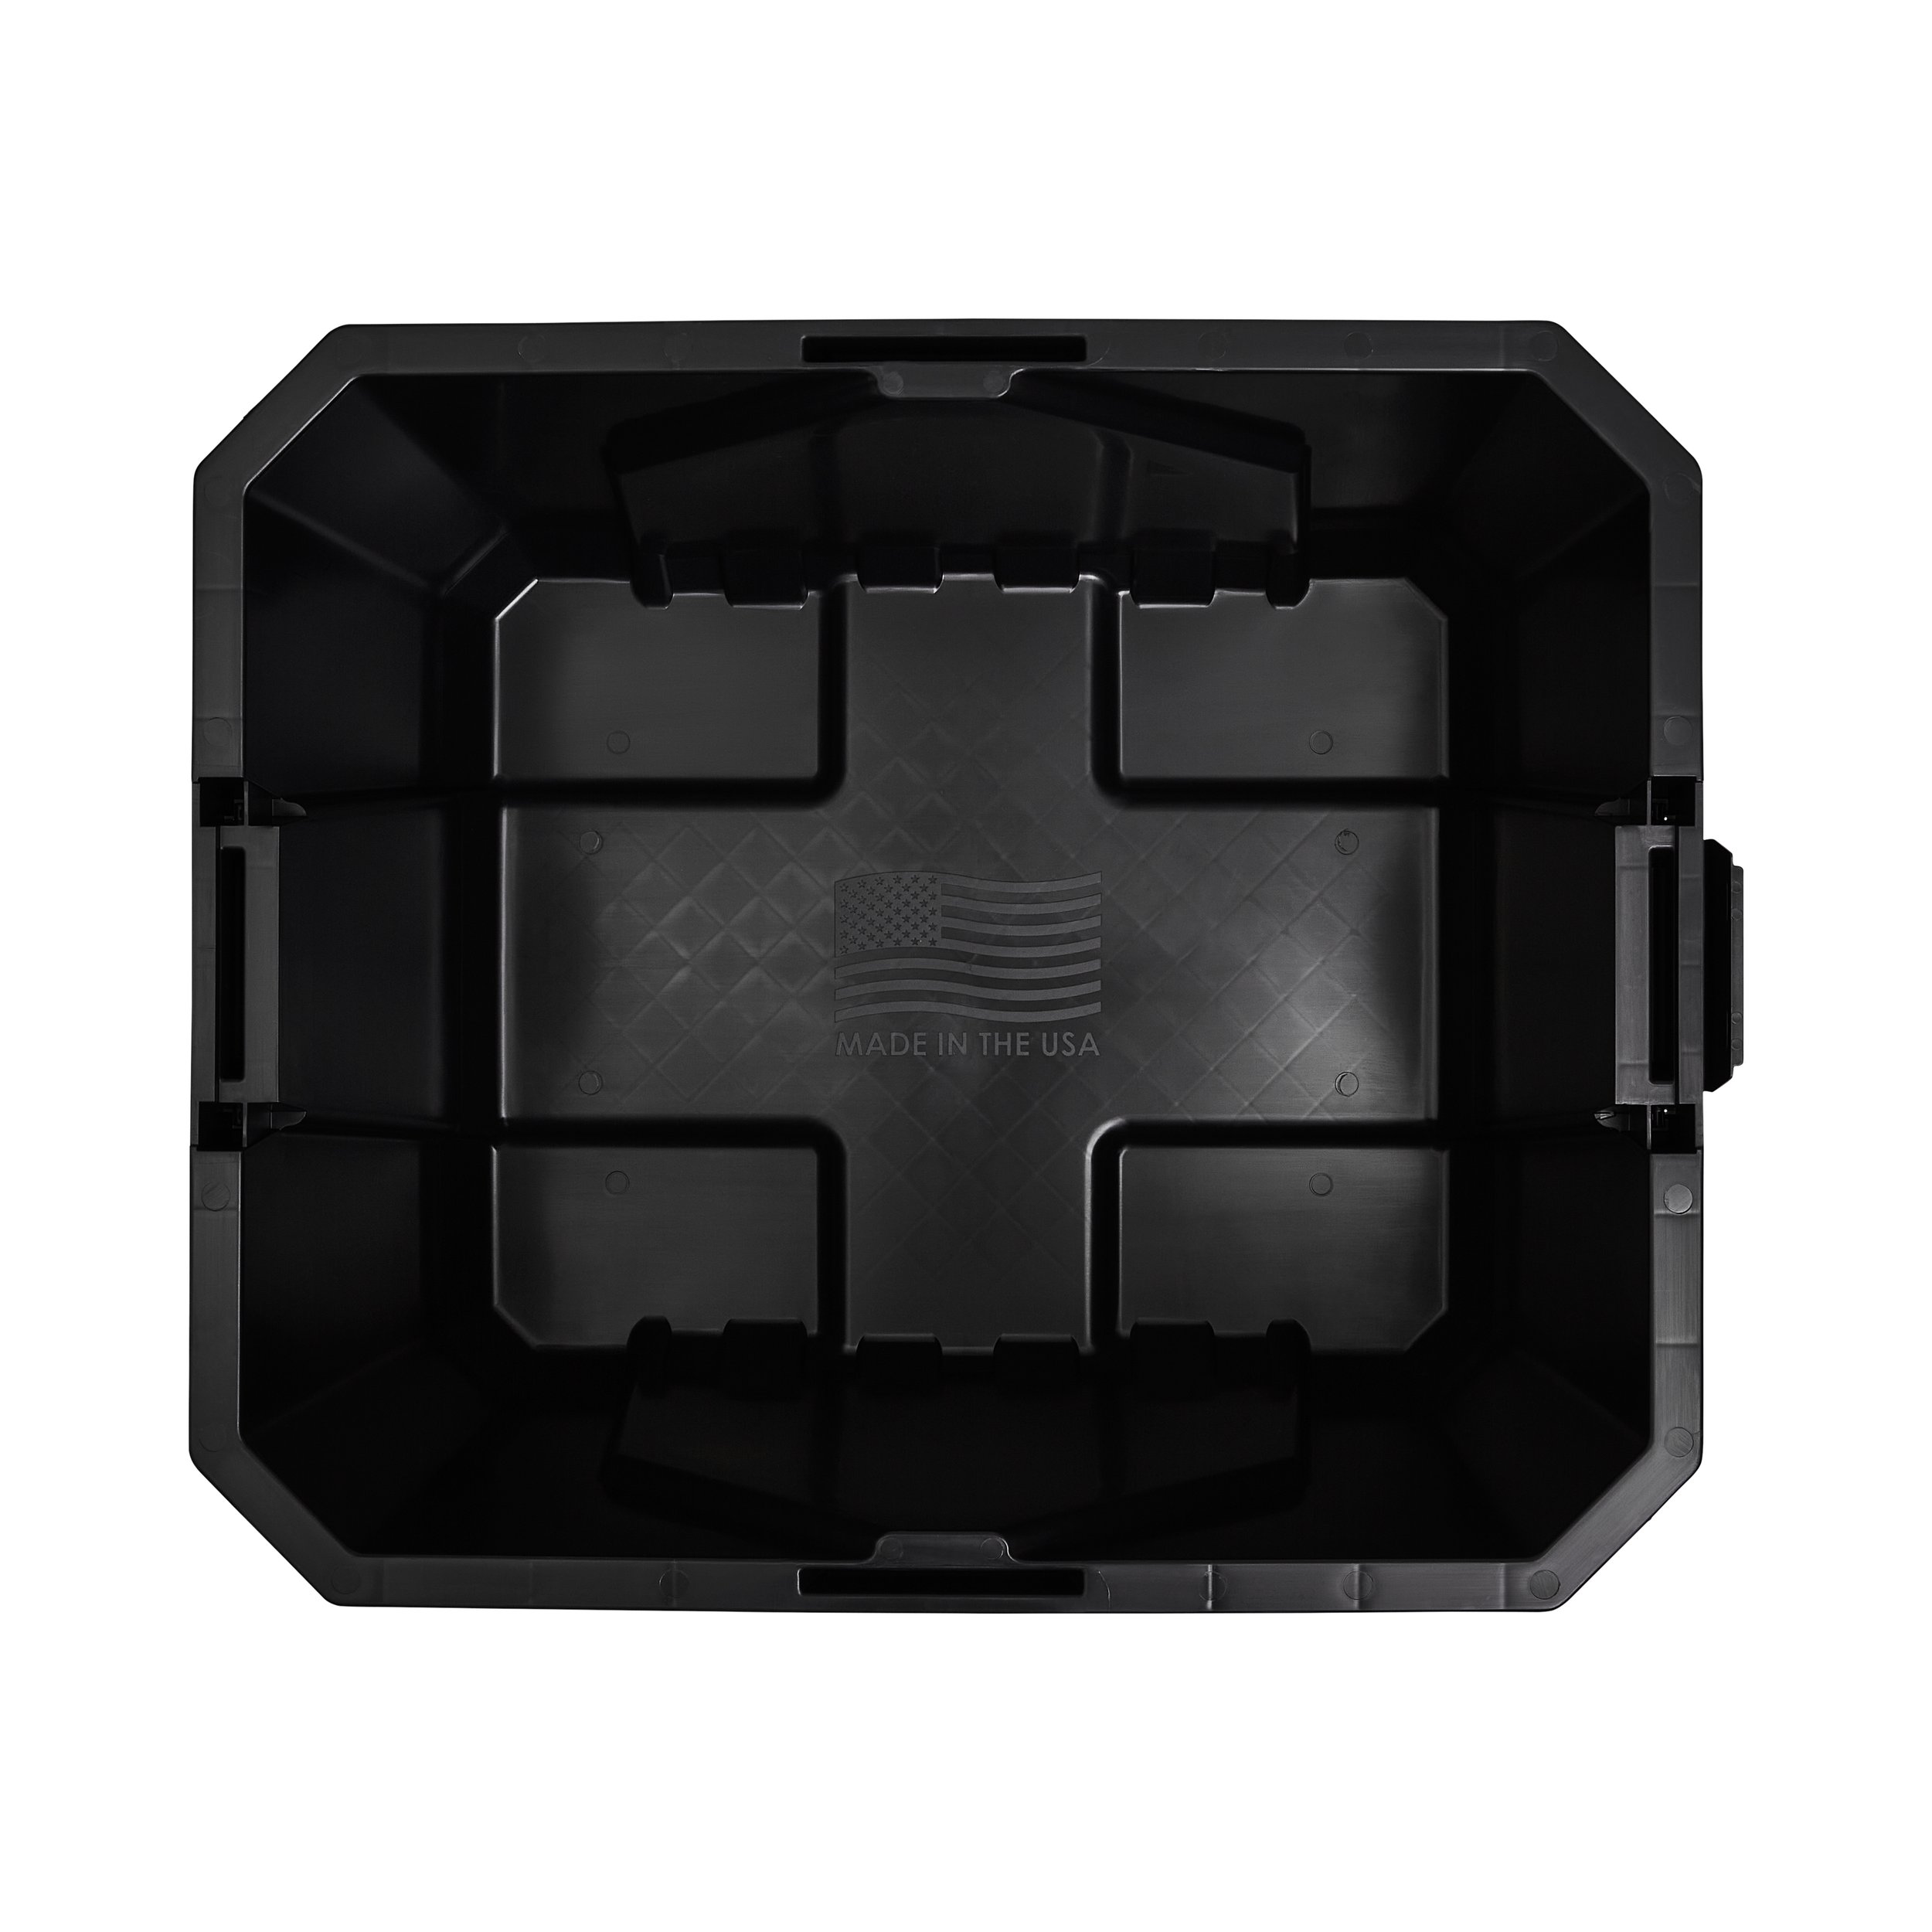
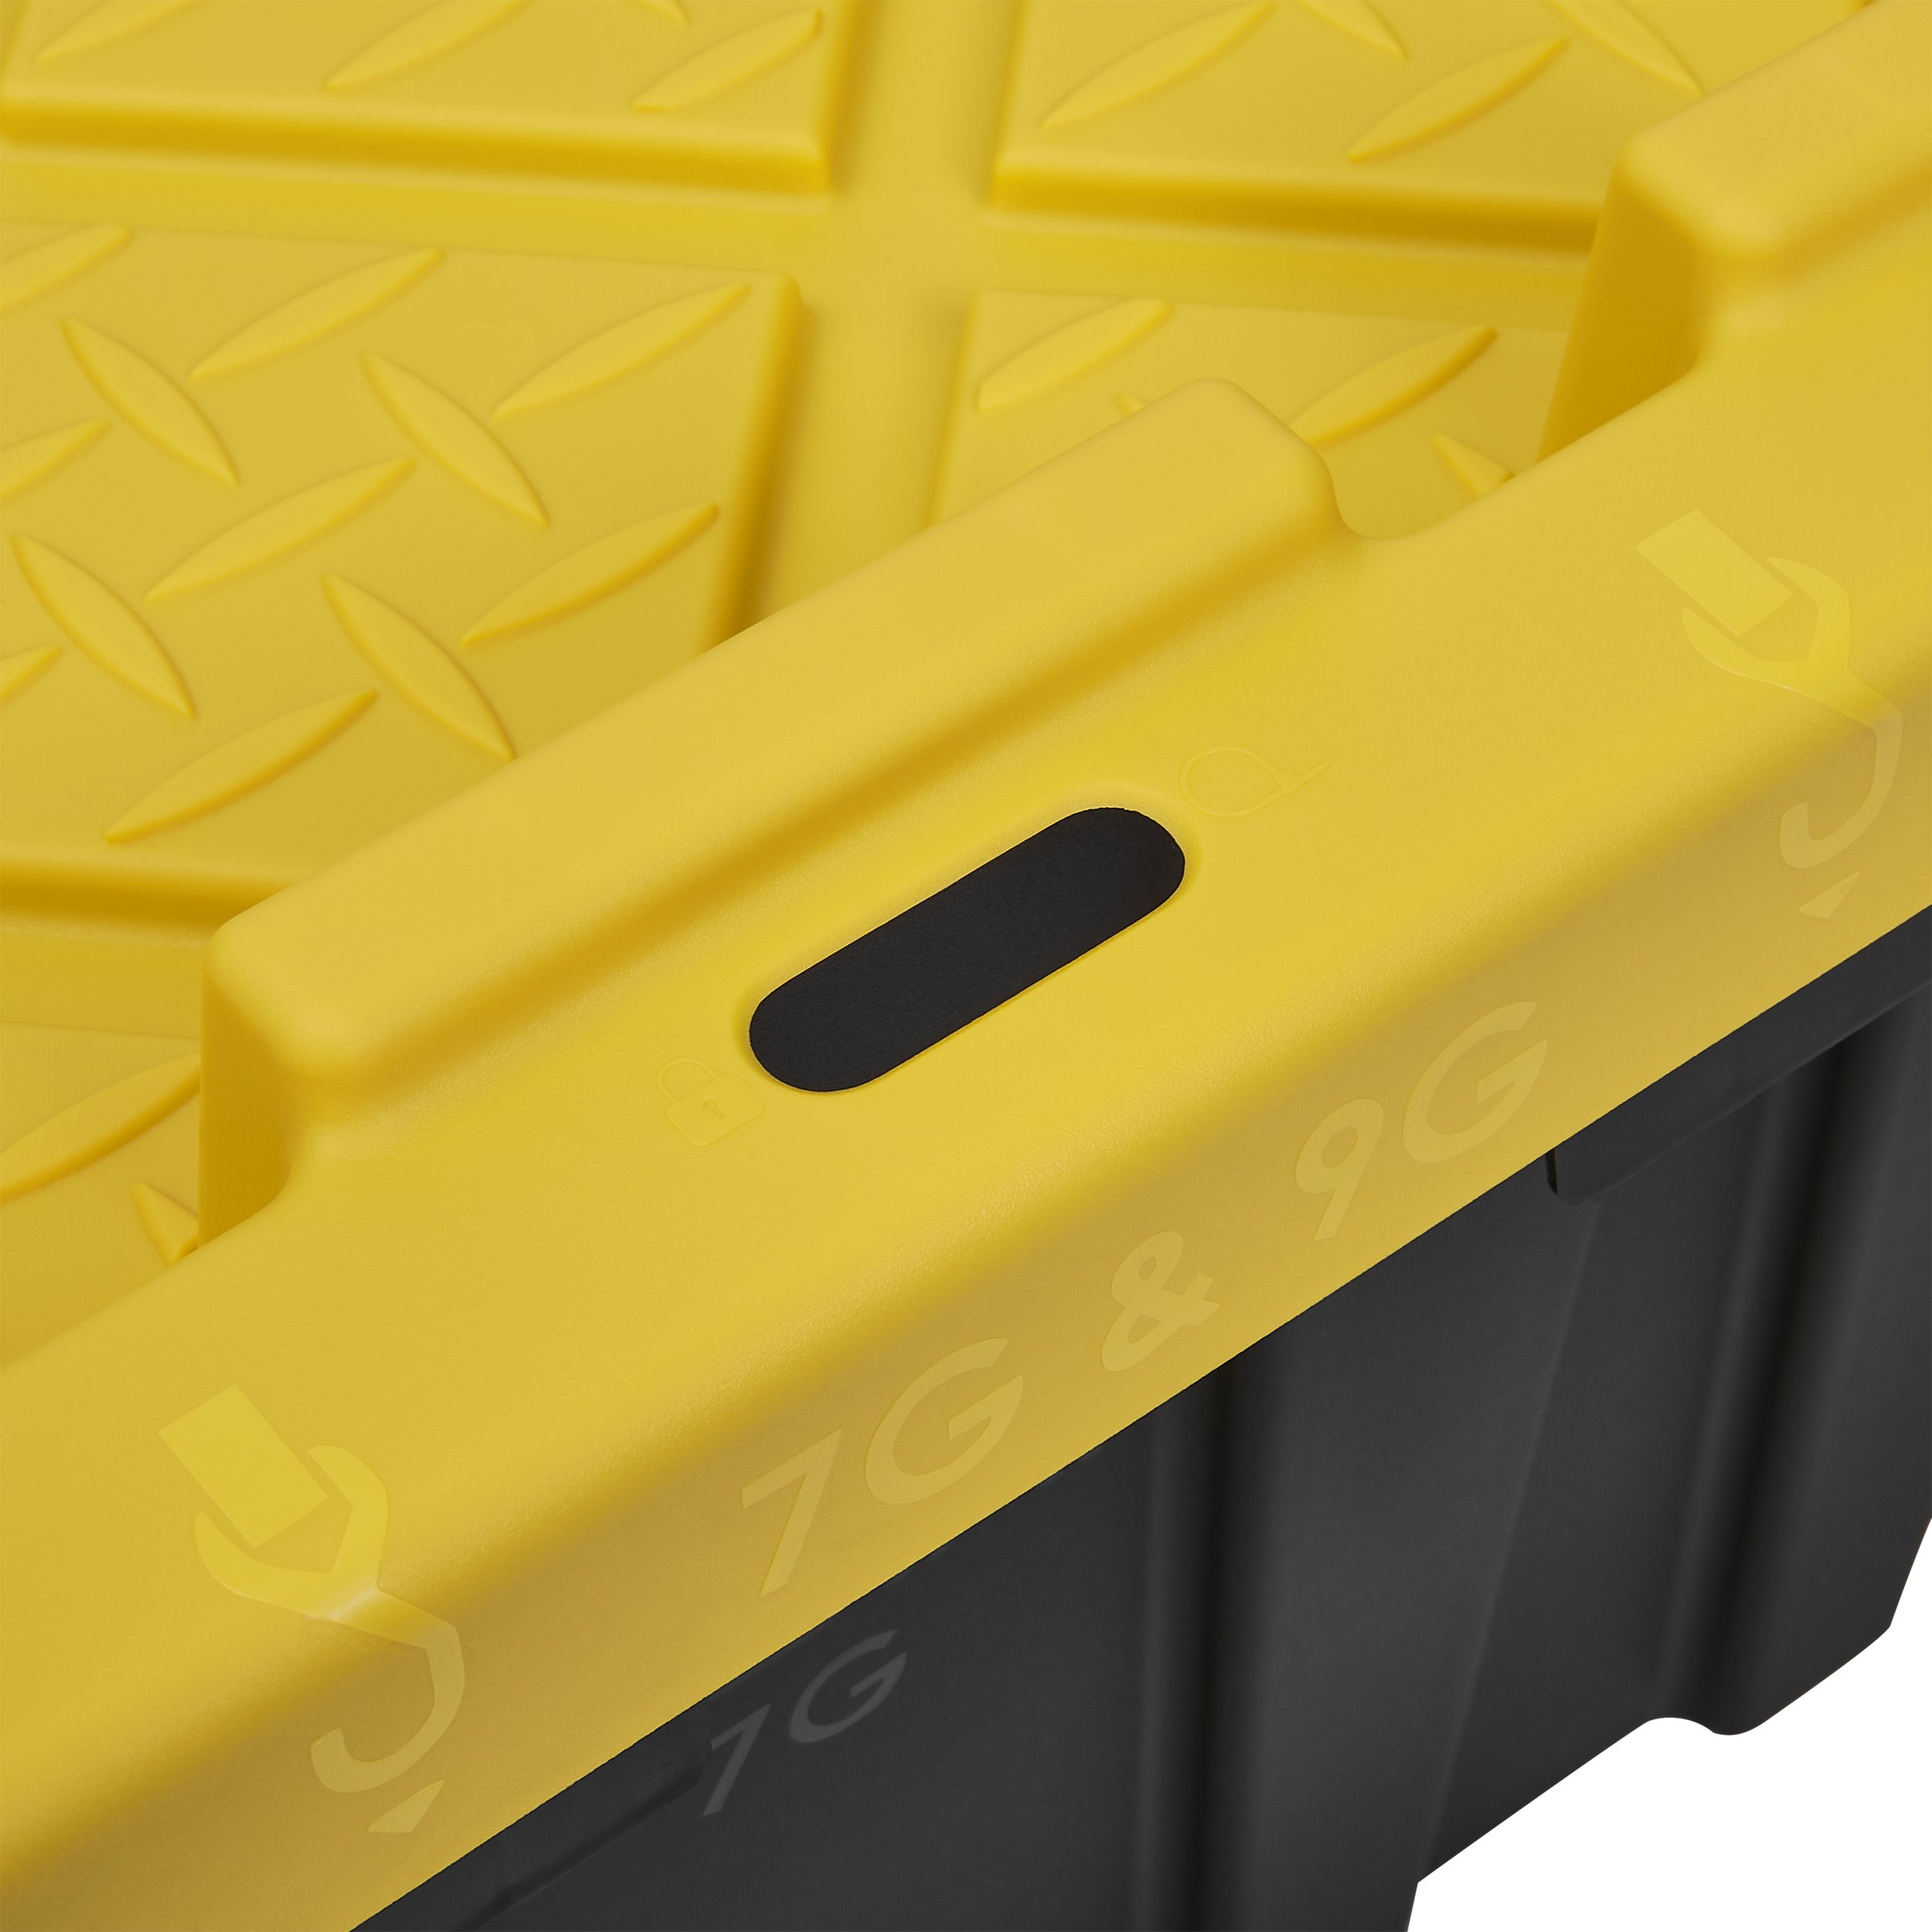
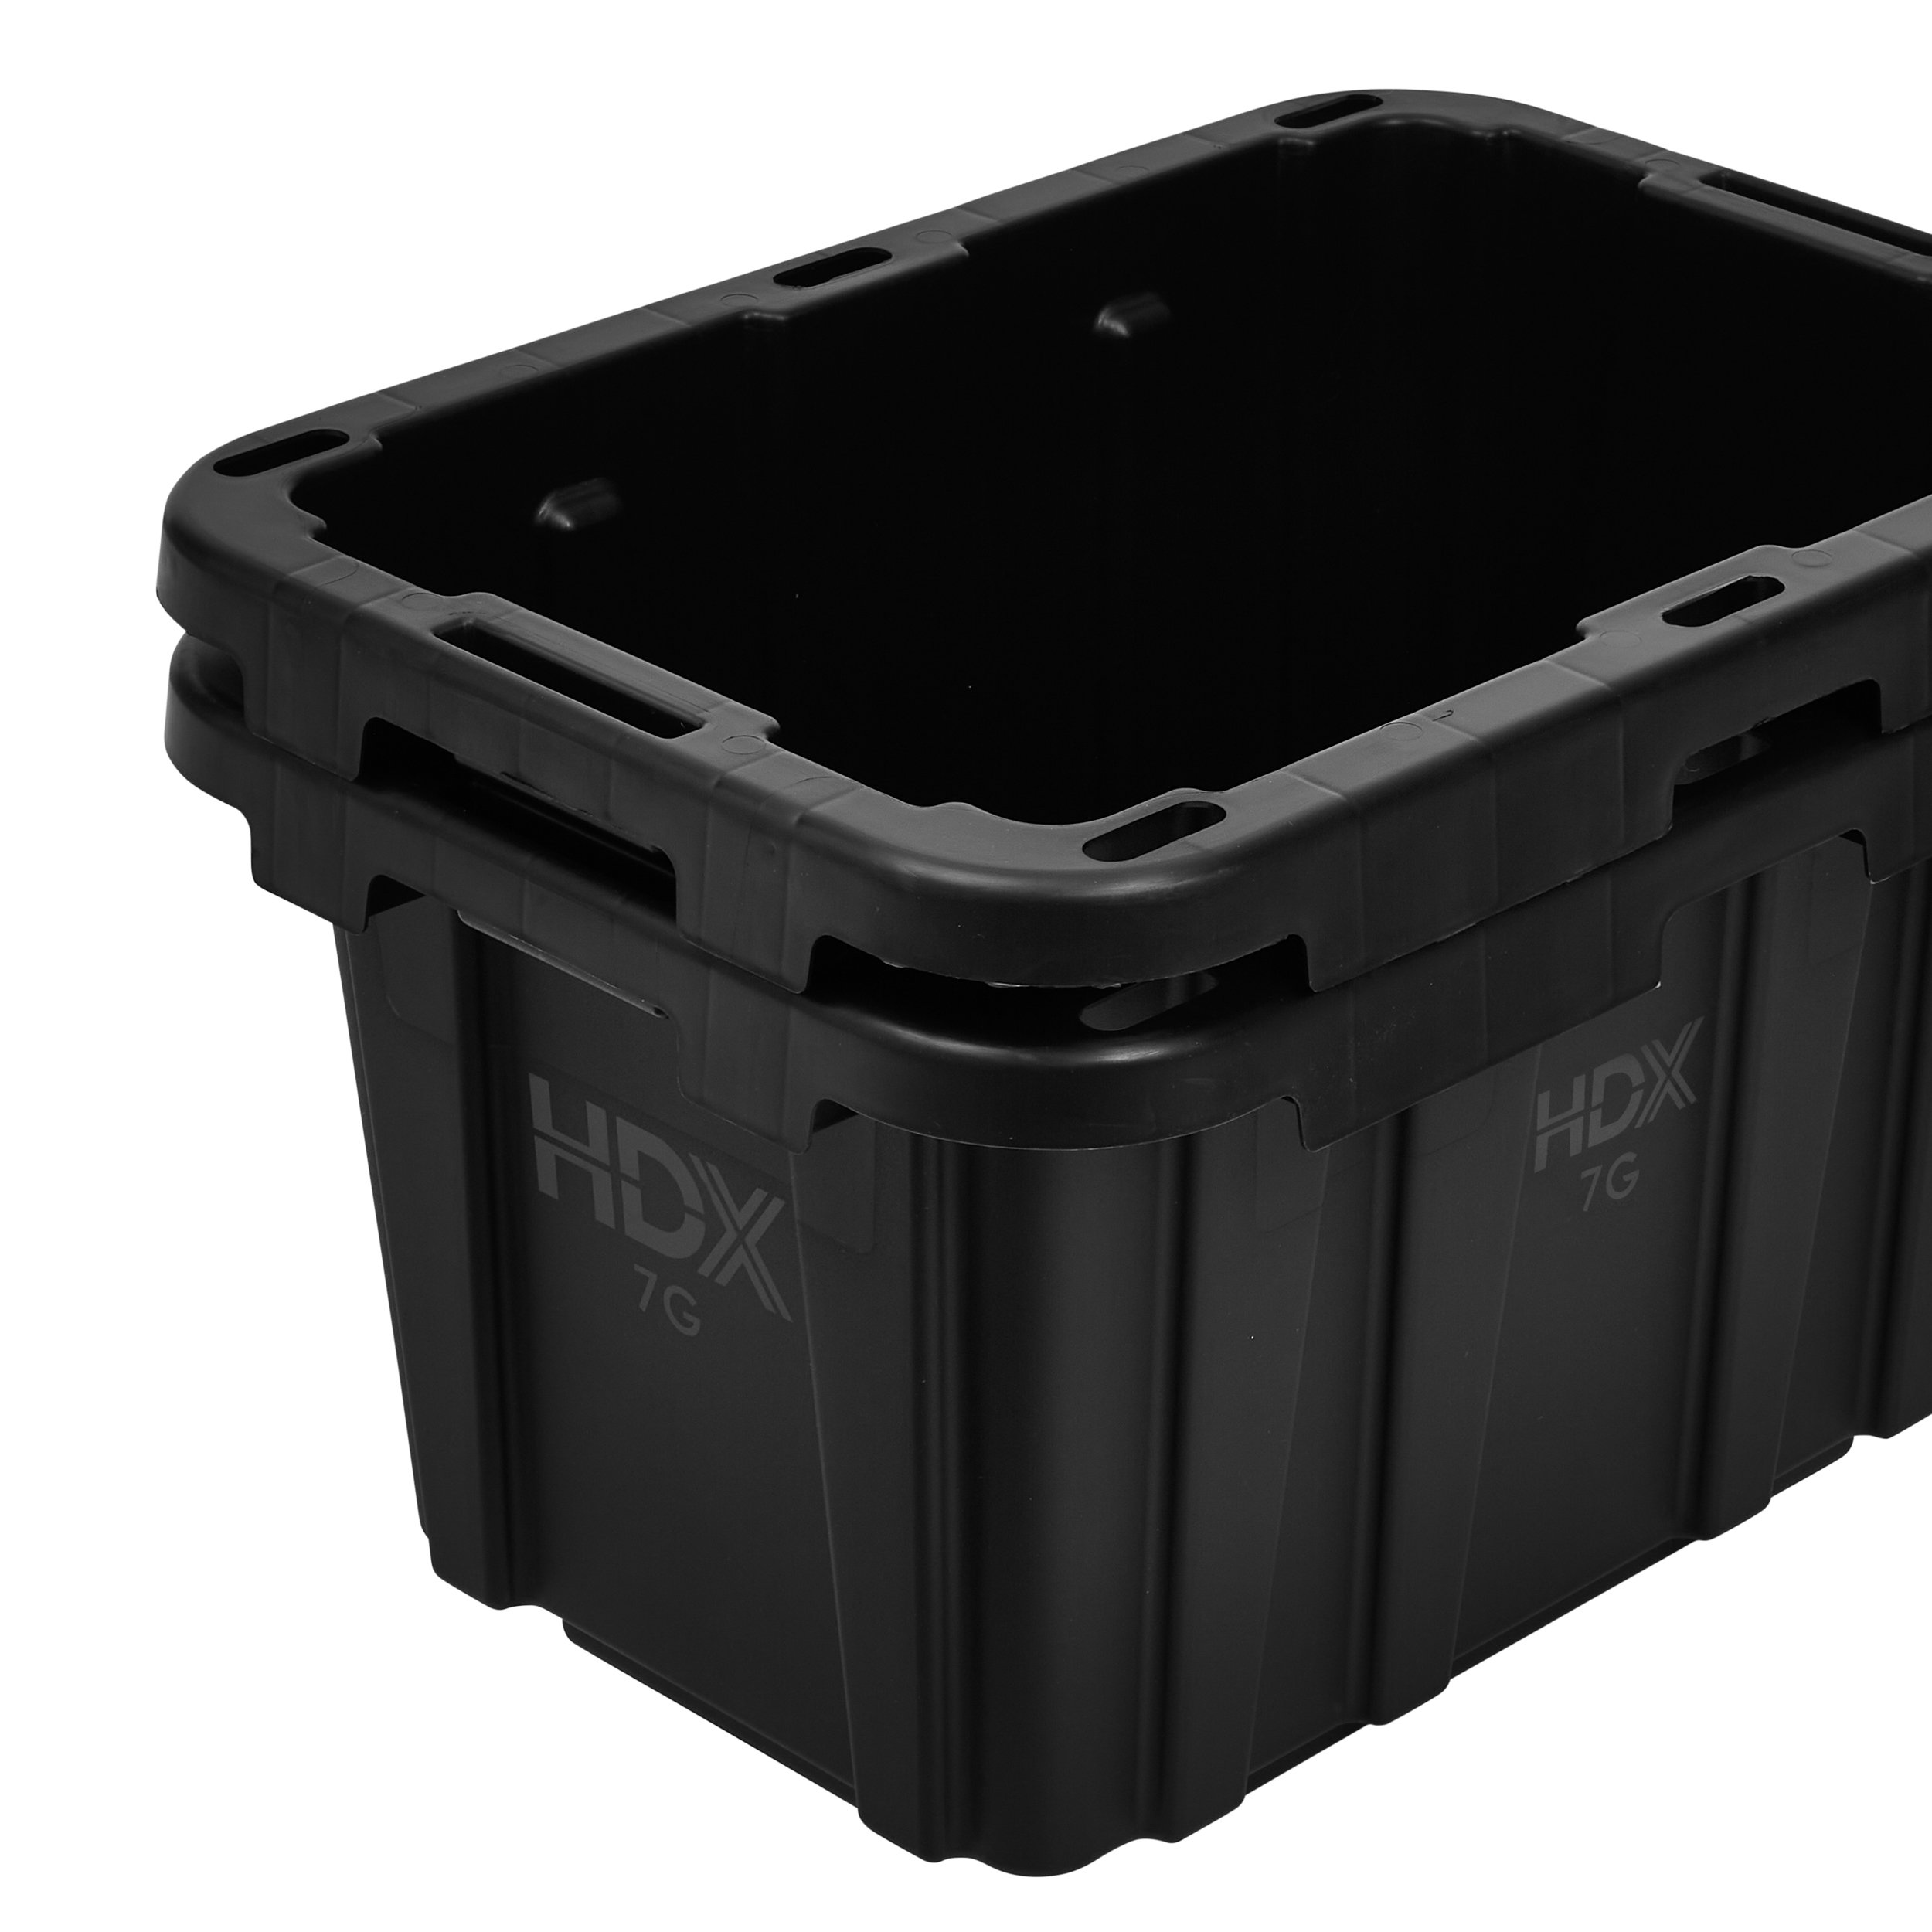
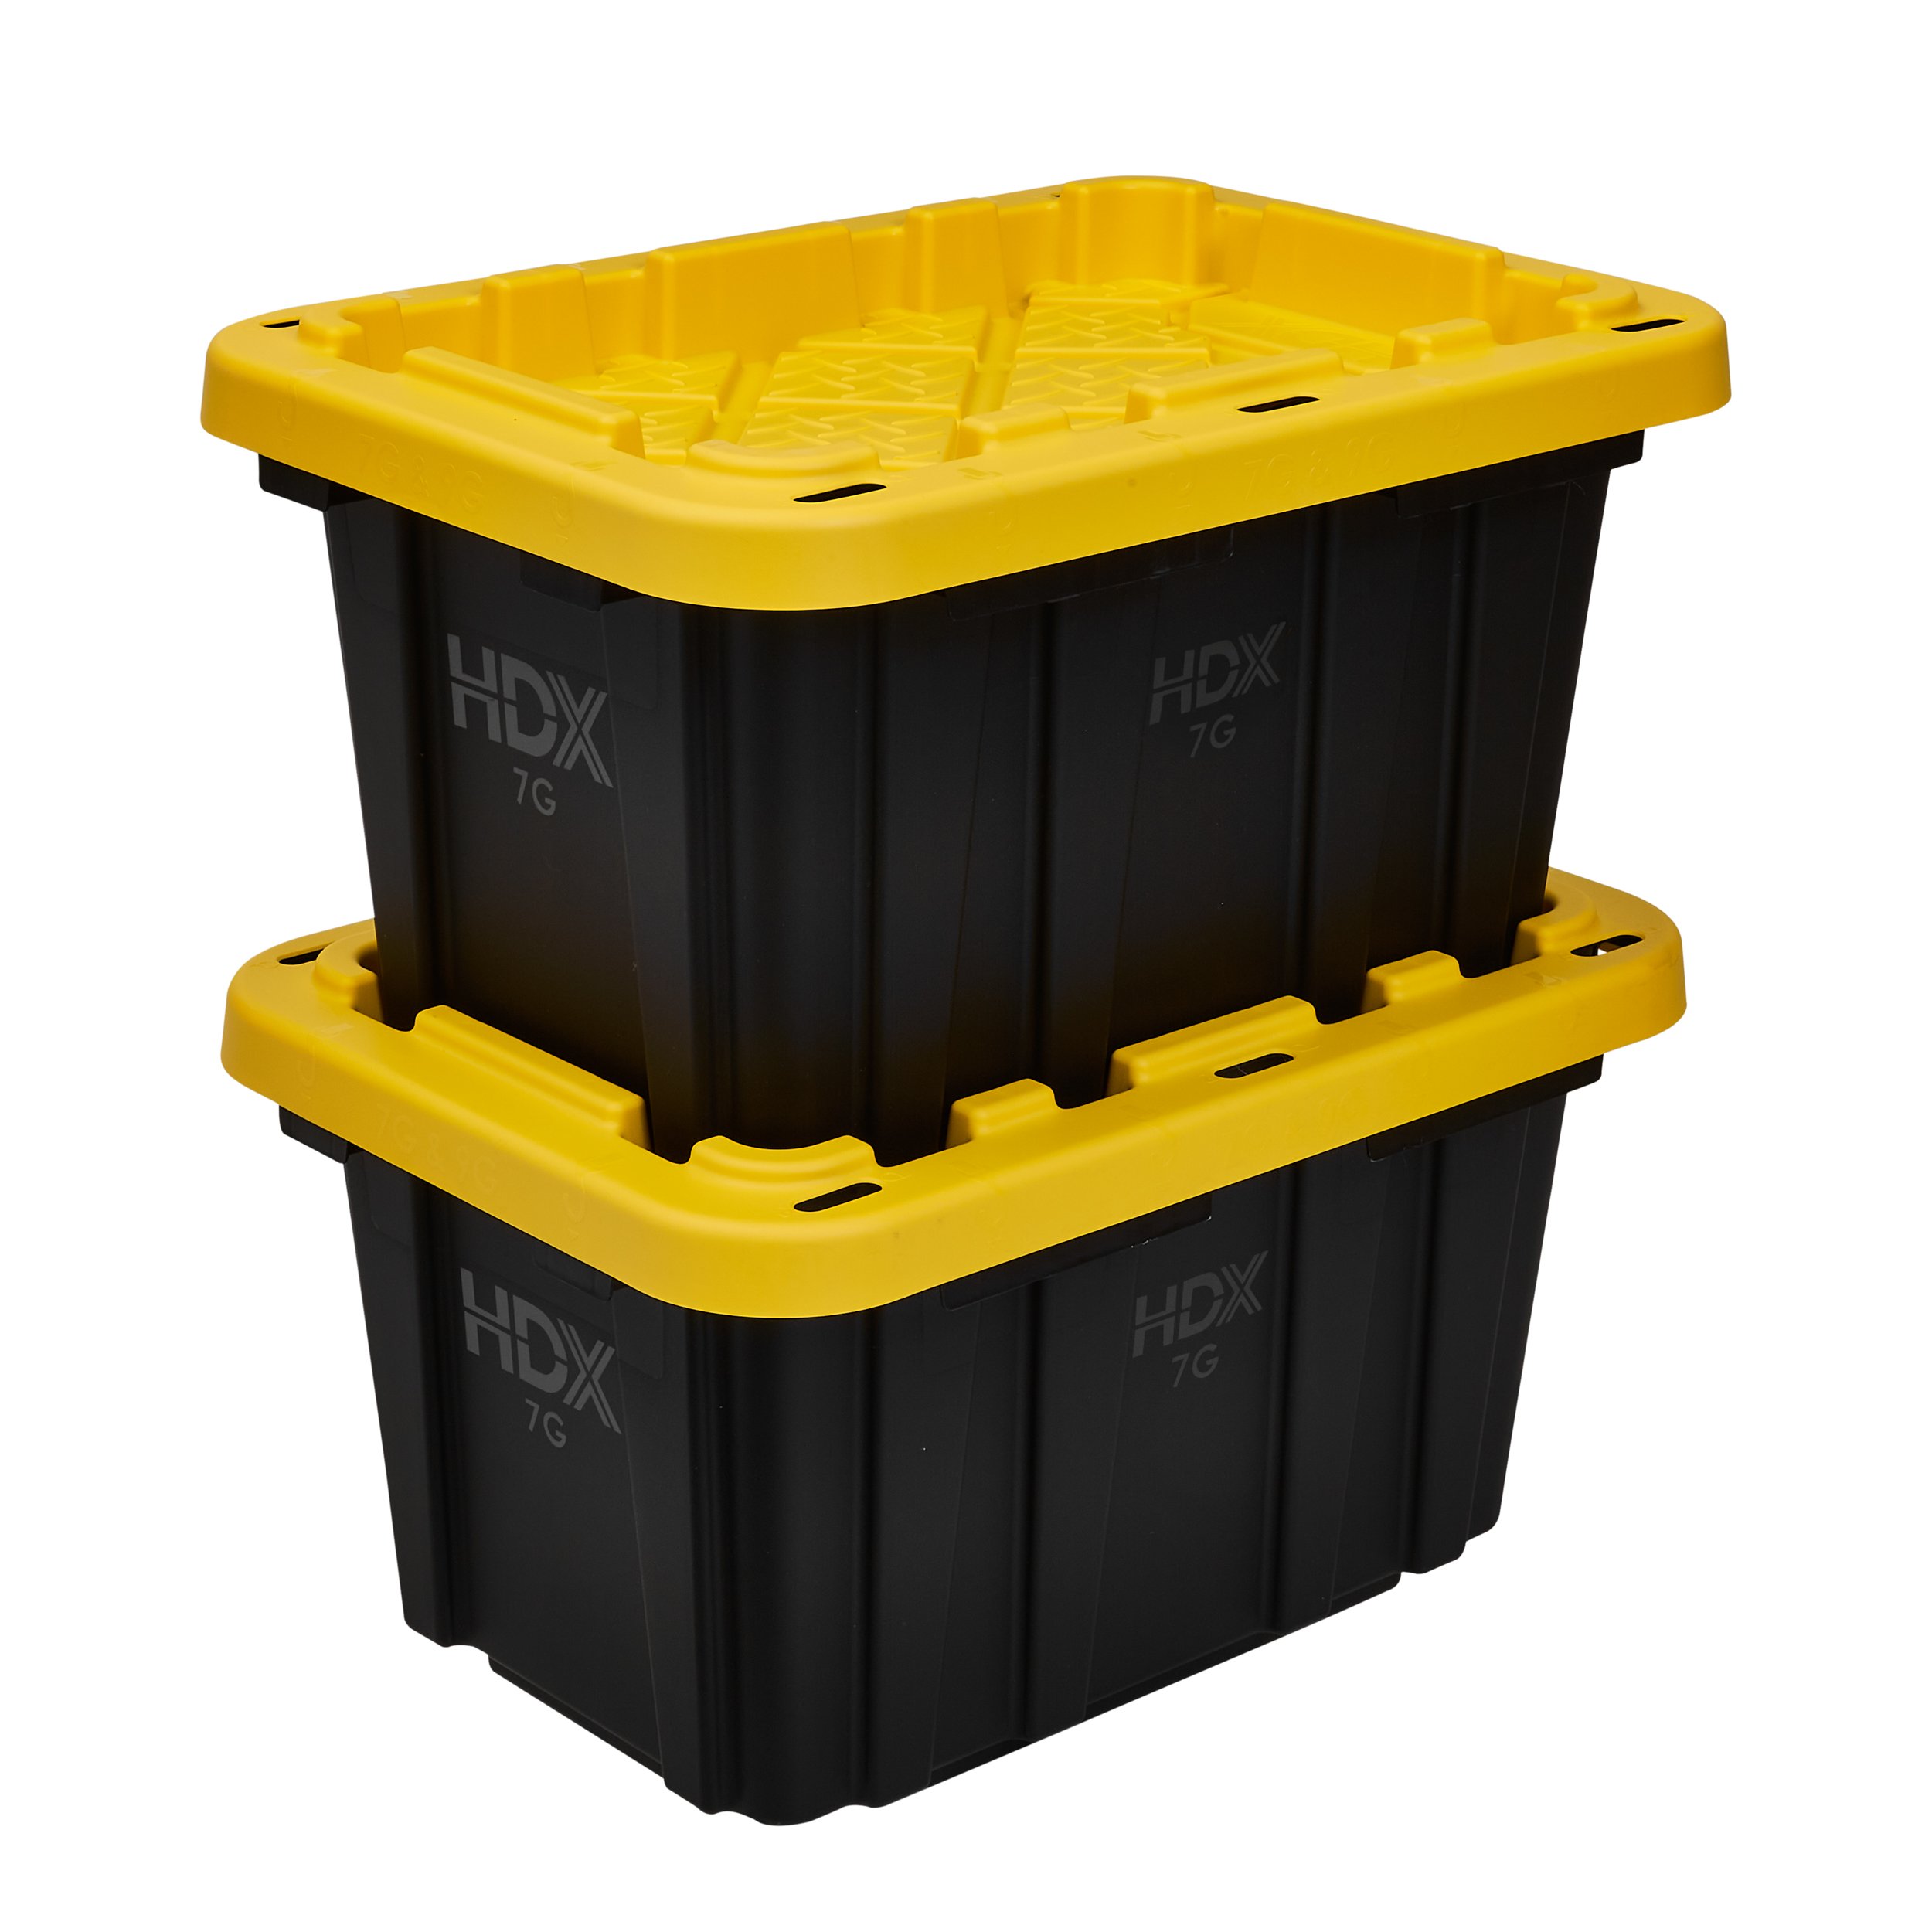
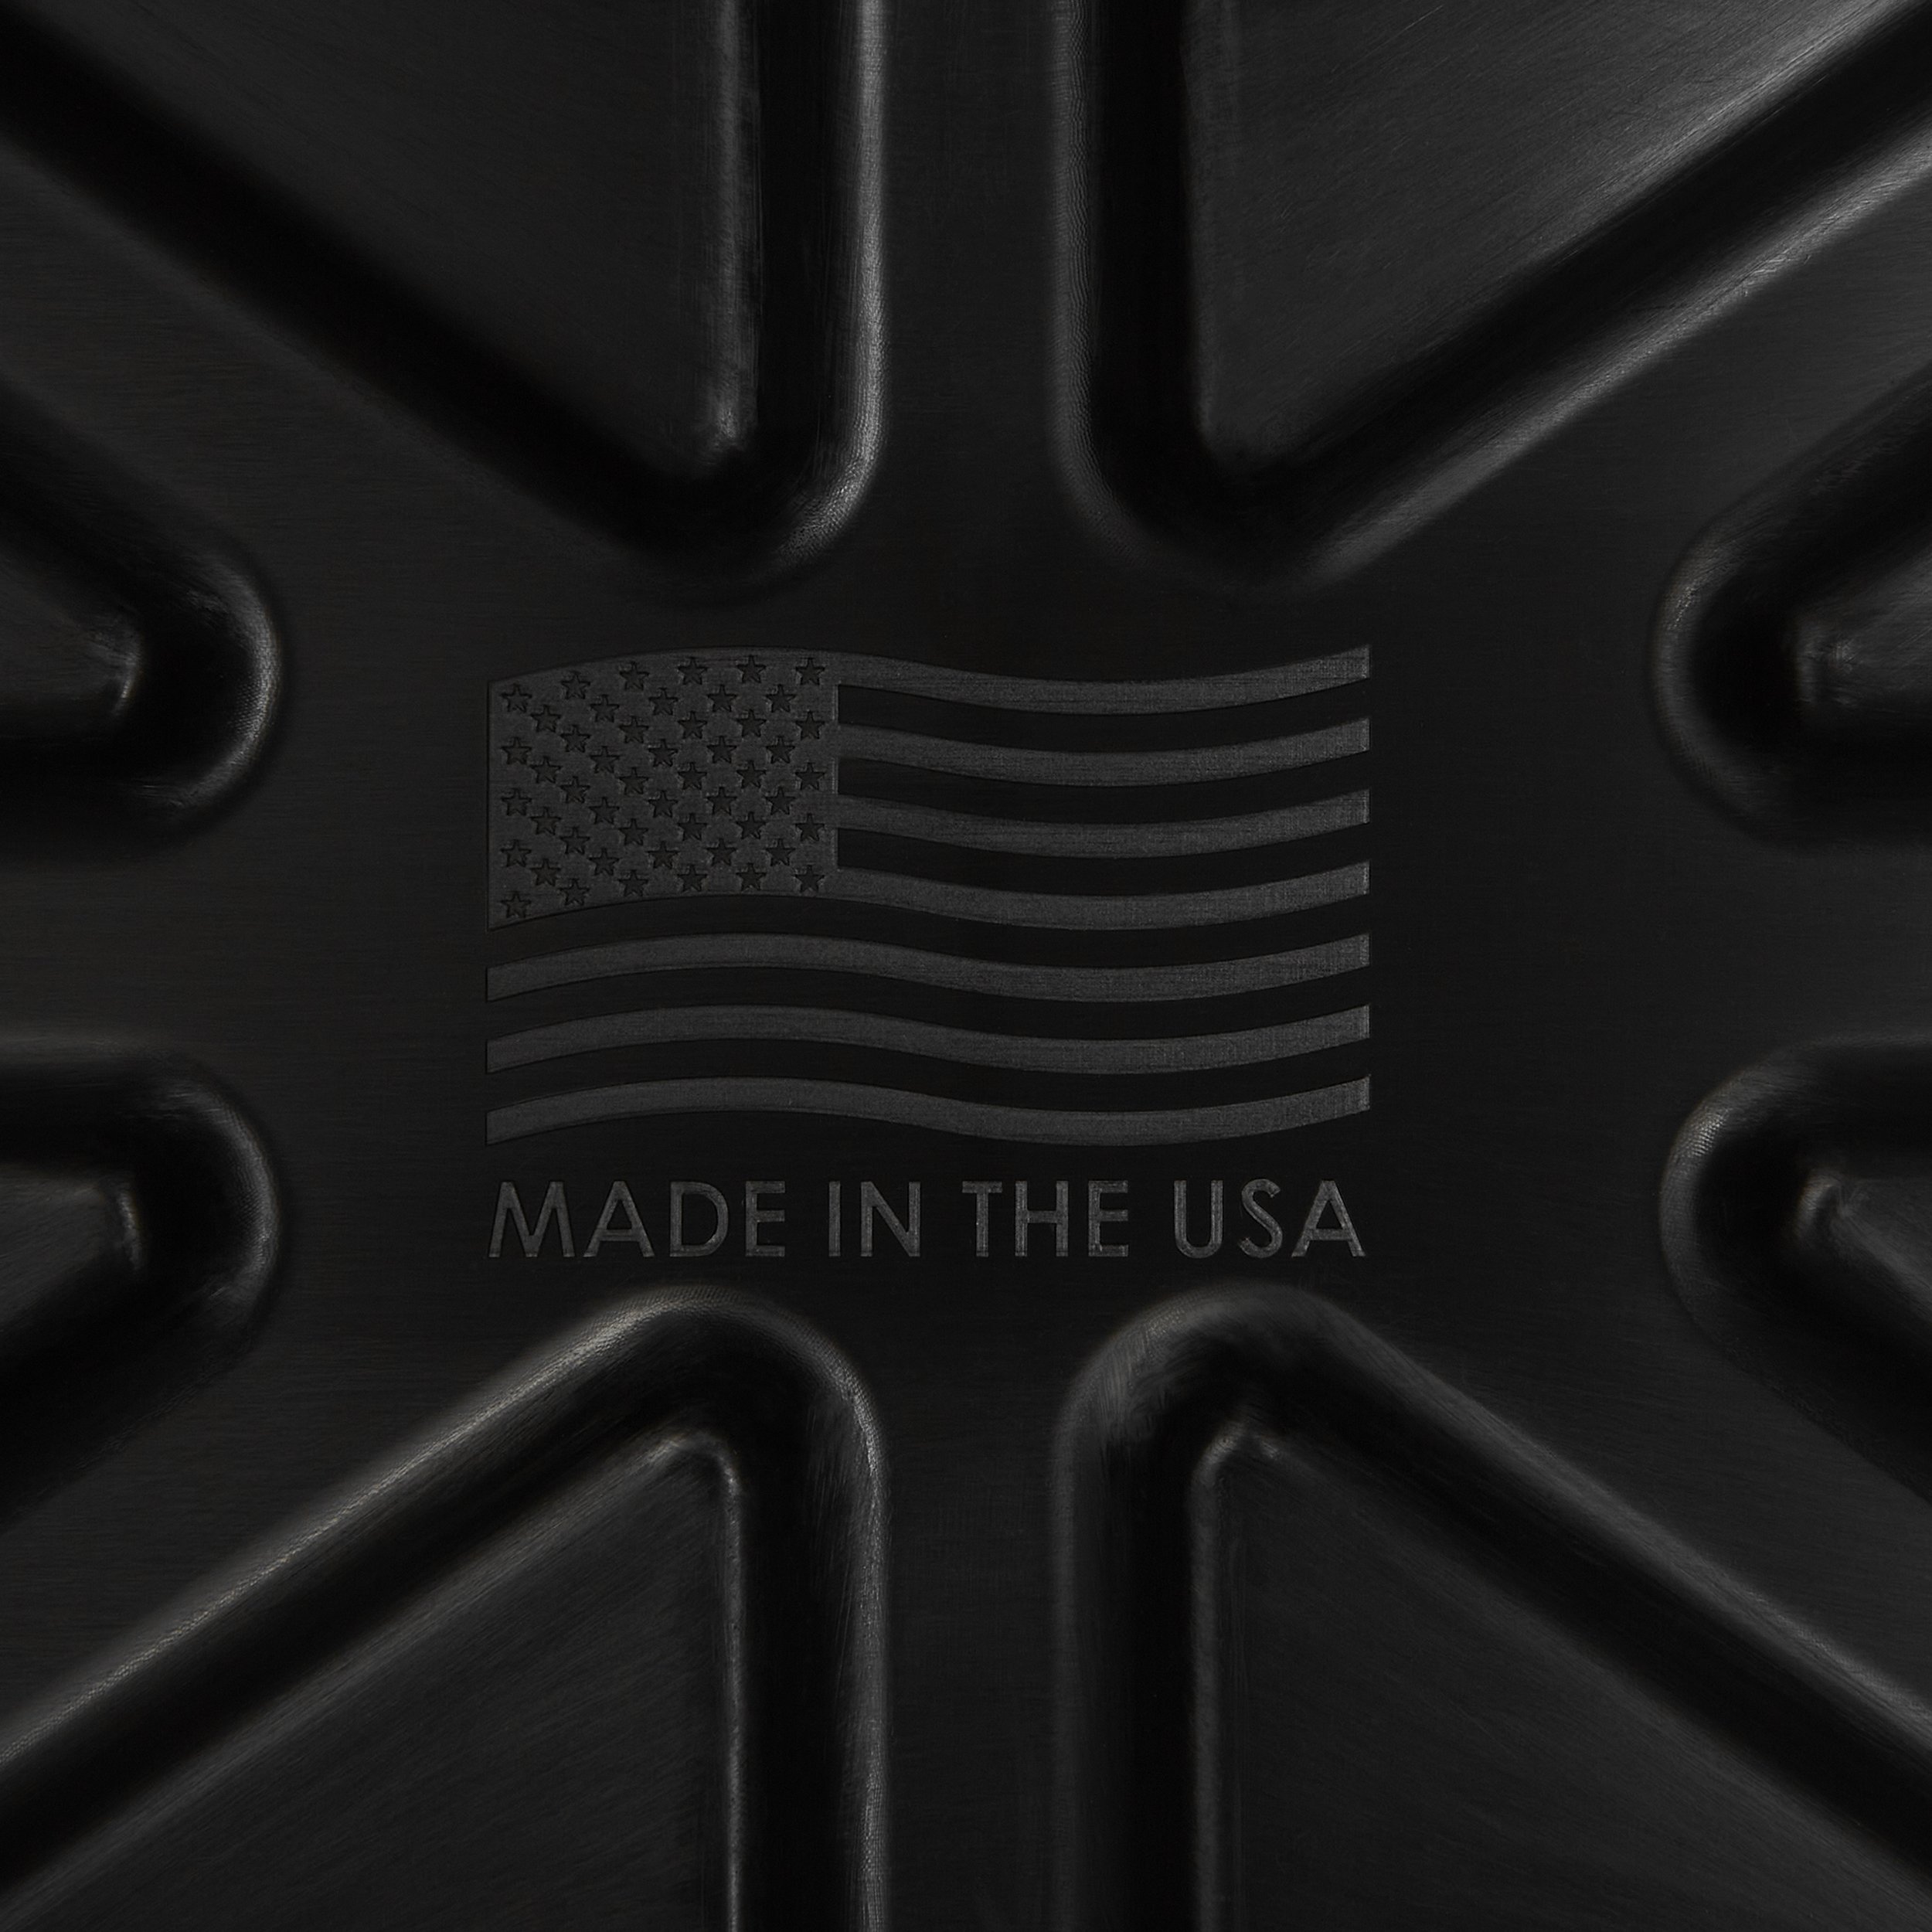
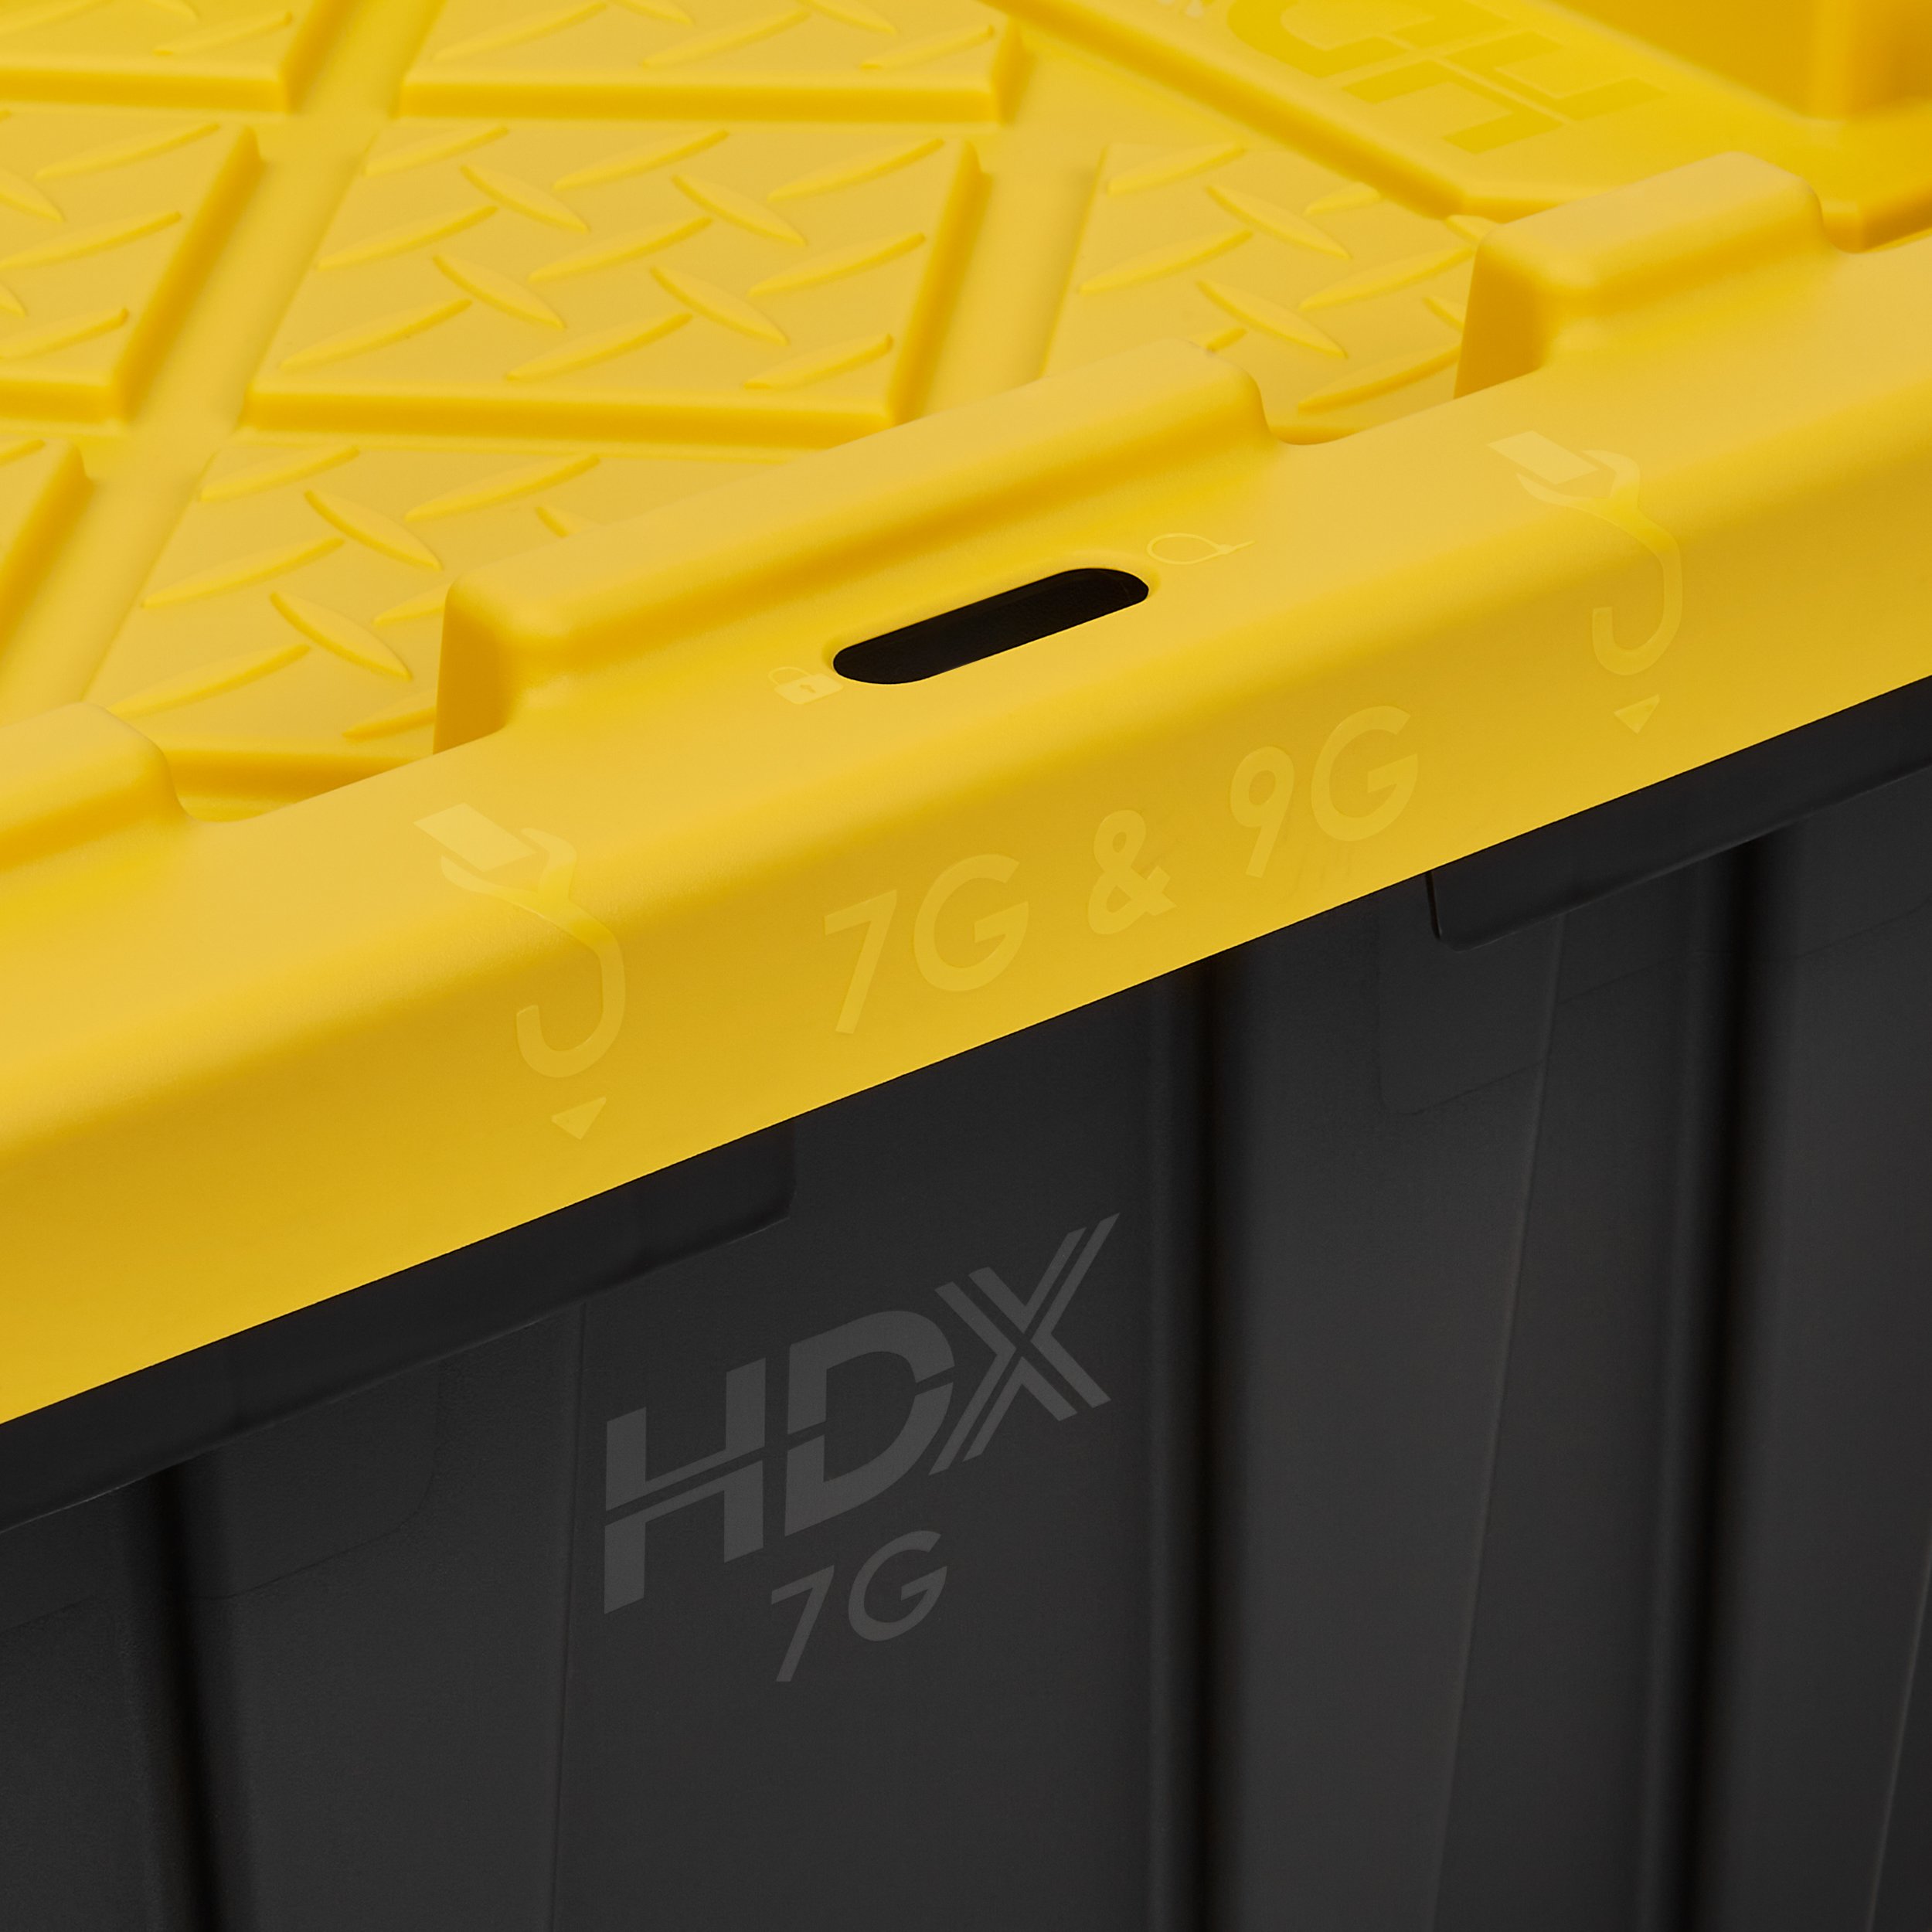
The goal with HDX and Husky was to capture every last detail of the totes, and that’s exactly what I did. Every tote received 15-17 photos highlighting features such as the durable build, the lockable lids, the “stackability” of the line of products, and the domestic construction.
I always appreciate clients who value the storytelling and strategy behind capturing extensive white background listing content, especially when they have the budgets to afford it. With clients like this, when the project is a wrap and the assets are delivered, I feel satisfied knowing that I gave every product the treatment it deserves and didn’t cut corners at the expense of the customer experience.
Interactive 360° Spins
It has blown my mind how popular interactive 360° spins have gotten in the past 5 years. I mean, I get it, it’s the next best thing to touching the product in the store, but it still amazes me just how many brands are prioritizing interactive spin content for their product.
Home Depot is known for the extensive 360° content within their catalog of product listings. They ask all of their vendors to provide 360s if possible, no matter the product. This is because Home Depot is customer-focused and is trying to make the online shopping experience as easy and intuitive as possible.
Below are a few examples of the spins we executed for Home Depot, but all in we captured thousands of frames across dozens of 360° spins for their entire line of HDX and Husky totes.
So that’s a quick overview of my most recent campaign with Home Depot. We are already working on the next one, and I couldn’t be more excited.
Let me know if you have any questions!